2-16
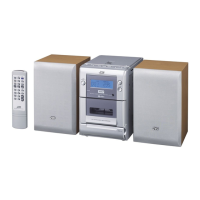
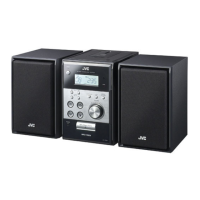
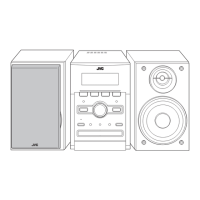
UX-G6/FS-G6
<< CD Mechanism section >>
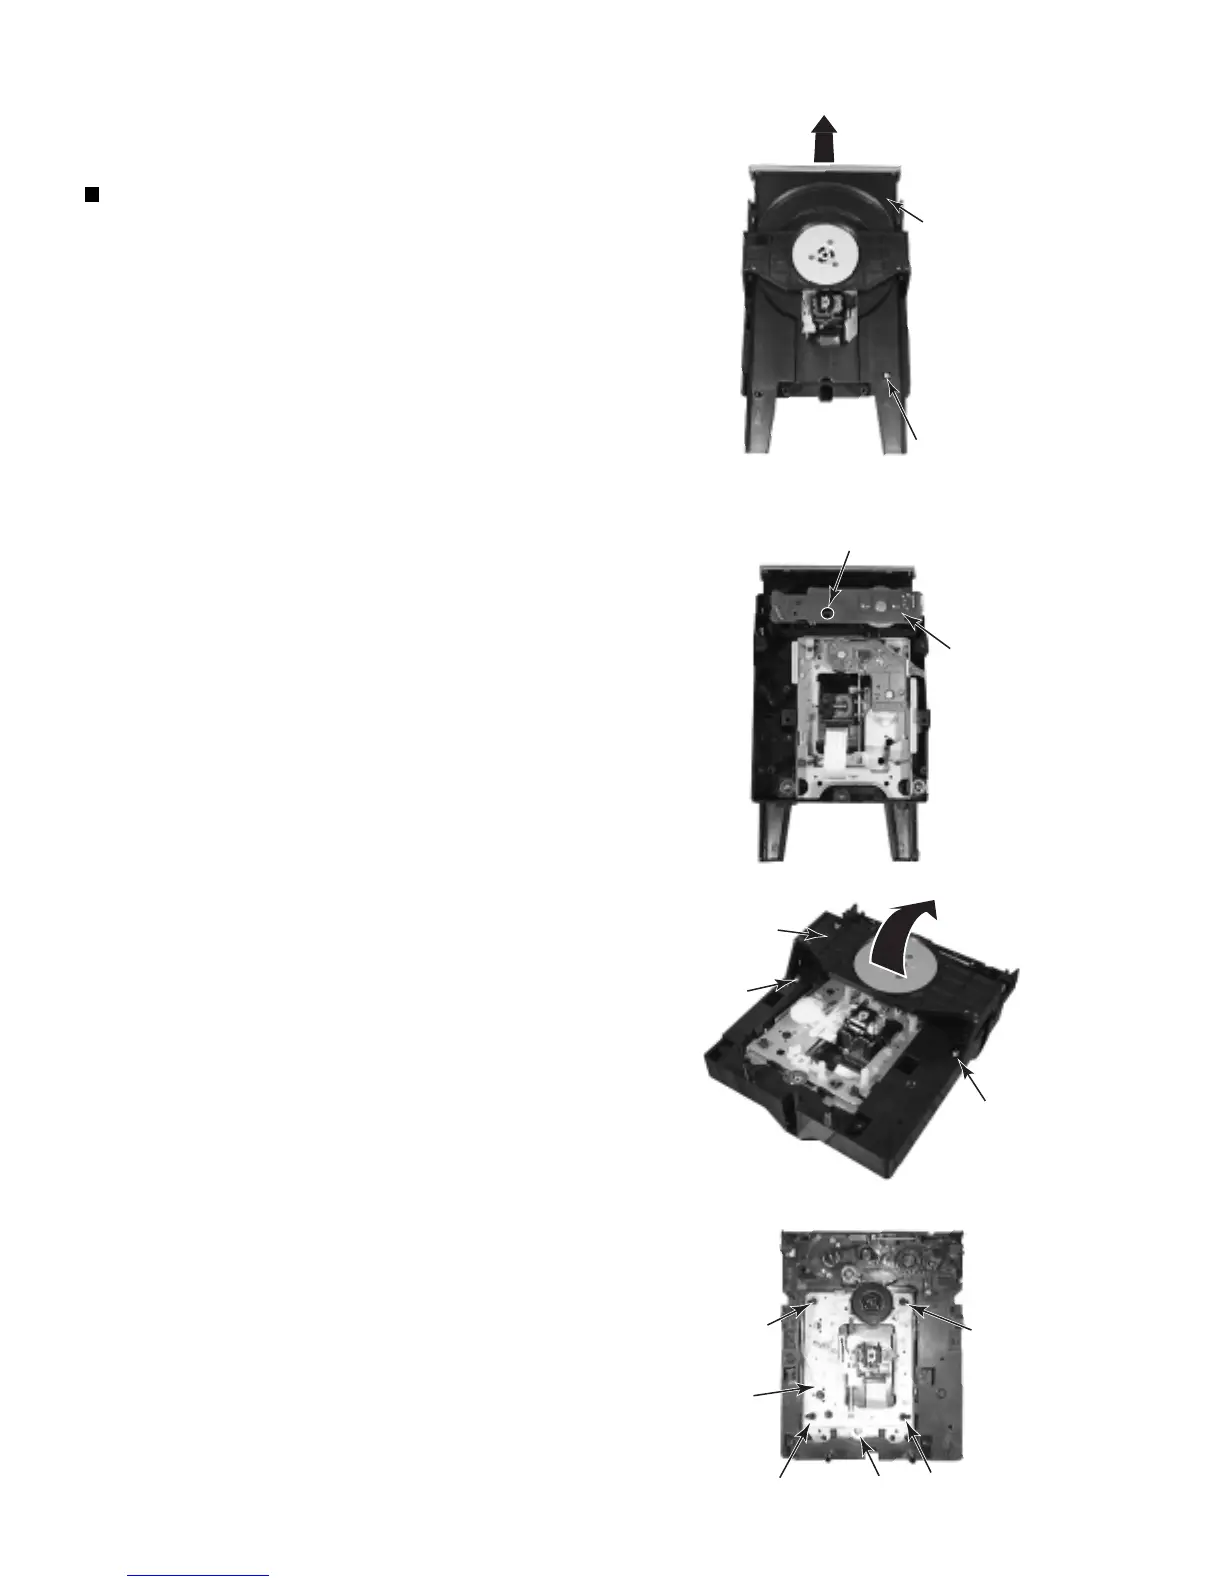
Removing the traverse mechanism
1. Remove the tray stopper screw "A" on the CD
tray
2. The CD tray is drawn out in the direction of the
arrow.
* When the mechanism is locked to the CD tray,
the lockof the CD tray comes off when the driver
etc. are inserted in the hole in the bottom of the
mechanism, and turns counterclockwise and the
CD tray is drawn out.
3. Two screws "B" which is the fixation of clamper
base is removed, clamper base is lifted, and
removes.
4. One the screw "C" which suppresses the traverse
mechanism is removed.
5. The damper in four places is removed.
CD tray
Tray stopper
screw A
Hole by which driver is inserted
Drive motor
board
B
B
Clamper
base
C
Damper
Damper
Damper
Damper
Traverse
mechanism

 Loading...