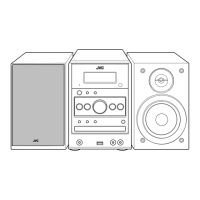
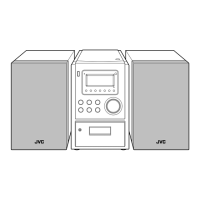
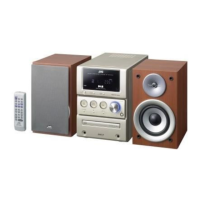
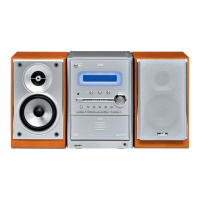
1-38 (No.MB230)
4.10 FL display all lighting-up check
(1) Press "STANDBY/ON" key, "ENTER" key and "+10" key of the remote controller.
(2) Then, all segment of the FL display is blinking.
(3) To exit test mode, press "STANDBY/ON" key, "ENTER" key and "+10" key again.
4.11 Cold start
(1) Press "STANDBY/ON" key, "ENTER" key and "10" key of the remote controller.
(2) Then, cold start processing is activated, and "COLD" is displayed temporarily on FL display for 2 seconds.
(3) After 2 seconds, return to previous display.
(4) To activate cold start, the system AC OFF and AC ON again.
4.12 Clock fast forwarding (Increase clock counter speed)
(1) Press "STANDBY/ON" key, "ENTER" key and "2" key of the remote controller.
(2) Then, clock fast forwarding is activated.
NOTE:
This forwarding can be activated after system closk is set up.
(3) To exit test mode, the system AC OFF and AC ON again.
4.13 Compulsive NTSC mode
(1) Unplug the power plug.
(2) Insert power plug into outlet while pressing both "STOP" key and "DVD/CD" key of the main body.
(3) The compulsive NTSC mode is set up.
NOTE:
In E version, Y/C mode is set up.
(4) Unless the mode is canceled, regardless of input of "NTSEL" switch, it starts only at the time of the first power-on.
(5) When power-off is carried out, the mode is canceled.
4.14 Locking disc tray
(1) Press both "STOP" key and "DISC1 EJECT/CLOSE" key of the main body during standby mode.
(2) Then, the FL display of main body is displayed "LOCKED" and the disc tray is locked.
(3) For unlock the tray, press both "STOP" key and "DISC1 EJECT/CLOSE" key again.
(4) Then, the FL display of main body is displayed "UNLOCKED" and the tray is unlocked.
NOTE:
Unless unlocking disc tray, it does not process to input "OPEN/CLOSE" key.
4.15 Setting fan ON/OFF
(1) Press both "STOP" key and "DISC2 EJECT/CLOSE" key of the main body during standby mode.
(2) Each both "STOP" key and "DISC1 EJECT/CLOSE" key press, fan switch changes ON and OFF.
(3) To exit test mode, the system AC OFF and AC ON again.
4.16 Changing volume large step
(1) Press "STANDBY/ON" key, "ENTER" key and "DISPLAY" key of the remote controller.
(2) Then, volume step changes MAX (50).
(3) Each "STANDBY/ON" key, "ENTER" key and "DISPLAY" key press, volume step changes MAX (50) and CENTER (25).
(4) After performing changing volume large step, system return normal operation.
4.17 Switching tuner AM step (U version only)
• Switching 9kHz
(1) Press both "STOP" key and "DISC3 EJECT/CLOSE" key of the main body.
• Switching 10kHz
(1) Press both "STOP" key and "DISC4 EJECT/CLOSE" key of the main body.
NOTE:
Switching tuner AM step is effective only when source is AM.
 Loading...