4
Connecting the Power Wiring
Connect the power supply cable to the power connectors.
Select one of the following options.
For DC12V
Connect 12 V (-) to terminal =DC12V-
Connect 12 V (+) to terminal =DC12V+
For AC24V
Connect 24 V (~) cables to terminals ~AC24V.
PoE
Connect the network cable to the RJ45 terminal using a switch.
If using a DC supply, make sure the polarity is correct. Incorrect connection
may cause malfunction and / or damage to the camera.
Connectors and field wiring terminals for external Class 2 circuits provided with
marking indicating minimum Class of wiring to be used. Class 2 shall be
marked adjacent to the field wiring terminals.
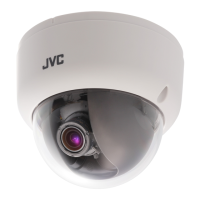
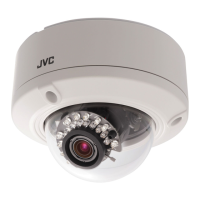
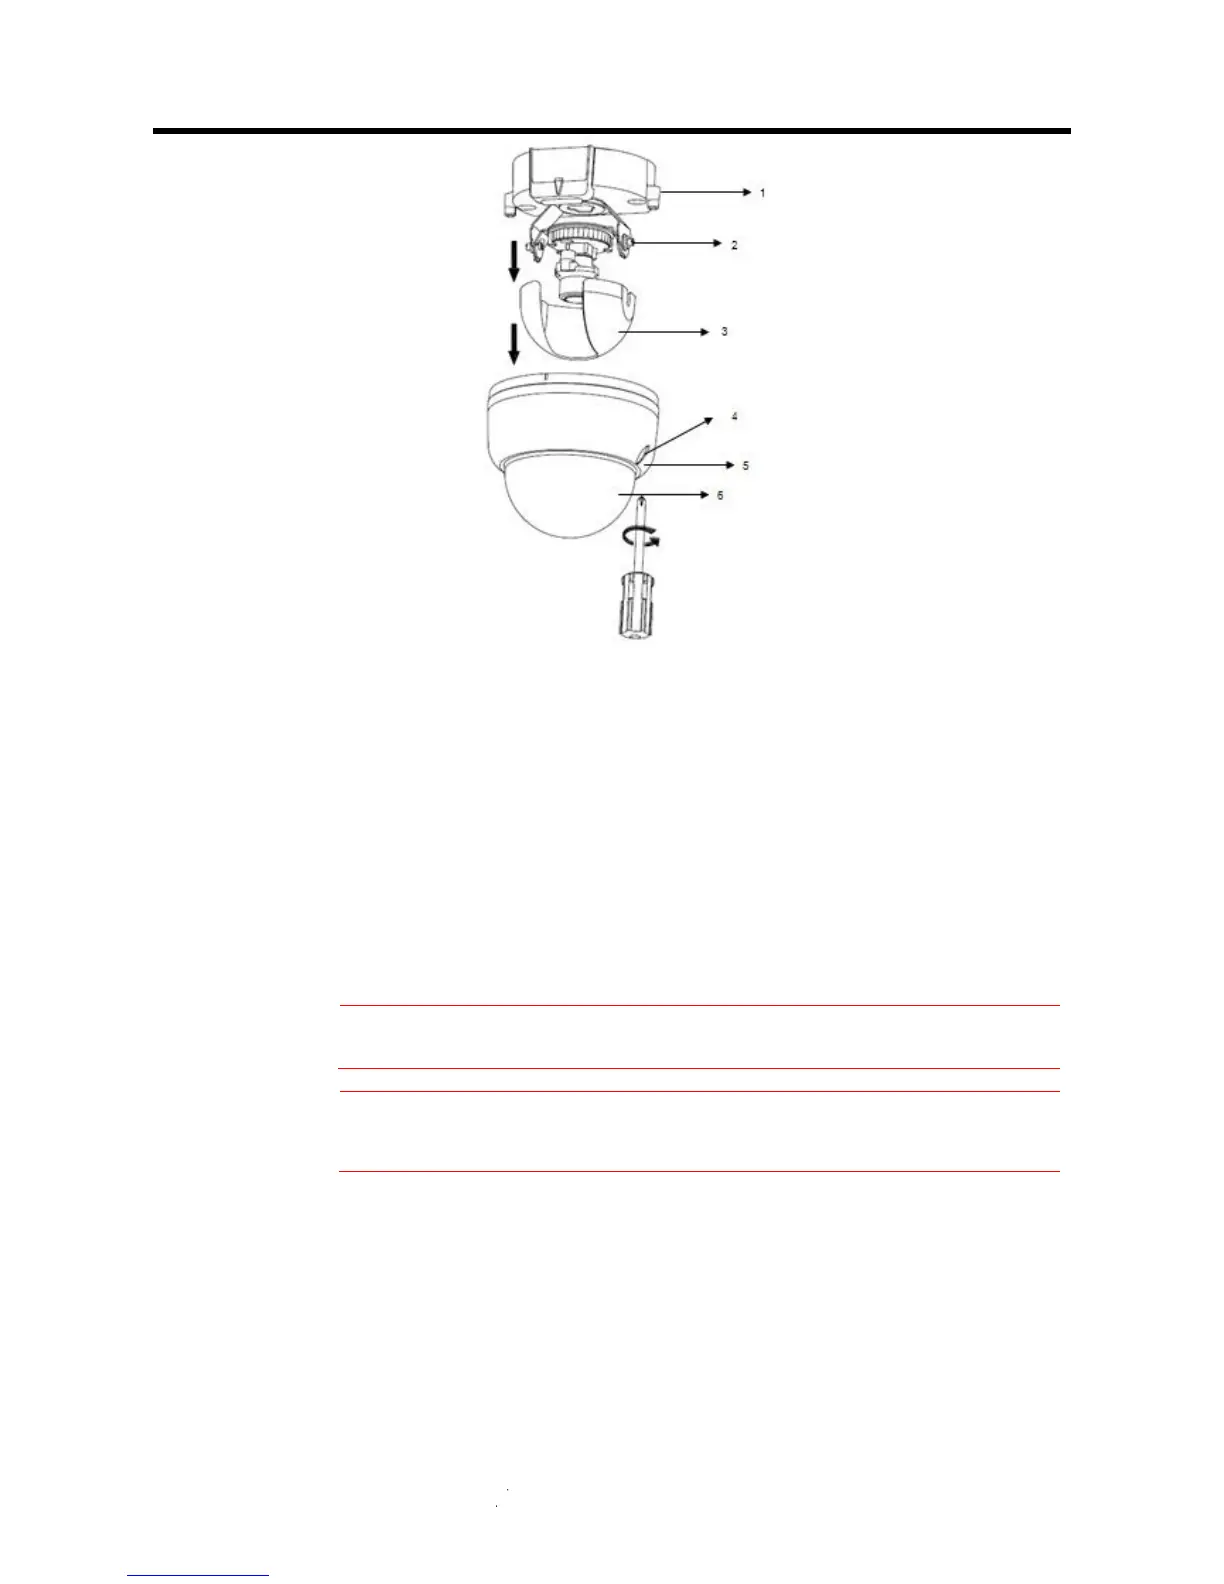
Adjusting the Camera Position
The dome camera has three axes for positioning the camera. While monitoring the picture on the
monitor, adjust the camera position as follows:
Pan Adjustment (A) For Wall Mount and Tilted Ceilings Rotate the lens base
(maximum360°) until you are satisfied with the field of view.
Horizontal Rotation (B) Rotate 3D assembly in the base. Do not turn assembly more than
360°as this assembly may cause the internal cables to twist and disconnect or break.
 Loading...