1-10 (No.XA016)
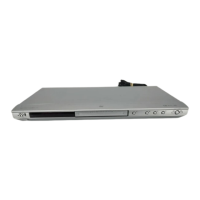
3.1.4 Removing the rear panel (See Figure 7 )
• Prior to performing the following procedure, remove the top
cover.
(1) Remove the seven screws D attaching the rear panel.
(2) Disconnect the power cord from connector CN1 on the
power supply board
Fig.7
3.1.5 Removing the main board and power supply board. (See Figure 8)
• Prior to performing the following procedure, remove the top
cover/front panel assembly/rear panel.
(1) Remove the two screws E attaching the main board.
(2) Disconnect the card wire from connector CN201
, CN202,
CN101
on the main board.
(3) Disconnect the flat wire from connector CN2
on the power
supply board.
(4) Remove the four screws F attaching the power supply
board.
Fig.8
D
Power supply board
CN1 Rear panel D
Power supply board
Main board
CN101
CN202
E
CN201CN2
F
F
F
F
E
 Loading...