11 12
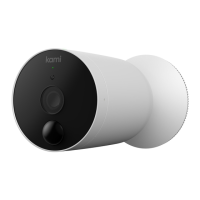
Step3
Adjustthecamera'sviewangletoyourpreferred
position.
360°CircularRotation
35°Vertical
Movement
Up&Down
Whilemounting,payattentiontothefollowing:
1.Avoidinstallingthecamerawiththecameralens
facingdirectsunlight.
2.Mindanyplantsorobjectsthatmayobstructthe
view.
3.Wesuggestyoumountthecamerawithina33
foot(10meter)rangeofyourWi-Firouter.The
shorterthedistancebetweenyourWi-Firouter
andyourcamera,thebettertheperformanceof
yourcamera.
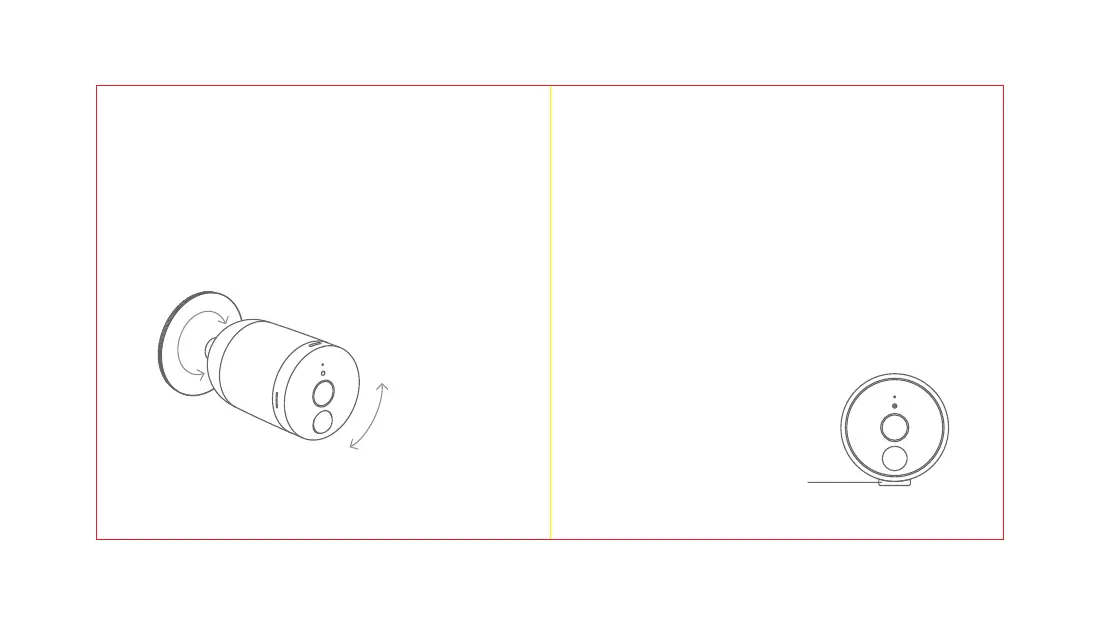
4.Ifyoudonotwanttomountyourcameratoa
wall,usetheincludedcamerastandtoplace
yourcameraanywhere.
Step2
Mountthecameraonthewallbyaligningthewall
mountbaseandthecamerabase.
CameraStand