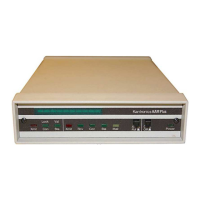
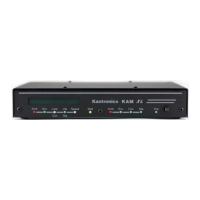
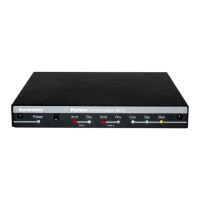
KANTRONICS ALL MODE COMMUNICATOR PLUS Version 6.1P
(C) COPYRIGHT 1988-1993 BY KANTRONICS INC. ALL RIGHTS RESERVED.
DUPLICATION PROHIBITED WITHOUT PERMISSION OF KANTRONICS.
cmd:
Now that you have initialized your RAM Plus, you are ready to try your first connect. Since
you have not connected the radio to the TNC yet, you'll simply connect to your personal
mailbox built in to the RAM Plus. This will help you to become comfortable with your KAM
Plus operation before connecting your radios. At the cmd: prompt, type CONNECT call-1
(replace "call" with your amateur callsign) and press return. Your RAM Plus connects you to
the mailbox. Your screen should look something like this:
cmd:CONNECT WK5M-1
cmd:*** CONNECTED to WK5M-1
[KAMP-6.1-HM$J
100000 BYTES AVAILABLE
THERE ARE NO MESSAGES
ENTER COMMAND: B,J,K,L,R,S, or Help>
Now you can enter any of the mailbox commands shown (B,J,K,L,R,S, or Help). Later you will
want to read the PBBS section of the Reference Manual for more details. If you type the HELP
command and press return, you'll see the RAM Plus mailbox help file and then the standard
mailbox prompt:
ENTER COMMAND: B,J,K,L,R,S, or Help >.
Now disconnect (just like you will disconnect from any other user). First, return to Command
mode by typing CONTROL-C on your keyboard. To do this, hold down the control key (usually
marked CTRL) and type the letter C. Release the control key. You should now see the cmd:
prompt. Next you must type the DISCONNE command and press return. You will receive the
message *** DISCONNECTED and a new command prompt.
Congratulations. You have now completed your first connect.
KAM Plus VHF Port to Radio Cable
The next step in connecting your KAM Plus into your station is to make the cable from the
KAM Plus to your VHF radio. In order to transmit and receive, you must connect the following
pins from the DB-9 connector on the KAM Plus to the appropriate pins on your radio:
Pin 1 Transmit audio (white wire) connects to the microphone input of your radio.
Pin 3 Push-to-Talk (brown wire) connects to the PT1' or STBY connection on your radio.
Pin 5 Receive audio (pre-wired mini-plug) connects to the external speaker jack of your
radio.
Pin 6 Ground (black wire) connects to the ground of your radio.
The actual connections to your radio will vary depending on the type of radio you are using.
Please refer to the appropriate diagrams below for the proper wiring for the most commonly
used radios. If needed, the Reference Manual contains more information.
After you have completed this cable, connect it to your RAM Plus and secure the DB-9
connector with the screws. Connect the microphone plug to your radio and plug the mini-plug
into your external speaker jack.
GETTING STARTED
G4
April 15, 1993 KAM Plus
© Copyright' 993, Kantronics Co., Inc. All Rights Reserved.
Duplication of this manual or the firmware without permission of Kantronics Co., Inc. is prohibited.
 Loading...