- 4
Danger
Risk of injury and damage! Do not use a
forklift to unload the appliance.
To unload the machine, proceed as follows:
Î Cut plastic packing belt and remove foil.
Î Remove the elastic tape fasteners at
the stop points.
Î Four indicated floor boards of the pallet
are fastened with screws. Unscrew
these boards.
Î Place the boards on the edge of the pal-
let. Place the boards in such a way that
they lie in front of the four wheels of the
machine. Fasten the boards with
screws.
Î Slide the four support beams included
in the packaging under the ramp.
Î Remove the wooden blocks used for ar-
resting the wheels and slide them under
the ramp.
Danger
Risk of injury! Before engaging the free-
wheel operation, the machine must be se-
cured to prevent it rolling away.
Î Opening and securing cover
Î Engage freewheel lever in upper hole.
This blocks the travel drive function.
Î Close cover.
The machine can now be pushed.
Note
Do not move the machine for long distanc-
es without engaging self-propulsion, a
speed of 6 km/h should not be exceeded.
Î Engage freewheel lever in lower hole.
The travel drive is now ready for operation.
Î Close cover.
The appliance can now be driven.
Î Park the sweeper on an even surface.
Î Remove the key.
Danger
Risk of explosion!
– Only use the fuels specified in the Op-
erations Manual.
– Do not refuel the machine in enclosed
spaces.
– Smoking and naked flames are strictly
prohibited.
– Ensure that no fuel reaches the hot
open surfaces.
Î Switch off engine.
Î Opening and securing cover
Î Check fuel level via the tank indicator.
Î Open fuel filler cap.
Î Fill in diesel.
Î Fill tank to max. 1 cm below the lower
edge of the filler nozzle.
Î Wipe off any spilt fuel, remove funnel
and close fuel filler cap.
Î Close cover.
Î Open the hood, insert retaining rod.
Î Release the wing nuts from the seat
rails.
Î Slide the seat into the desired position.
Î Tighten the wing nuts.
Note: If this adjustment is not enough, it
can be adjusted more.
Î Remove 4 screws on the plate of the
seat contact switch.
Î Remove the plate.
Î Swivel the seat to the front.
Î Loosen 4 screws on the seat support.
Î Slide the seat and tighten the screws.
Î Install the plate of the seat contact
switch.
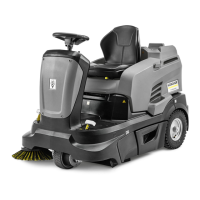
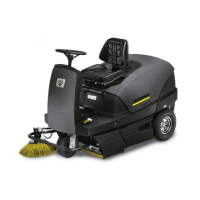
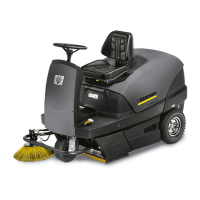
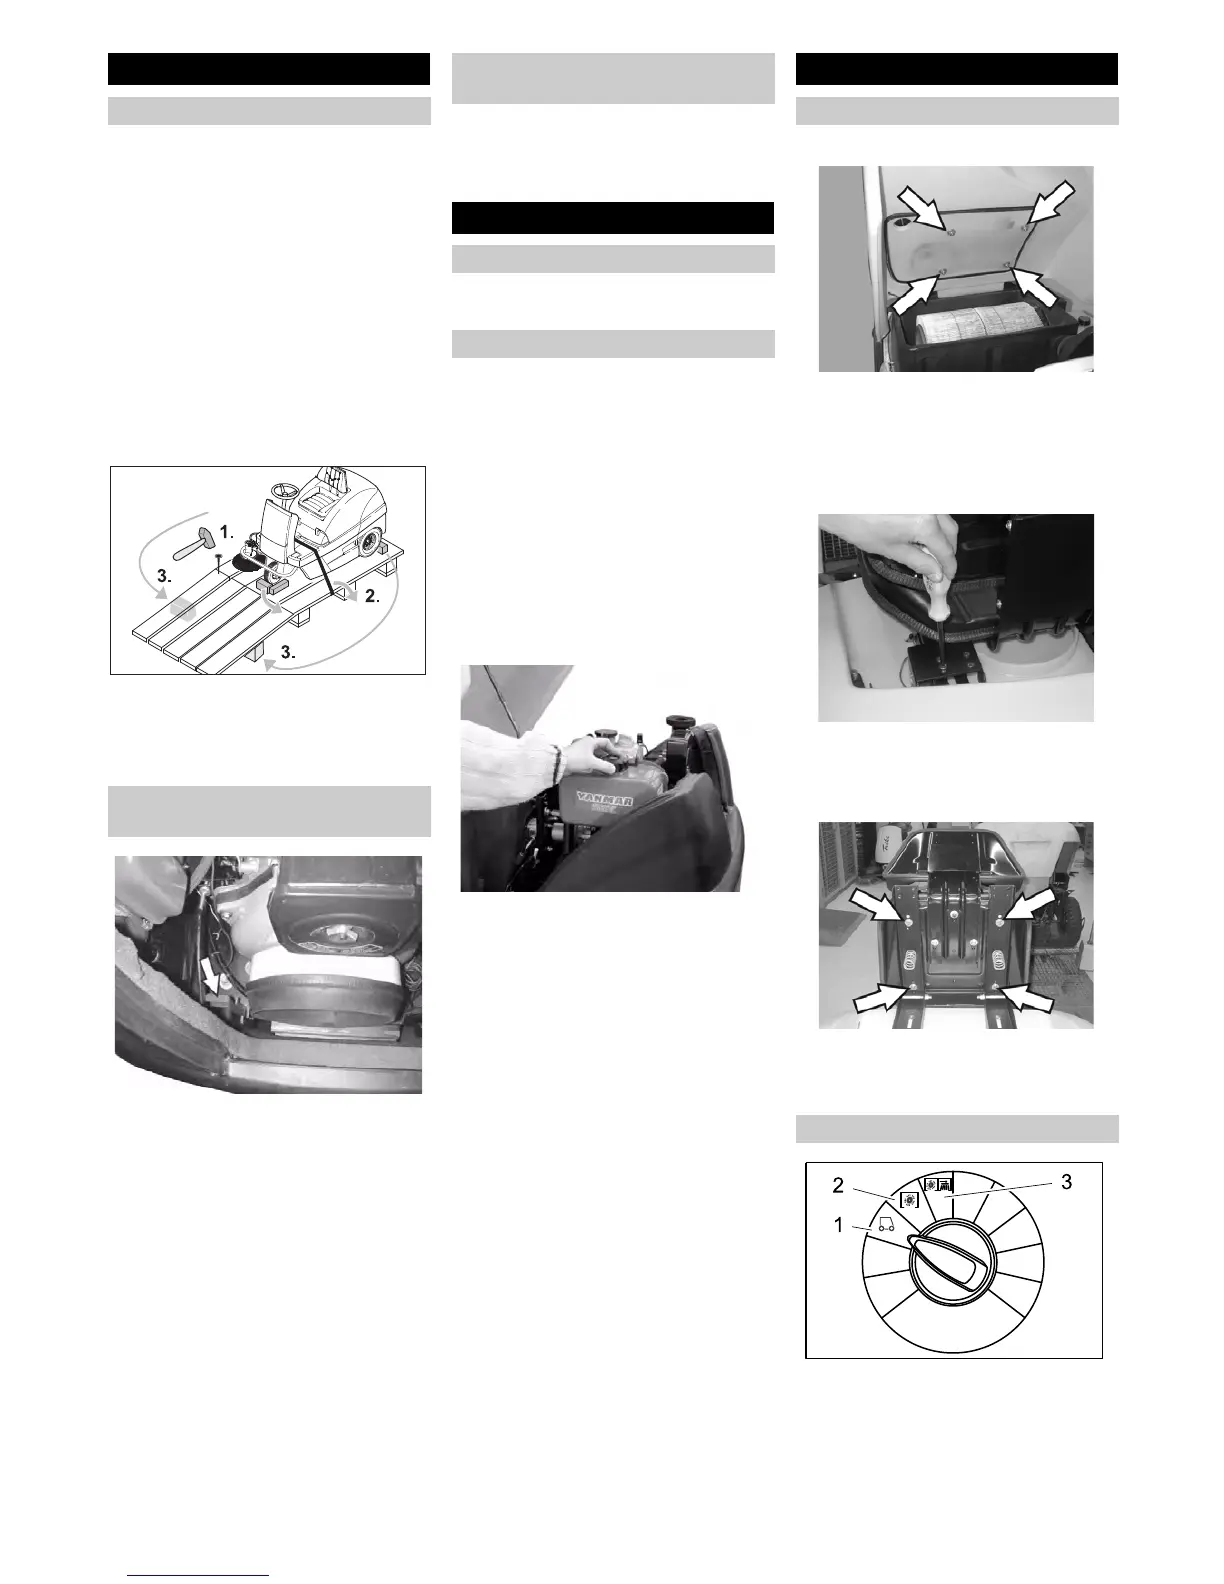
1Driving
Driving to the Place of Use.
2 Sweeping with sweep roller
Roller brush is lowered. The roller brush
and the side brush will rotate.
3 Sweeping with side brushes
Roller brush and side brushes are low-
ered.
Before Startup
Unloading
Moving sweeper without engaging
self-propulsion
Moving sweeper by engaging self-
propulsion
Start up
General notes
Refuelling
Refuelling the machine
Operation
Adjusting driver's seat
Programme selection
19EN
 Loading...