What to do if the Kayden CLASSIC 810 shows a Self-Test Error?
K
Kaitlin MorganJul 30, 2025
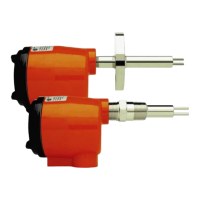
If your Kayden Switch displays a Self-Test Error, the issue could stem from the Electronics Module, internal connections, external wiring, or the sensor. First, disconnect the Electronics Module and check the sensor wiring as shown in Figure 24. If the wiring resistance values are correct, the fault may be in the Electronics Module, which should be returned to the factory for testing and repair. If the wiring resistance values are incorrect, the sensor should be returned for testing and repair.