8
Installation
Version: ECO_M_ENG_220303_E002
4. Installation
4.1. Mechanical Installation
Depending on the version of the tap, the installation is performed differently.
NOTE:
Too much force will damage the sensor tip!
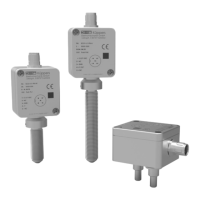
4.1.1. Plug tap
Place Position the ECO so that the tapped holes in the sensor and the insertion tips match. Screw the ECO onto
the sensor hand-tight using the hexagon socket screws (width across flats 3 mm) already inserted in the
housing.
NOTE:
Too much force will damage the sensor tip!
Turn the ECO back by 15°.
Fix the ECO with the lock nut on the sensor tip.
4.2. Electrical Installation
NOTE:
For connecting, shielded cables must be used. The ECO housing is connected to the cable shield.
NOTE:
Improper grounding and shielding may lead to bad EMC behavior or danger to your health!
Connect the ECO via a shielded cable to the control unit. The ECO requires a regulated DC power supply of
24 V nominal and works properly over a supply range of 12 V to 28 V.
NOTE:
Make sure that all cable and wires are connected and fixed properly before applying power to the ECO.
For the electrical connections refer to the drawings in chapter 5.1.

 Loading...