EasyManua.ls Logo

Kendro Multifuge 3 S-R - User Manual

Default Icon
74 pages
Print Icon
To Next Page IconTo Next Page
Loading...
Multifuge
®
3 S-R/3 L-R, Legend
®
RT
120V 50/60 Hz
SERVICE MANUAL P/N 12004376

Questions and Answers

  • J
    Joshua ChavezAug 16, 2025
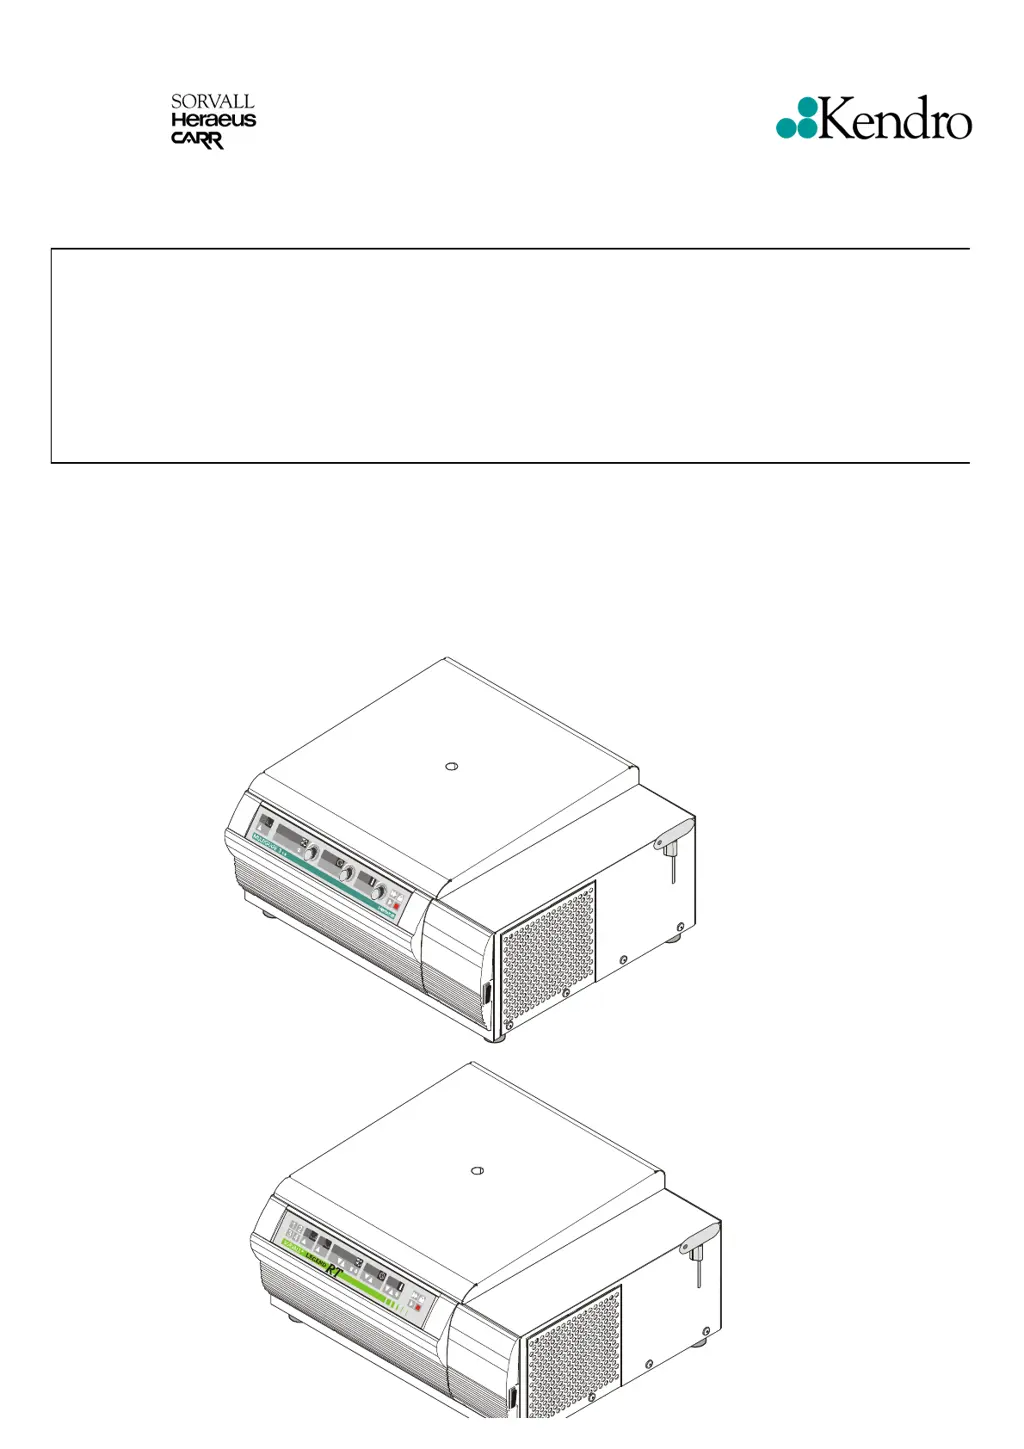
    What to do if 'bAL' message appears in speed display of Kendro Multifuge 3 S-R Laboratory Equipment?
    • W
      woodwardpaulaAug 16, 2025
      If the 'bAL' message appears on the speed display, it indicates an imbalance. Here's what you should do: * Open the lid and check the rotor loading. * Ensure the base is sturdy and not causing vibrations; reinforce or change it if necessary. * Verify the centrifuge drive is correctly leveled using the unit’s feet. If the rotor itself has an imbalance, discontinue use and return it to Kendro. Damaged drive shafts or rotor fixings may require replacing the collet chuck or motor. Also, consider replacing the sensor board or the main board.
  • C
    Courtney MarshallAug 19, 2025
    What to do if lid cannot be opened by key at standstill in Kendro Laboratory Equipment?
    • C
      Casey GrimesAug 19, 2025
      If the lid cannot be opened by the key when the equipment is at a standstill, consider the following: * Check the voltage supply to the locking drive and the switch after powering on. The main board may need replacement. * The latch motor might need a complete replacement. * Ensure the lid is correctly locked by pushing it centrally into the lock and pressing the key again. * If the lid is deformed, re-adjust it centrally.
  • K
    Kristen RivasAug 22, 2025
    Why Kendro Multifuge 3 S-R Laboratory Equipment displays remain dark?
    • K
      Kimberly ByrdAug 22, 2025
      If the displays remain dark, it could be due to several reasons: * There is no mains voltage supply: Switch on again, disconnect electric components successfully, and search for other faults. * The mains fuse or circuit breaker has failed: Check the fuse or circuit breaker and replace it or switch it on again. * There is a faulty mains cord or instrument socket: Check the instrument cord and socket, and replace any defective parts. * There is no low voltage supply for the indication board: Check connections on the CPU, indication board, and connecting leads, and replace defective parts. * There is a faulty indication or CPU board: Replace the main board completely.
  • J
    Jasmine SandovalAug 26, 2025
    What to do if 'Lid' appears in speed display of Kendro Multifuge 3 S-R?
    • K
      Katherine ElliottAug 26, 2025
      If 'Lid' appears in the speed display, it could be due to: * The lid was opened manually during a run: Close the lid immediately, turn the power off and on, press the lid down for locking, press the start key, and press stop to finish the run. * The protection circuit (20V) was interrupted during the run: Check leads and connectors to the micro switch, and replace them if faulty.
  • J
    josephboydAug 28, 2025
    How to fix drive noises with no good separation result in Kendro Multifuge 3 S-R?
    • J
      Jennifer JonesAug 28, 2025
      If the drive is making noises and the separation result is poor, consider the following: * Replace the motor rubber mounts, ideally every three years. * Check the voltage on the motor terminal and winding resistances, referring to the test points on the main board. * If there is a faulty power electronic component, replace the main board.
  • J
    Jason ChapmanAug 31, 2025
    What causes all display elements to be shortly illuminated in Kendro Multifuge 3 S-R?
    • D
      dbautistaAug 31, 2025
      If all display elements are briefly illuminated, it could be due to: * A CPU program reset caused by EMI: Remedy the failure if the voltage drops often, use a voltage stabilizer. * A bad or missing ground connection: Check all ground connections and the ground connection of all boards.
  • A
    arnoldsamuelSep 3, 2025
    What does „E-02“ message mean on Kendro Laboratory Equipment?
    • M
      Miguel SmithSep 3, 2025
      If the 'E-02' message appears, it indicates that the program sequence was disturbed. You should change the CPU or replace the main board.
  • H
    hwilsonSep 6, 2025
    What does „E-08“ message mean on Kendro Multifuge 3 S-R Laboratory Equipment?
    • M
      mooretimothySep 6, 2025
      If the 'E-08' message appears, it indicates a check sum error in the E-PROM. Replace the E-PROM.
  • J
    jeremydavisSep 9, 2025
    What does „E-09“ message mean on Kendro Multifuge 3 S-R Laboratory Equipment?
    • D
      david32Sep 9, 2025
      If the 'E-09' message appears, it indicates a check sum error in the NV RAM. Replace the NV RAM.
  • J
    Jacqueline GuerreroSep 12, 2025
    What does „E-01“ message mean on Kendro Multifuge 3 S-R Laboratory Equipment?
    • G
      Gerald SmithSep 12, 2025
      If the 'E-01' message appears, it indicates that the system clock pulse is not stable. Change the main board.

Summary

SERVICE

Servicing Schedule

Yearly maintenance procedures for optimal performance and longevity.

Maintenance Routine without Dismantling the Centrifuge

Checks performed without disassembling the unit for routine upkeep.

Maintenance Routine after Dismantling the Centrifuge Casing

Maintenance steps to follow after the unit has been disassembled.

Trouble Shooting

Diagnosing and resolving common operational errors and faults.

Error code

Detailed list of error codes and their corresponding corrective actions.

Test Points

Specifications and conditions for electrical test points for diagnostics.

Imbalance Behaviour

Testing and evaluating the centrifuge's rotor imbalance behavior.

Cleaning of Instrument Parts

Procedures for cleaning internal and external components of the centrifuge.

Electrical Safety Check

Performing essential electrical safety tests post-maintenance.

FUNCTIONAL DESCRIPTION

Block Functions

Overview of the centrifuge's main functional blocks and systems.

Main Board Functions

Detailed functions of the main control board and its sub-circuits.

Power Pack

Description of the low voltage supply system.

Intermediate Circuit

Energy storage between power input and motor.

Brake Path

How braking power is managed.

Frequency Converter

Motor speed control mechanism.

Key and Indication Board - Easycontrol

Description of the Easycontrol interface, keys, and indicators.

Key and Indication Board - Quickcontrol

Description of the Quickcontrol interface, keys, and indicators.

Speed Detection Board

Functionality of the circuit board responsible for detecting motor speed.

Rotor Indication

How the centrifuge identifies and recognizes installed rotors.

Imbalance Detection

Mechanism and operation of the rotor imbalance detection system.

Lid lock system

Operation and safety features of the lid locking mechanism.

Cooling plant

Details of the centrifuge's refrigeration system and its components.

DIAGRAMS

Block Diagram

High-level overview of system components and their interconnections.

Wiring Diagrams

Electrical connection schematics illustrating the unit's wiring.

Wiring Connection Diagrams

Detailed layouts showing specific wiring connections between components.

Main Board, Component Plan

Component layout and placement on the main circuit board.

Display Board, “Easycontrol” Keypad version, Component Plan

Component layout for the Easycontrol keypad display board.

Display Board, Quickcontrol Rotary switch version, Component Plan

Component layout for the Quickcontrol rotary switch display board.

Speed detection, Component Plan

Component layout for the speed detection circuit board.

Sensor Board, Component Plan

Component layout for the sensor board assembly.

Rotor Detection Board, Component Plan

Component layout for the rotor detection circuit board.

Cooling Plant

Functional diagram of the centrifuge's cooling system.

DISASSEMBLY OF INSTRUMENT PARTS

Housing; Casing Parts

Procedures for disassembling the unit's housing and external parts.

Front Panel

Steps for removing the front panel assembly.

Lid

Steps for removing the centrifuge lid.

Casing

Steps for removing the main unit housing.

Automatic Lid Locking System

Disassembly procedures for the lid lock mechanism.

Gas Lid Stays

Removing and replacing gas lid support struts.

Replacement of Electrical Components

Procedures for replacing electrical parts and circuit boards.

NV-RAM, E-PROM on the Main Board

Replacing memory chips on the main control board.

Main Board Replacement

Procedure for replacing the entire main control board.

Key and Display Board

Replacing the control panel interface board.

Rotor Indication Board

Replacing the rotor sensor detection board.

Speed Detection Board

Replacing the speed detection circuit board.

Fans

Procedures for replacing cooling fans.

Brake Resistor

Replacing the unit's brake resistors.

Replacement of Drive Components

Procedures for replacing drive system parts like motor and mounts.

Drive Motor

Replacing the main drive motor assembly.

Motor rubber Mounts

Replacing motor vibration dampening mounts.

Adjustment of the micro switch

Adjusting the latch micro switch for proper operation.

Replacement of Parts of the Cooling Plant

Procedures for servicing and replacing cooling system components.

SPARE PART FIGURES AND LISTS

Spare Part Figures

Visual breakdown of parts with corresponding index numbers.

Spare Part Lists

Detailed lists of spare parts by index and part number.

Accessories

List of included accessories provided with the centrifuge.

Calibration Certification

Preventive Maintenance Checklist Complete

Document for tracking completed maintenance tasks and checks.

Repair and Calibration Recertification

Process for re-certifying the unit after repair or calibration.

Performance Certification

Testing and verifying key operational parameters of the centrifuge.

Speed;Drehzahl Certification

Testing rotational speed accuracy.

Temperature;Temperatur Certification

Testing temperature control accuracy.

Time;Zeit Certification

Testing timer accuracy.

TEST EQUIPMENT; PRÜFMITTEL

List of testing equipment used during calibration and certification.

SAFETY TEST; SICHERHEITSTEST

Results of safety and electrical tests performed on the unit.

PREVENTIVE MAINTENANCE CHECKLIST

Rotor Inspection

Checking the rotor for any signs of wear or damage.

Preliminary Checks

Initial checks to perform before operating or servicing the unit.

Pre-run Checks

Checks to be performed just before starting a centrifuge run.

Mechanical

Inspection of mechanical components such as motor bearings.

Performance Checks

Verification of the centrifuge's operational performance metrics.

Imbalance

Checks for centrifuge stability and proper shutdown on imbalance.

Safety test

Electrical safety and insulation checks as part of maintenance.

Kendro Multifuge 3 S-R Specifications

General IconGeneral
TypeRefrigerated Centrifuge
Max. Speed15, 000 RPM
Capacity4 x 250 ml
Power Requirements50/60 Hz
Timer1 second to 99 minutes, continuous

Related product manuals