After the basic construction of your garment is finished, there arestill many
finishing touchesto be done, To aid your completion of your garment,the Ken-
more has beendesignedto do the following tasks that formerly had to be done
by hand,
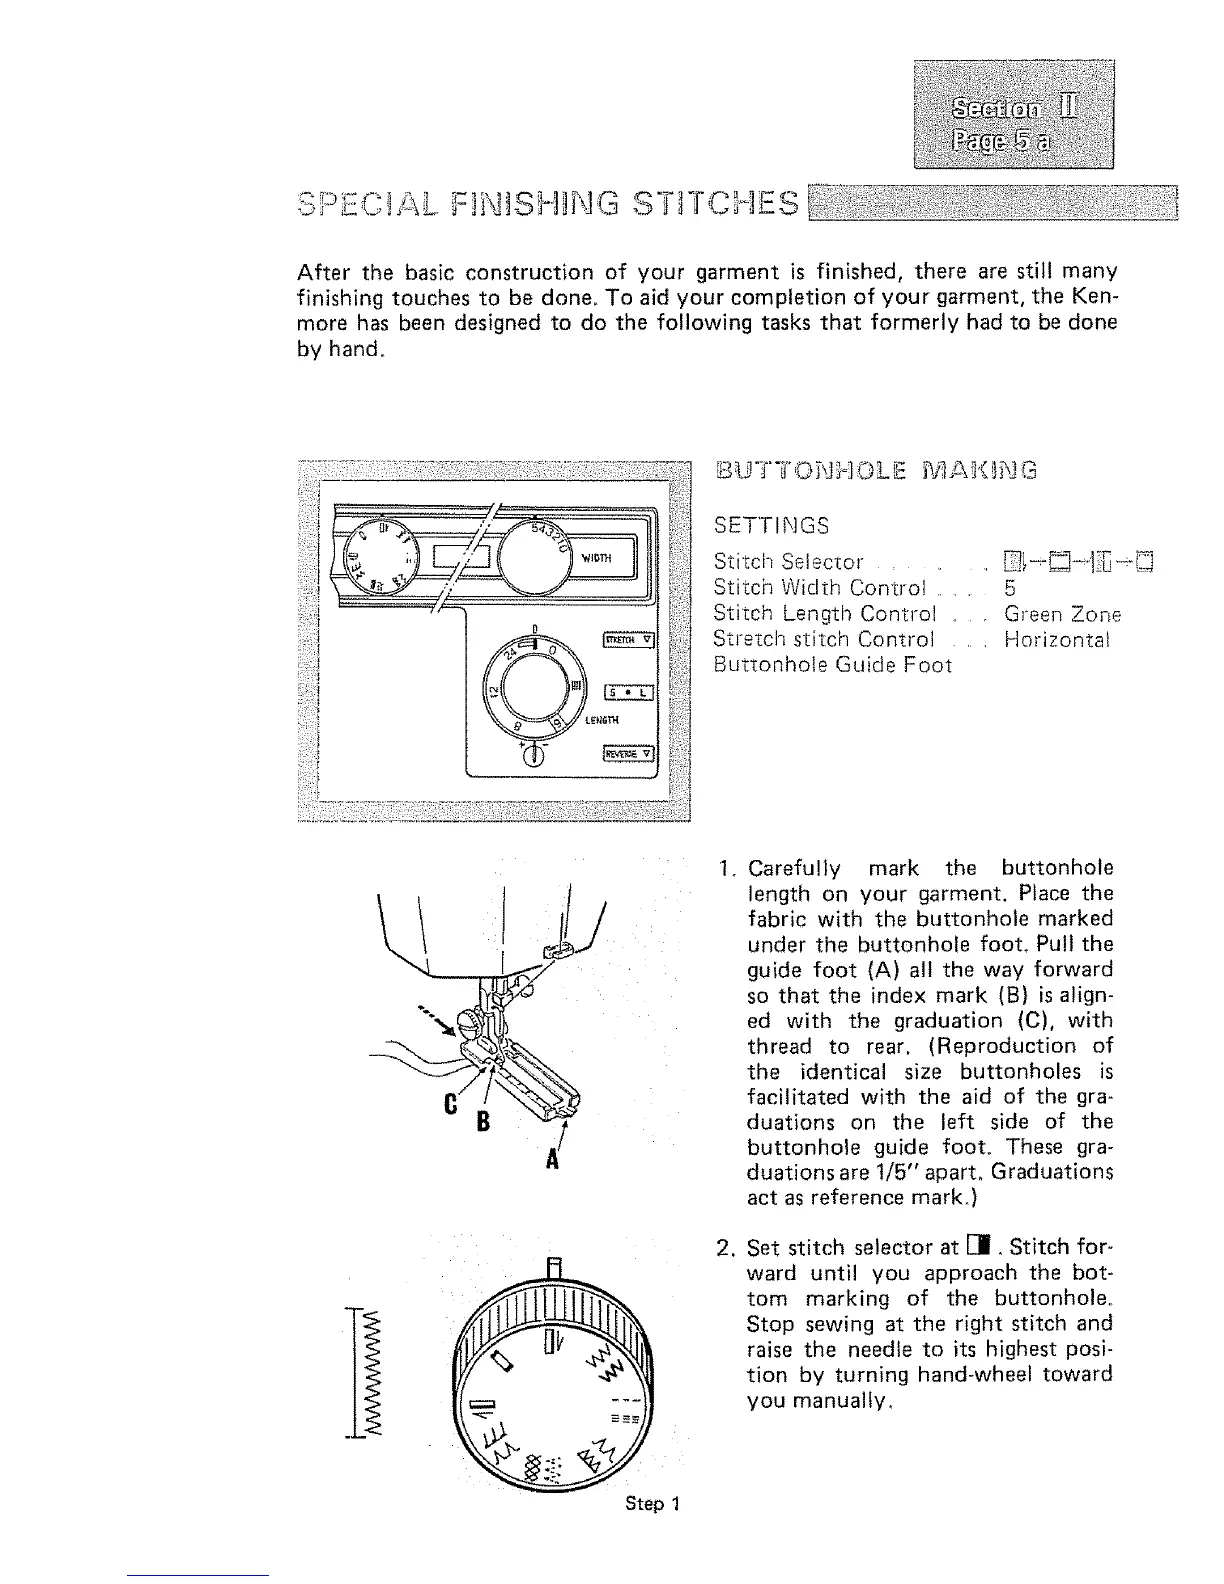
SETTINGS
Stitch Selector , , , _t--_]_-]:_e-[]_j
Stitch Width Control ....... 5
Stitch Length Control .... Green Zone
Strezchstitch Control , , Horizontal
Buttonhole Guide Foot
Step 1
2_
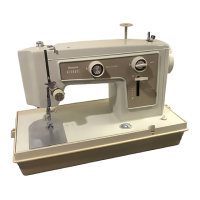
Carefully mark the buttonhole
length on your garment. Place the
fabric with the buttonhole marked
under the buttonhole foot_ Pull the
guide foot {A) all the way forward
so that the index mark (B) is align-
ed with the graduation (C), with
thread to rear, (Reproduction of
the identical size buttonholes is
facilitated with the aid of the gra-
duations on the left side of the
buttonhole guide foot. These gra-
duations are t/5" apart. Graduations
act as reference mark.)
Set stitch selector at []. Stitch for-
ward until you approach the bot-
tom marking of the buttonhole.
Stop sewing at the right stitch and
raise the needle to its highest posi-
tion by turning hand-wheel toward
you manually.