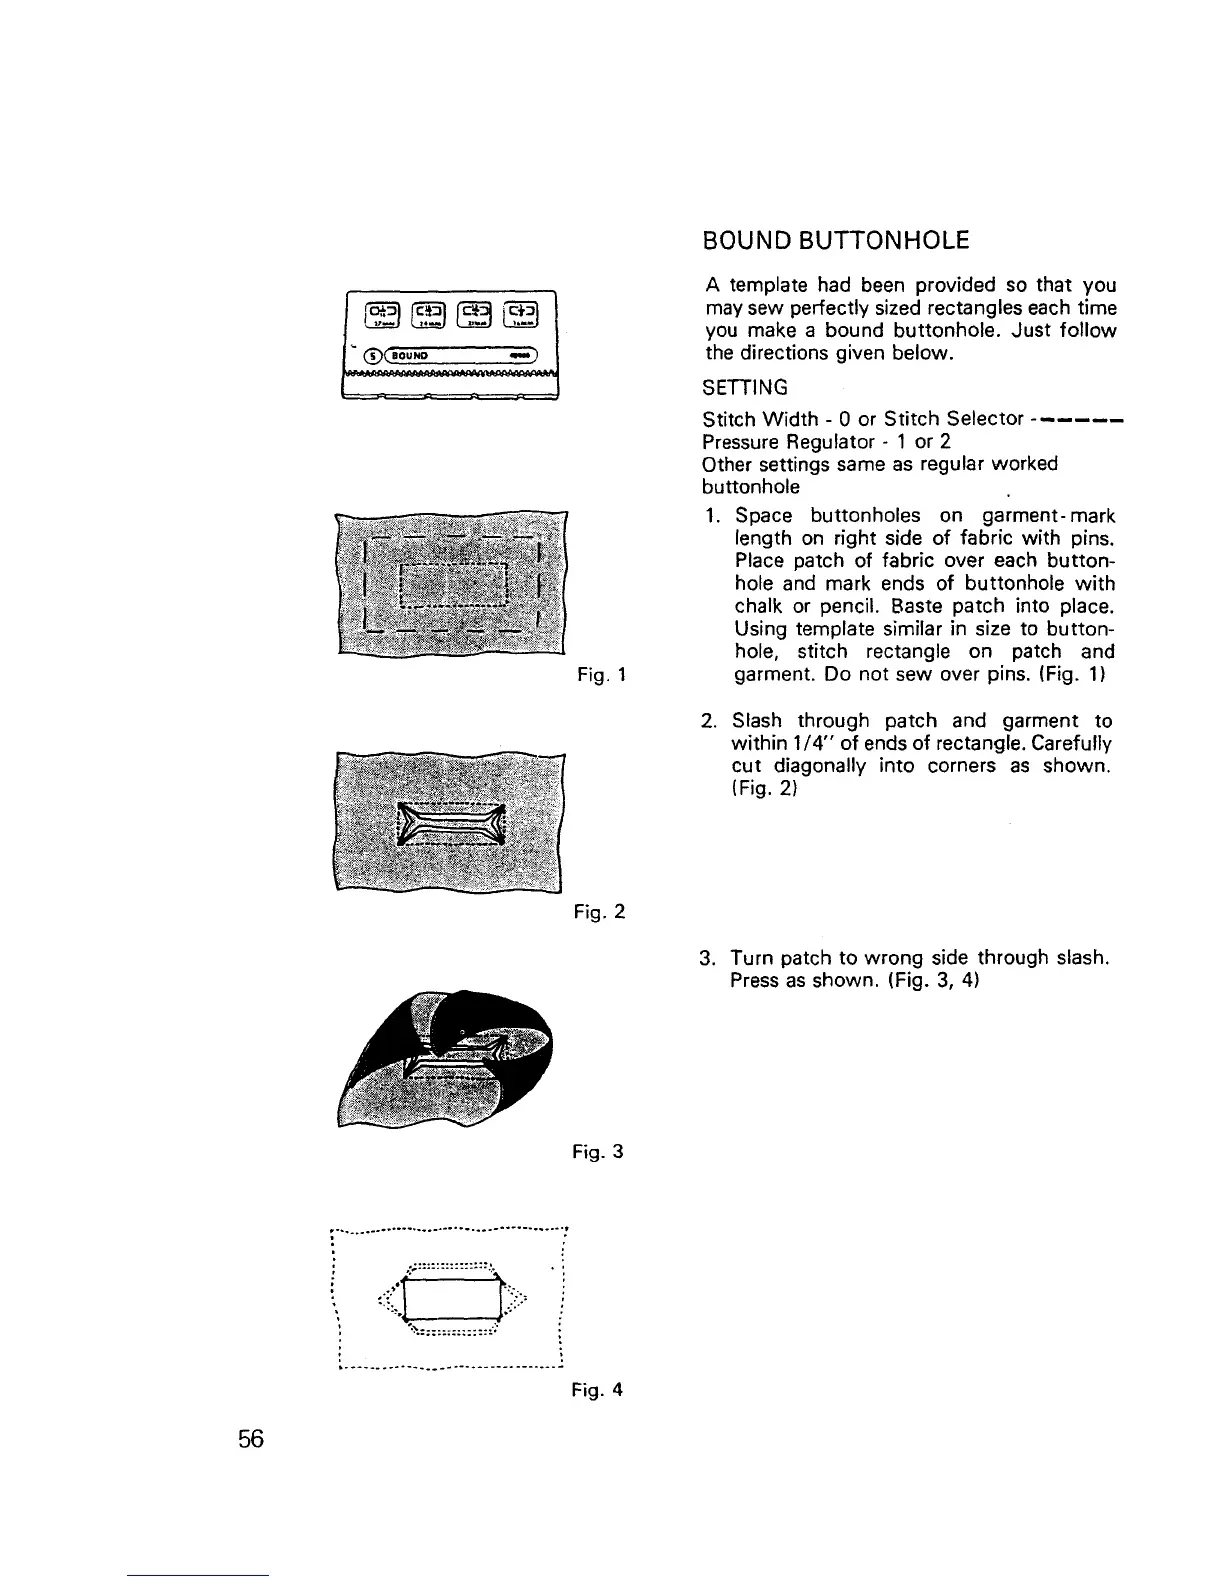
Fig. 1
BOUND BUTTONHOLE
A template had been provided so that you
may sew perfectly sized rectangles each time
you make a bound buttonhole. Just follow
the directions given below.
SETTING
Stitch Width - 0 or Stitch Selector ......
Pressure Regulator - 1 or 2
Other settings same as regular worked
buttonhole
1. Space buttonholes on garment-mark
length on right side of fabric with pins.
Place patch of fabric over each button-
hole and mark ends of buttonhole with
chalk or pencil. Baste patch into place.
Using template similar in size to button-
hole, stitch rectangle on patch and
garment. Do not sew over pins. (Fig. 1)
.
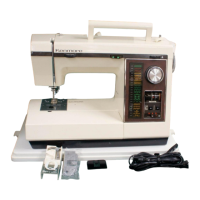
Slash through patch and garment to
within 1/4" of ends of rectangle. Carefully
cut diagonally into corners as shown.
(Fig. 2)
Fig. 2
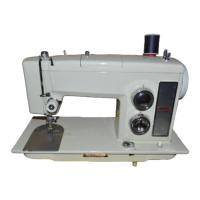
3. Turn patch to wrong side through slash.
Press as shown. (Fig. 3, 4)
Fig. 3
::..................& • :
It
Fig. 4
56