Do you have a question about the Kenmore 385.15358 Series and is the answer not in the manual?
Instructions to reduce the risk of electric shock from the appliance.
Precautions to reduce burn, fire, electric shock, or injury risks when using the machine.
Warranty for the die-cast metal internal frame of the sewing machine.
Warranty for the internal mechanical components of the sewing machine.
Warranty for all exterior components of the sewing machine.
Warranty for the electrical equipment of the sewing machine.
Warranty for mechanical adjustments and specified parts replacement.
Information on how to obtain warranty service for the machine.
Details and benefits of Master Protection Agreements in the USA.
Details and benefits of Maintenance Agreements in Canada.
Information on available sewing machine cabinets and tote bags.
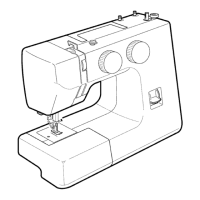
Identification and numbering of the sewing machine's various parts.
Instructions for connecting the sewing machine to the electrical power supply.
Initial setup and testing steps before first use of the sewing machine.
Essential safety precautions to follow while operating the machine.
Explanation of the machine's polarized plug and outlet requirements.
How to adjust and control the sewing speed using the foot control.
Instructions for removing the extension table for free-arm sewing.
Instructions for attaching the extension table to the machine.
Steps for removing the presser foot from the machine.
Steps for attaching a new presser foot to the machine.
Use of the zigzag foot for various stitches like straight and zigzag.
Use of the automatic buttonhole foot for buttonhole sewing.
Use of the zipper foot for sewing zippers.
Use of the hemmer foot for sewing rolled hems.
Use of the satin stitch foot for decorative stitches and applique.
Instructions for removing the bobbin case from the shuttle.
Step-by-step instructions for winding thread onto the bobbin.
Detailed step-by-step guide for threading the sewing machine.
How to achieve correct needle thread tension for a straight stitch.
Troubleshooting steps when needle thread tension is too tight.
Troubleshooting steps when needle thread tension is too loose.
How to adjust the bobbin thread tension if necessary.
How to achieve correct tension for a zigzag stitch.
Troubleshooting steps for tight zigzag stitch tension.
Troubleshooting steps for loose zigzag stitch tension.
Instructions for performing a straight stitch, including starting and finishing.
How to use seam guides on the needle plate for measuring seam width.
Step-by-step guide for sewing a square corner.
Steps for preparing fabric for zipper installation.
Instructions for sewing a zipper into fabric.
Instructions for sewing a basic zigzag stitch.
How to perform satin stitching for decoration and overcast edges.
Using a stitch to finish seam allowances on synthetic fabrics.
How to mend fabric by positioning the stitch to catch both sides.
Instructions for sewing a blind hem stitch.
How to use lace for decorative trimming on garments and linens.
Step-by-step instructions for sewing a buttonhole using the automatic foot.
Important notes regarding general machine care and storage.
Instructions for safely replacing the sewing machine's light bulb.
How to clean the feed dogs to ensure proper fabric feeding.
Steps for cleaning the shuttle area to remove dust and lint.
Instructions for correctly replacing the shuttle assembly.
How to oil the two points behind the face cover.
How to properly oil the shuttle area of the machine.
Information about in-home repair services for major appliances.
Information about carry-in repair services for smaller items.
Contact numbers for purchasing protection or maintenance agreements.
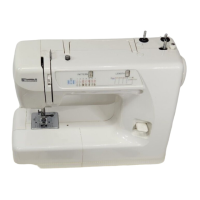
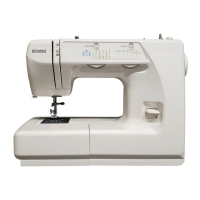
| Brand | Kenmore |
|---|---|
| Model | 385.15358 Series |
| Category | Sewing Machine |
| Type | Mechanical |
| Stitch Width | 5 mm |
| Buttonhole Styles | 4-Step |
| Foot Control | Yes |
| Bobbin Type | Drop-in |
| Presser Feet | All-Purpose, Buttonhole, Zipper |
| Included Accessories | Bobbins, Needles, Seam Ripper, Screwdriver |