Do you have a question about the Kenmore 721.85032 and is the answer not in the manual?
Installer's responsibility, read manual, locate model number label and mounting plate.
Ensure proper grounding, avoid extension cords, do not remove prong, use correct circuits.
Prevent exposure by not operating with door open or damaged parts. Ensure door closes properly.
Mount on flat wall, use secure studs, check cabinet/wall support, ensure proper clearances and location.
Lists and illustrates parts included: connectors, clamps, screws, bolts, and templates for installation.
Details necessary tools like saws, drills, screwdrivers, measuring tools, and materials like tape and caulking.
Details venting types (Roof, Wall, Room), standard fittings, equivalent lengths, and duct length calculations.
Detailed steps for modifying the blower unit for wall venting, including removing parts and reassembling.
Detailed steps for modifying the blower unit for roof venting, including rotation and reassembly.
Instructions for marking, drilling wall/cabinet holes, using filler blocks, cutting power cord hole, and preparing vent openings.
Instructions for preparing the rear wall cutout and attaching the exhaust adaptor to the mounting plate for wall or roof venting.
Covers roof venting ductwork, securing the power cord, installing the grease filter, plugging in, and performing an operational check.
| Brand | Kenmore |
|---|---|
| Model Number | 721.85032 |
| Product Type | Microwave Oven |
| Type | Countertop |
| Capacity | 1.6 cu. ft. |
| Power Output | 1000 Watts |
| Control Type | Electronic |
| Turntable | Yes |
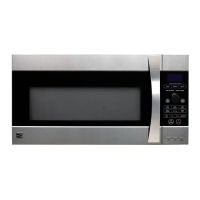
| Color | Stainless Steel |
| Installation Type | Countertop |
| Pre-Programmed Settings | Yes |
| Child Lock | Yes |
| Cooking Modes | Reheat |