Do you have a question about the Kenmore IntelliSoft 370 Series and is the answer not in the manual?
Details of the one-year limited warranty covering defects in material and workmanship.
Warranty coverage for specific electronic components for three years from the date of purchase.
Warranty covering leaks in the water softener tank or salt storage drum for up to ten years.
Information regarding limitations on implied warranties and exclusive remedies for product issues.
Essential safety rules and operating instructions to follow before using the water softener.
Instructions for checking the water softener carton for completeness and potential damage.
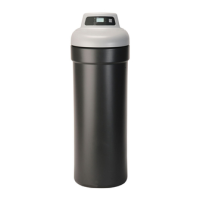
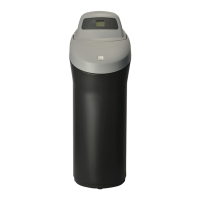
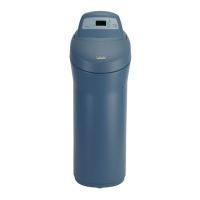
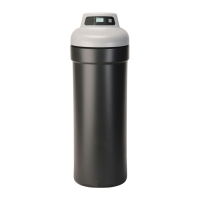
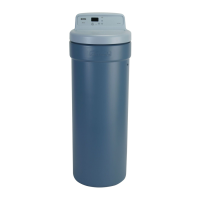
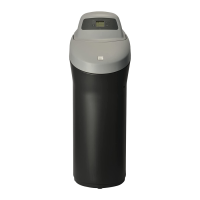
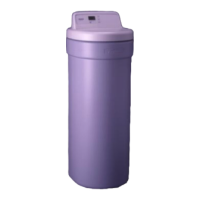
Guidance on selecting the optimal location for the water softener unit.
Diagram and considerations for installing the softener on a concrete slab.
Guidance on drawing plans and listing materials for water softener plumbing.
Details on necessary pipes, fittings, and materials for connecting the softener.
Essential checks and tests to perform on water supply before softener installation.
Instructions for assembling and attaching the drain port elbow to the softener valve.
Steps to assemble the bypass valve or inlet/outlet adaptors onto the softener.
Procedure for installing the bypass valve or threaded adaptors for plumbing connections.
Guidance on securely attaching the bypass valve or installation adaptors using holding clips.
Step-by-step instructions for installing a three-valve bypass system for water softener connections.
Instructions for placing the water softener unit in its designated installation location.
Steps for measuring, cutting, and connecting pipes to the water softener inlet and outlet.
Procedure for attaching and routing the drain hose from the softener valve.
Instructions for connecting the overflow tubing from the salt tank to a suitable drain.
Steps to check for leaks after installing the water softener and connecting plumbing.
Instructions for installing a grounding clamp between softener pipes for electrical safety.
Requirements for the electrical outlet and transformer connection for the softener's operation.
Steps to replace covers and restart the water heater after installation.
Introduction to programming the water softener's electronic timer for optimal performance.
Instructions for setting the current time on the softener's digital timer display.
Guidance on entering water hardness levels for accurate softener operation and regeneration.
Procedure for setting the preferred time of day for the softener's regeneration cycle.
Instructions for selecting the type of water softener salt being used (NaCl or KCl).
Step-by-step process for sanitizing the water softener using bleach and a recharge cycle.
Instructions on how to properly add salt to the softener's storage tank for regeneration.
Information on using special salts to handle iron content in water and recommended maintenance.
A checklist to ensure all installation procedures for the water softener have been completed.
How to initiate a manual regeneration cycle when needed, such as after high water usage.
Procedure to start an immediate regeneration cycle on the water softener.
How to schedule a regeneration cycle to begin at the next preset recharge time.
Setting up the low salt indicator to remind the user to refill the salt storage tank.
Configuring salt efficiency for optimal salt and water usage, with California requirement.
Enabling a cleaning backwash cycle for water supplies with iron or sediment.
Adjusting the duration of the extra backwash cycle for the clean feature.
Enabling a feature for salt and water savings by regenerating at 97% capacity.
Selecting between a 12-hour or 24-hour format for the timer display.
Choosing to display water usage and flow rates in gallons or liters.
Setting a maximum interval between regeneration cycles to maintain resin bed cleanliness.
How to turn on the interior light of the salt storage tank.
Viewing the current water flow rate through the softener unit.
Displaying the average daily water usage adjusted by the timer.
Indications for recharge time and current valve position during regeneration cycles.
Information on how the timer retains settings during power outages.
Understanding error codes that may appear on the softener's display for troubleshooting.
Explanation of the feature that cleans sediment from the softener's internal components.
Describes the normal service cycle where the softener removes hardness minerals from water.
Explains the regeneration process, including its 5 stages: Fill, Brining, Brine Rinse, Backwash, Fast Rinse.
Details on automatic bypass during regeneration and the softener's electronic components: water meter and computer.
Information on identifying and breaking up salt bridges that form in the salt storage tank.
Instructions for cleaning the nozzle and venturi assembly to ensure proper brine flow and softener function.
Guidance on cleaning the resin bed to handle clear water iron and advice on red water iron issues.
Steps to drain all water from the softener to prevent freeze damage in cold environments.
A checklist and guide to diagnose and fix common issues like no soft water, hard water, or brine tank problems.
Details on the correct positioning of bypass valves for service and bypass modes.
Specifications for minimum flow, pressure, temperature, hardness, and iron content of the water supply.
Information on the type of salt needed for the water softener and alternate options.
Graph illustrating the relationship between water pressure drop and flow rate for the softener.
Details on resin type, capacity, efficiency rating, service flow rate, and drain flow rate.
Diagram of the softener's wiring and an overview of the faceplate controls and indicators.
Essential preliminary checks for service personnel to perform before diagnosing issues.
Chart explaining error codes displayed by the softener and their most likely causes.
Procedure to enter diagnostic mode for checking valve position, turbine operation, and switch status.
Understanding valve position indicators and troubleshooting common display issues.
Guidance on replacing the timer Printed Wiring Assembly (PWA) and ensuring correct cycle orientation.
Procedure to manually advance regeneration cycles to verify component operation and flow rates.
Detailed instructions for disassembling, servicing, and assembling the softener's rotary valve.
Diagrams illustrating water flow during Service, Fill, Brining, and Brine Rinse cycles.
Diagrams showing water flow during Backwash and Fast Rinse cycles of the regeneration process.
A comprehensive list of all parts for the Kenmore water softener, identified by key number and part number.
A detailed list of parts specifically for the brine valve assembly of the water softener.
A list of parts corresponding to the exploded view diagrams, categorized by component.
| Brand | Kenmore |
|---|---|
| Model | IntelliSoft 370 Series |
| Category | Water Dispenser |
| Language | English |