6 7
OPERATING YOUR DEEP FRYER
CARE & MAINTENANCE
1. Make sure that both the temperature and timer control dials are set to the OFF position. Plug
the end of the power cord into the deep fryer rst and then plug the other end of the cord into a
polarized wall outlet.
2. Turn the timer dial to 20 minutes. The POWER indicator will light up GREEN and you will hear the
timer ticking down. Turn the temperature dial to your required temperature. The HEAT indicator
will light up RED and the deep fryer will start preheating. If the timer runs out during preheating,
turn the timer dial back up to 20 minutes.
3. While the oil is preheating, prepare the food to be fried. Make sure food is thawed completely
and as dry as possible before placing it in the fryer basket.
WARNING - Do not exceed the amounts recommended in the frying guide. Overlling
the fryer basket could cause undercooking, uneven cooking, and overowing of the oil.
WARNING - To protect against electrical shock, do not immerse the heating
element assembly, heating element, power cord, or electrical plug in any liquid.
4. When the oil has reached your selected temperature, the HEAT indicator will turn o. Set the
timer to your desired cooking time and remove the fryer lid.
5. Carefully lower the basket(s) of food into the hot oil and replace the lid. The HEAT indicator will
cycle o and on while the fryer is operating.
WARNING - Hot air and steam will be released through the lter cover.
To avoid injury, do not touch the control panel during cooking.
CLEANING YOUR DEEP FRYER
1. Ensure that the power cord is unplugged and the oil has completely cooled. This may take
several hours after use. Remove lid and baskets and set aside. If you are planning to wash the lid,
remove the lters.
2. Lift the heating element assembly from the base and let excess oil drain back into the oil pot.
Use paper towel to remove as much oil residue as you can and then clean the heating element
assembly and control panel with a damp cloth and mild soap and dry thoroughly.
WARNING - Never use metal scouring pads to clean any part of the deep fryer or
accessories as pieces could break o and contact electrical parts, causing electric shock.
3. Lift the oil pot from the base and pour the oil into another container for storage or disposal. Use
paper towel to remove as much oil residue as you can from the oil pot.
NOTE - Never pour oil down the drain. Always dispose of it in the garbage in a sealed container.
4. Wash base, oil pot, lid, vent cover, baskets, and basket handles in the dishwasher or by hand
with warm water and a mild dish detergent, rinse, and dry thoroughly. Do not use abrasive cleans-
ers, brushes, or scouring pads.
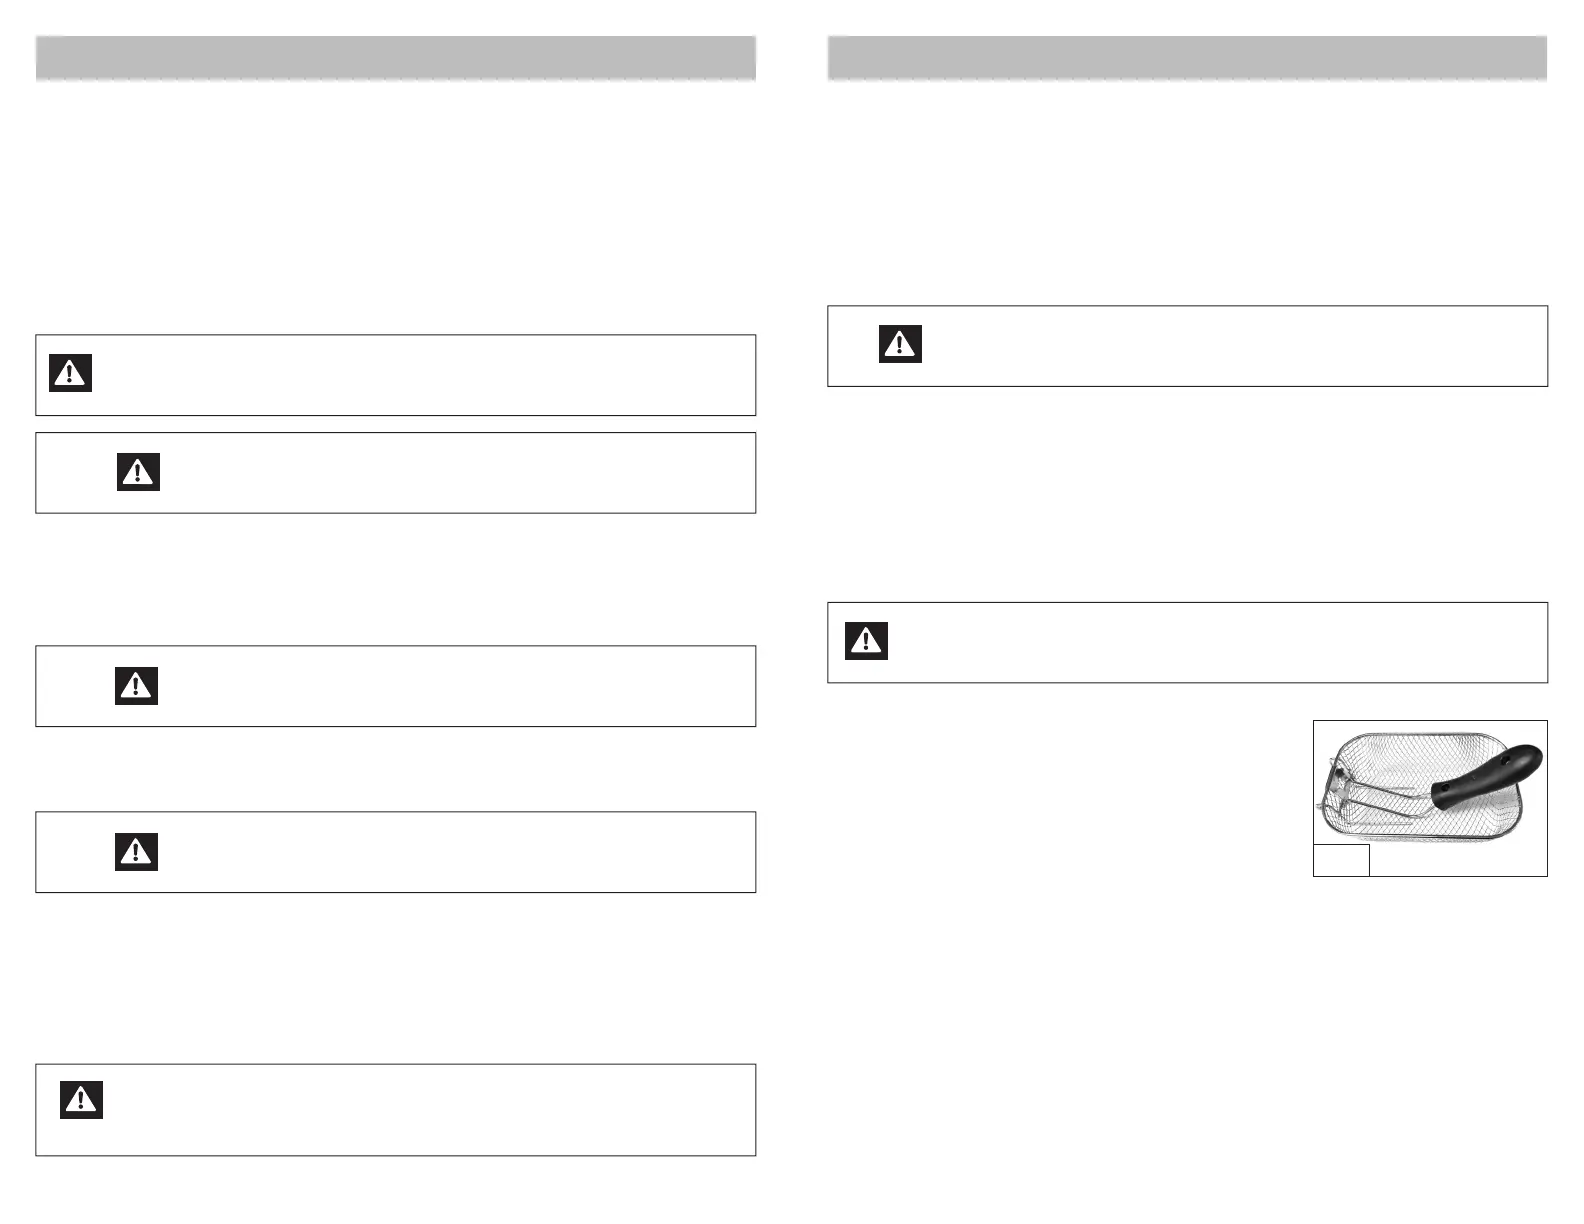
STORING YOUR DEEP FRYER
Squeeze the handle prongs to release and rotate the handles
into the baskets (Figure 4). Place the small baskets in the large
basket and then place them all in the oil pot. Store the power
cord in one of the small baskets. Replace the lid and store the
deep fryer in a dry location out of reach of children.
REPLACING FILTERS
For best results, the charcoal odor lter (black) should be replaced every 6 months and the oil
vapor lter (white) should be replaced every 12 months. To replace the lters, unclip and remove
the vent cover. Discard the old lter(s), insert the new lter(s) with the white oil vapor lter on the
bottom, and replace the vent cover.
WARNING - Oil retains its temperature for a long time after use. Do not attempt
to carry or move the deep fryer while the oil is hot. Wait for the oil to cool completely
before disassembling or cleaning.
6. When the timer ends, the deep fryer will automatically turn o. Carefully remove the lid, lift the
basket(s) by the handle and hook the draining bracket(s) onto the front edge of the oil pot.
7. When the oil stops draining, carefully remove the food from the basket(s). Repeat steps 3-7 as
many times as needed to cook all of the food.
8. When nished, turn temperature and timer dials to the OFF positions and unplug the power
cord from the wall. Wait for the deep fryer and oil to cool completely before moving, cleaning, or
storing. This can take several hours.
WARNING - Removing the lid will release hot steam. Take extreme care
while handling lid and keep face and bare skin clear of steam release.
WARNING - Make sure food is as dry as possible before frying. Do not
add water, ice, or wet food to the oil as this could cause hot oil splatter.
Fig. 4
 Loading...