C
Chelsey MiddletonAug 17, 2025
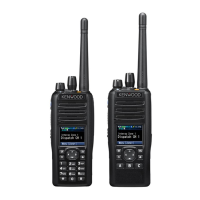
How to fix LCD displaying control abnormal value on Kenwood NX-5300?
- AAnthony BrennanAug 17, 2025
If the LCD of your Kenwood Transceiver displays an abnormal control value, remove the following parts: C47, R21, R39, R66, Q32, IC36, and IC61.