EasyManua.ls Logo

Keter DARWIN 17210353 User Manual

Keter DARWIN 17210353
60 pages
To Next Page IconTo Next Page
Page #1 background imageLoading...
Page #1 background image
SKU: 17210353 | 17210354
MANUAL
Create amazing spaces
A-1583 5006837
USER MANUAL | MODE D’EMPLOI | MANUAL DEL USUARIO | GEBRAUCHSANLEITUNG |
GEBRUIKSHANDLEIDING | MANUALE PER L’UTENTE | MANUAL DO UTILIZADOR
DARWIN 6x6
WARRANTY ACTIVATION
Thank you for your purchase of the Keter shed.
In order to activate your warranty, please log onto our website and fill in the form under warranty activation.
www.keter.com
US, Canada
Tel: +1877-638-7056, NACS@keter.com
UK
Tel: +44-121-506-0008, CSUK@keter.com
For other European countries see the last page
keter.com/en/warrant-activation
Question and Answer IconNeed help?

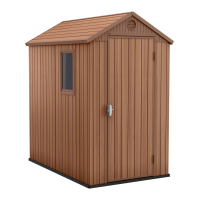
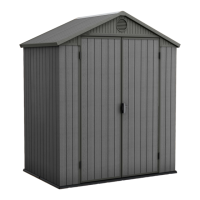
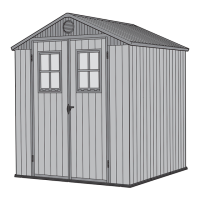
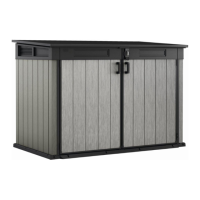
Do you have a question about the Keter DARWIN 17210353 and is the answer not in the manual?

Keter DARWIN 17210353 Specifications

General IconGeneral
BrandKeter
ModelDARWIN 17210353
CategoryOutdoor Storage
LanguageEnglish

Summary

Site Preparation

Level Ground Surface

Ensuring the ground is flat and even before assembly.

Foundation Construction Recommendation

Advice on building a solid base (wood or concrete) for the shed.

Pre-Assembly and Tools

Pre-Assembly Guidelines

Important safety and part checks before starting assembly.

Assembly Requirements

Lists necessary tools and states assembly needs two people.

Parts Identification

Main Shed Components Identification

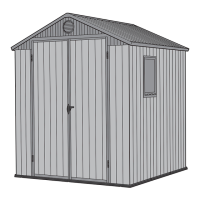
Identification of floor, wall, roof, and door parts.

Additional Components Identification

Identification of window, metal, small parts, and screws.

Floor Assembly

Connecting Initial Floor Panels

Steps 1-2 for connecting the first floor panels.

Expanding the Floor Base

Steps 3-4 for connecting additional floor panels.

Wall Assembly - Initial Steps

Attaching Corner and Side Panels

Steps 5-6 for attaching corner and side wall panels.

Window Location Options

Choosing Window Location

Visual options for placing the window in the shed.

Wall Assembly - Continued Steps

Securing Wall Panels and Connectors

Steps 8-10 for securing wall panels and connectors.

Attaching Vertical Supports

Step 11: Attaching a vertical support (DRPS).

Wall Assembly - Final Steps

Securing Vertical Supports and Corner Support

Steps 12-14 for securing supports and corner pieces.

Attaching Rear Wall Panel

Step 15: Attaching a rear wall panel (DRPS).

Roof Assembly

Assembling Roof Trusses

Steps 31-32 for assembling the roof support structure.

Attaching Roof Panels

Steps 34-36 for installing the main roof panels.

Securing Roof Structure

Steps 50-51 for securing the roof structure with screws.

Door Assembly

Assembling Door Components

Step 66: Assembling the parts of the door.

Attaching Door Panels

Steps 67-69 for attaching door panels.

Window Assembly

Installing Outer Window Frame

Step 76: Installing the outer window frame (WI-OUT).

Installing Inner Window Frame

Step 78: Installing the inner window frame (WI-IN).

Care and Safety Guidelines

General Care and Safety Guidelines

Important information on shed maintenance and safety precautions.

Warranty Information

Details of the 10-year limited warranty for the shed.

Customer Support

Contacting Customer Service

Information on how to get help for missing or broken parts.

Related product manuals