Do you have a question about the Keter DARWIN 4x4 and is the answer not in the manual?
Prepare the ground by leveling its surface for shed assembly.
Recommendation to build a wooden or concrete base as a foundation.
Review care and safety guidelines before starting assembly.
Ensure all parts are present and undamaged; check required tools.
The assembly process requires the assistance of two individuals.
Identify components forming the shed's floor.
Identify components forming the shed's walls.
Identify components forming the shed's roof.
Identify various components for door assembly.
Identify metal components used in assembly.
Specifications and identification of screws and fasteners.
Connect the two floor panels (DRFS) using screws.
Fasten the floor panels securely with screws (sc12t).
Install the first asymmetric wall panel (DRCO) to the base.
Attach further wall panels (DRSD, DRCO) to the structure.
Connect the left (DRTFL) and right (DRTFR) roof panels.
Secure the assembled roof structure to the shed walls.
Add internal roof supports (DRTBL, DRTBR) for stability.
Assemble the main components (DRSD, DRDC, DRMDP) of the door frame.
Mount hinges (DRHG) and attach hardware (sw15d) to the door.
Fit the door handle (DRHN) and locking mechanism (DRHF, DRHL, DRHB).
Attach the assembled door to the shed using fasteners (sw15d).
Use shims (A, B) to ensure the shed is level.
Secure the shed to a foundation using screws.
Guidelines for maintaining and cleaning the shed.
Important safety measures for using and assembling the shed.
Information regarding the product's 10-year limited warranty coverage.
| Material | DuoTech™ |
|---|---|
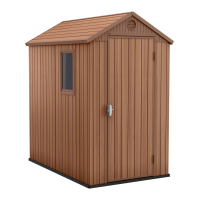
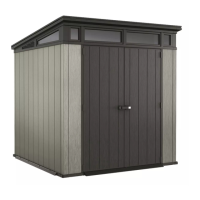
| Color | Brown |
| Dimensions | External: 129.5 x 125.8 x 190 cm; Internal: 117 x 108 x 176.5 cm |
| Floor included | Yes |
| Lockable | Yes |
| Weather Resistant | Yes |
| UV Resistant | Yes |