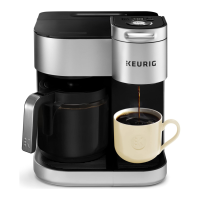
Caring For Your Brewer (continued)
As part of your preventative maintenance routine, you should
descale your brewer every 3 months (or if you experience low
coffee volume or slower performance). Properly follow the
descaling procedure.
Depending on the mineral content of your water, calcium
deposits or scale may build up in your brewer. Scale is non-
toxic but if left unattended can hinder brewer performance.
Regularly descaling your brewer every 3 months helps
maintain the heating element, and other internal parts that
come in contact with water. Calcium deposits may build up
faster, making it necessary to descale more often.
Descaling Procedure
Before you begin, you will need a large ceramic mug, fresh
water, Keurig® Descaling Solution, and access to a sink.
Do not use a paper cup. Ensure that there is no beverage
pod in the K-Cup® pod holder. Please allow approximately
75 minutes for the descaling procedure.
Empty the water from the water reservoir. If using a Keurig®
Water Filter, remove and set aside.
STEP 1: Descaling Solution Rinse
Power the brewer off.
Pour the entire bottle of Keurig® Descaling Solution into an
emptied water reservoir. Then, fill the empty bottle with
water and pour into the water reservoir. Do not add any
K-Cup® pods or ground coffee.
Place a large mug on the drip tray, then press the OZ button
to turn on the single cup side. Press the 12 button to start a
single cup rinse brew. Pour the hot liquid into the sink.
Make sure the carafe is on the heating plate. Press the CUPS
button to turn on the carafe side, then press the 12 button to
start a carafe rinse brew. When the brew is complete, pour
the hot liquid into the sink. Press and hold the CUPS button
to turn off the heating plate.
STEP 2: Rinse & Rest
Let brewer stand for at least 30 minutes.
After 30 minutes, discard any residual solution from the
water reservoir and rinse thoroughly.
STEP 3: Fresh Water Rinse
Fill the water reservoir with fresh water to the MAX fill line.
Make sure the carafe is on the heating plate. Press the CUPS
button to turn on the carafe side, then press the 12 button to
start a carafe water brew. When the brew is complete, press
and hold the CUPS button to turn off the heating plate. Pour
the hot liquid into the sink.
Fill the water reservoir to the MAX fill line. Repeat the 12-cup
carafe rinse 3 more times for a total of 4 brews. Refill the
water reservoir and place a large mug on the drip tray. Press
the OZ button to turn on the single cup side, then press the
12 button to start a single cup water brew. Repeat the 12 oz
brew process three more times for a total of 4 brews.
NOTE: The cleaning action of Keurig® Descaling Solution may result in a “foam” dispensed from the brewer. This
is natural, as the solution is reacting with the scale inside. For a brewer that is heavily scaled, the brewer may not
fill properly after the descaler is added. If this occurs, you may see only a small or no output dispensed, followed
by the sound of air blowing out. If this occurs:
• Turn off and unplug the brewer.
• If there is Keurig® Descaling Solution in the water reservoir, discard the contents, rinse the water reservoir
thoroughly and refill with water.
• Plug the brewer back in, power on, and repeat the Step 3 Fresh Water Rinse cycle. The brewer should begin to
function normally as the solution is rinsed out and the scale is removed. If problem persists, allow brewer to sit
unplugged for at least 30 minutes before continuing with the rinse.
Descaling your Brewer
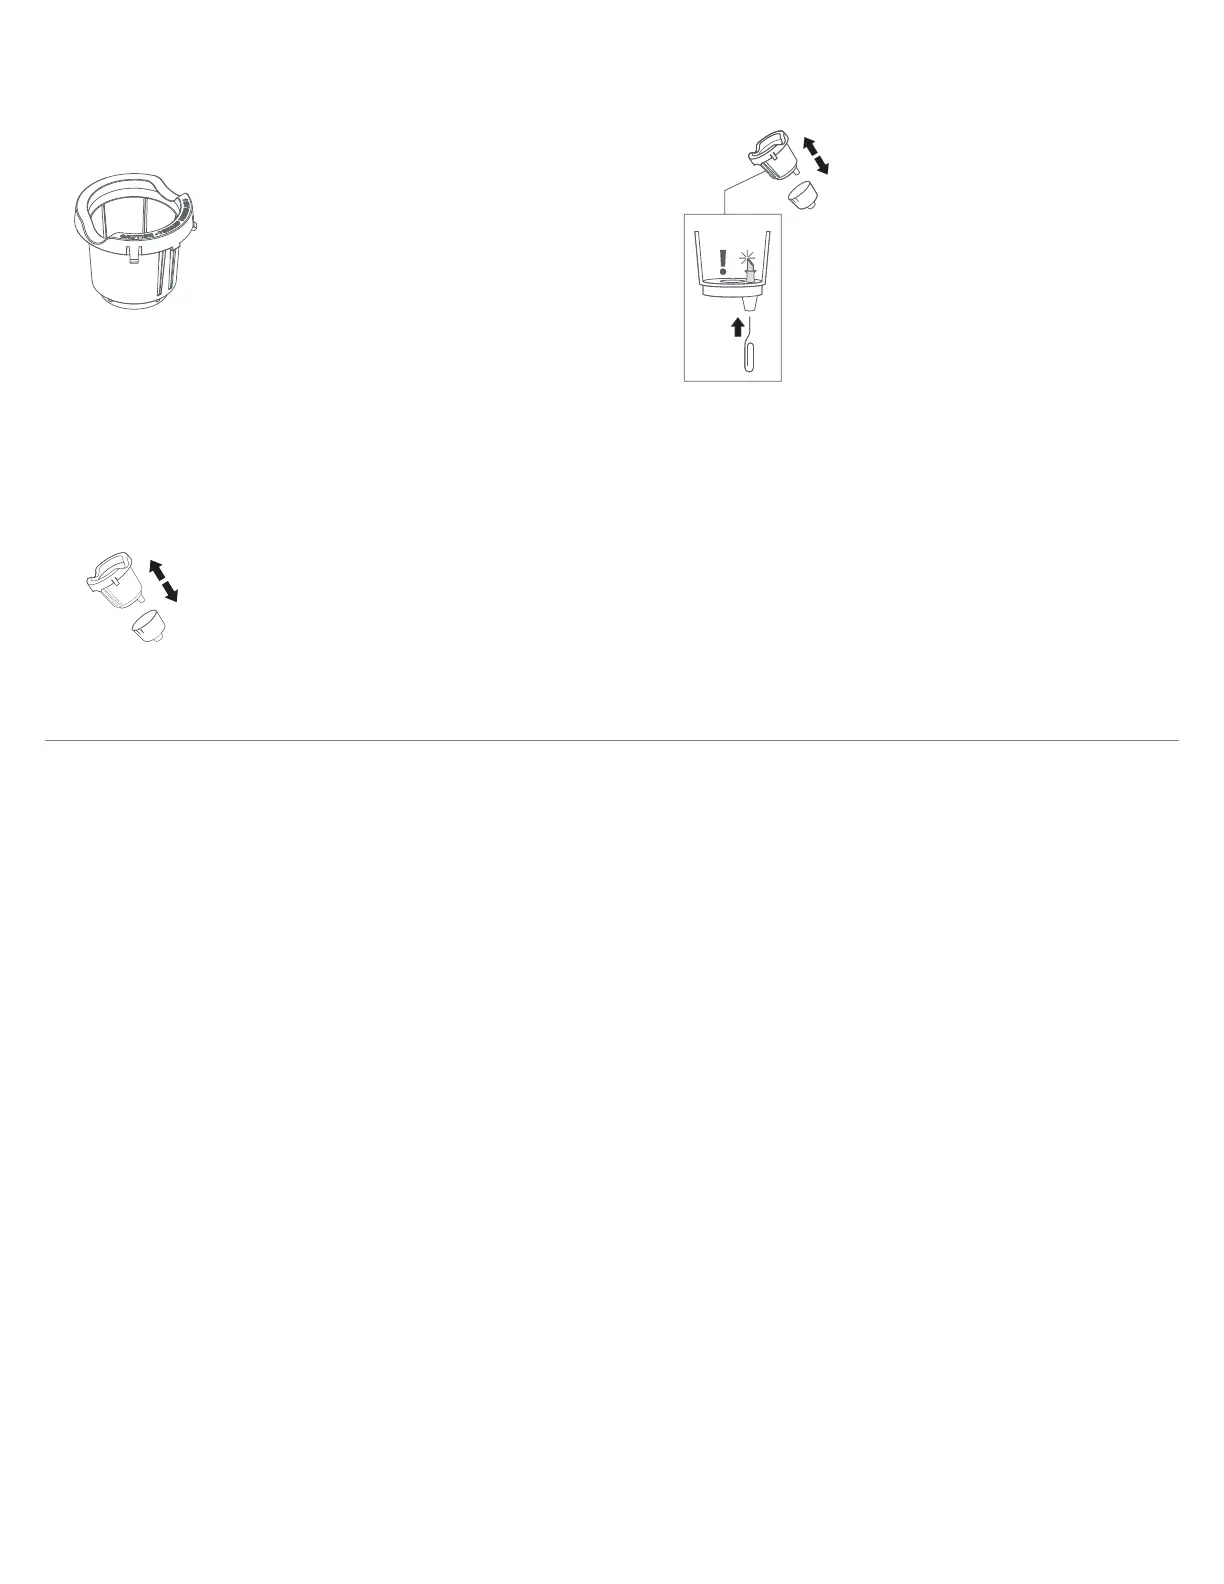
K-Cup® Pod Holder
To remove the K-Cup® pod holder from
the brewer, lift the handle and grasp
the top of the K-Cup® pod holder
with one hand while pushing up on
the bottom of the K-Cup® pod holder
from underneath with the other until
it releases. After cleaning, align the
K-Cup® pod holder with the opening
using the two front ribs as a guide
and snap into place from the top.
CAUTION: There are sharp needles that puncture the K-Cup® pod above the K-Cup® pod holder and in the
bottom of the K-Cup® pod holder. To avoid risk of injury, do not put your fingers in the K-Cup® pod holder.
NOTE: Used K-Cup® pod should be removed from the K-Cup® Pod Holder after brewing, or in part with the daily
cleaning routine.
Funnel
The funnel can be removed from the
K-Cup® pod holder by pulling on it until
it pops off. To replace it, orient the
snaps to the indent and just snap it
back onto the K-Cup® pod holder.
Exit Needle
Remove the pod holder assembly
and detach the funnel. Locate the
exit needle on the inside bottom
of the K-Cup® pod holder. Insert a
straightened paper clip into the exit
needle to loosen any coffee grounds.
Entrance Needle
Lift the brewer handle and locate the entrance needle on the
underside of the lid. To clean all three holes in the needle, hold
the brewer handle in the upward position and with your other
hand, carefully insert a straightened paper clip into all three
holes. Gently move it around to loosen any coffee grounds.
Lower the handle completely and run two water-only brew
cycles. Do not insert a K-Cup® pod.
TIP: Refer to support.keurig.com for video instructions on cleaning the entrance/exit needles.
 Loading...