12
108
6
AUTO
12:00
PM
STRONG
H
M
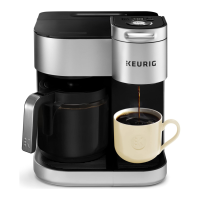
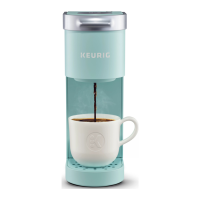
The water reservoir can be
positioned to the right, left, or
along the back of the brewer to
optimize counter space.
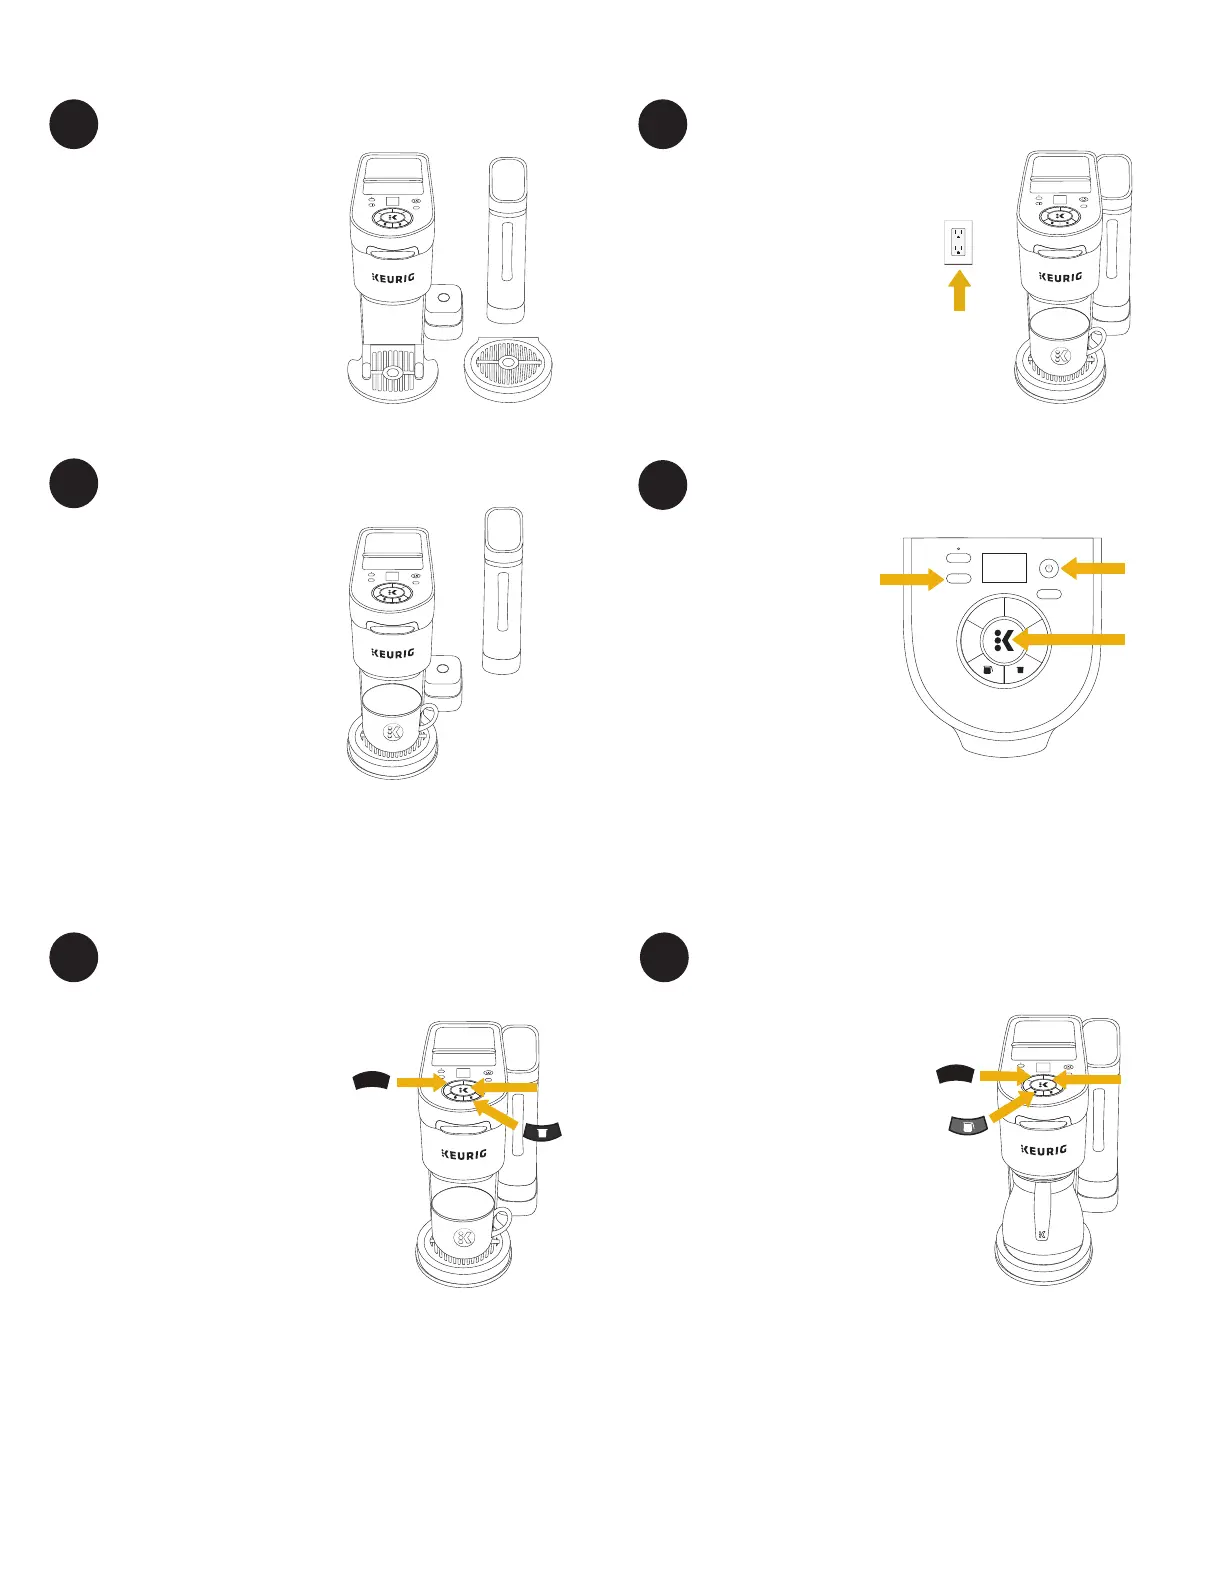
Plug brewer into an outlet.
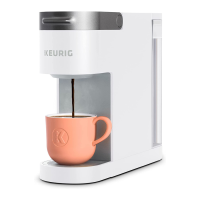
Place a large mug (12oz
minimum) on the drip tray.
If you have a Keurig
®
Water Filter,
install it now. Refer to your Water
Filter Starter Kit for instructions.
Fill the reservoir with fresh water
to the MAX fill line, and replace
water reservoir.
1
3
5 6
2
Before You Brew
Press the POD button. Do not
insert a K-Cup
®
pod. The 4 brew
size buttons will blink, press the
8 button — the brew indicator light
will blink. Press the brew button to
start the cleansing brew.
The cleansing brew will begin once
the brewer is heated. The initial
heating process will take about 4
minutes. The brew indicator light
will pulse slowly on and off while
the brewer is heating, and the
light will turn solid once the brew
begins.
The brew is complete when the
brew indicator light is no longer
illuminated. Pour the hot water
into the sink.
NOTE: Between brew cycles, the brewer may take
about a minute to reheat
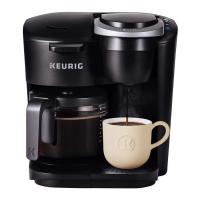
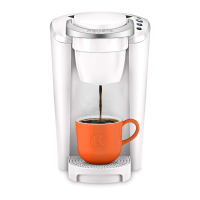
Place the carafe on the drip tray
and fill the water reservoir to
the MAX fill line. Do not fill filter
basket with coffee grounds. Press
the CARAFE button — the 4 brew
size buttons will blink. Press the
8 button — the brew indicator
light will blink. Press the brew
button to start the cleansing brew.
The brew is complete when the
brew indicator light is no longer
illuminated. Pour the hot water
into the sink.
The one-time setup process is now
complete and you are ready to
brew!
NOTE: After 5 minutes the brewer will go into Auto
Off mode.
Press the POWER button to turn the brewer back on.
12
10
8
6
AUTO
H
M
STRONG
12
10
8
6
AUTO
H
M
STRONG
Set Reservoir Position Plug & Place
Rinse & Fill
Press the POWER
button. Use the H/M
buttons to set the
clock, then press the
blinking brew button
to confirm the time.
NOTE: The clock must be set
in order to use the Auto Brew
functionality.
4
Power On & Set Clock
Cleansing Brew - Single Cup Cleansing Brew - Carafe
1
2
12
10
8
6
AUTO
H
M
STRONG
8
BREW BUTTON
12
10
8
6
AUTO
H
M
STRONG
8
BREW BUTTON
BREW
BUTTON
3

 Loading...