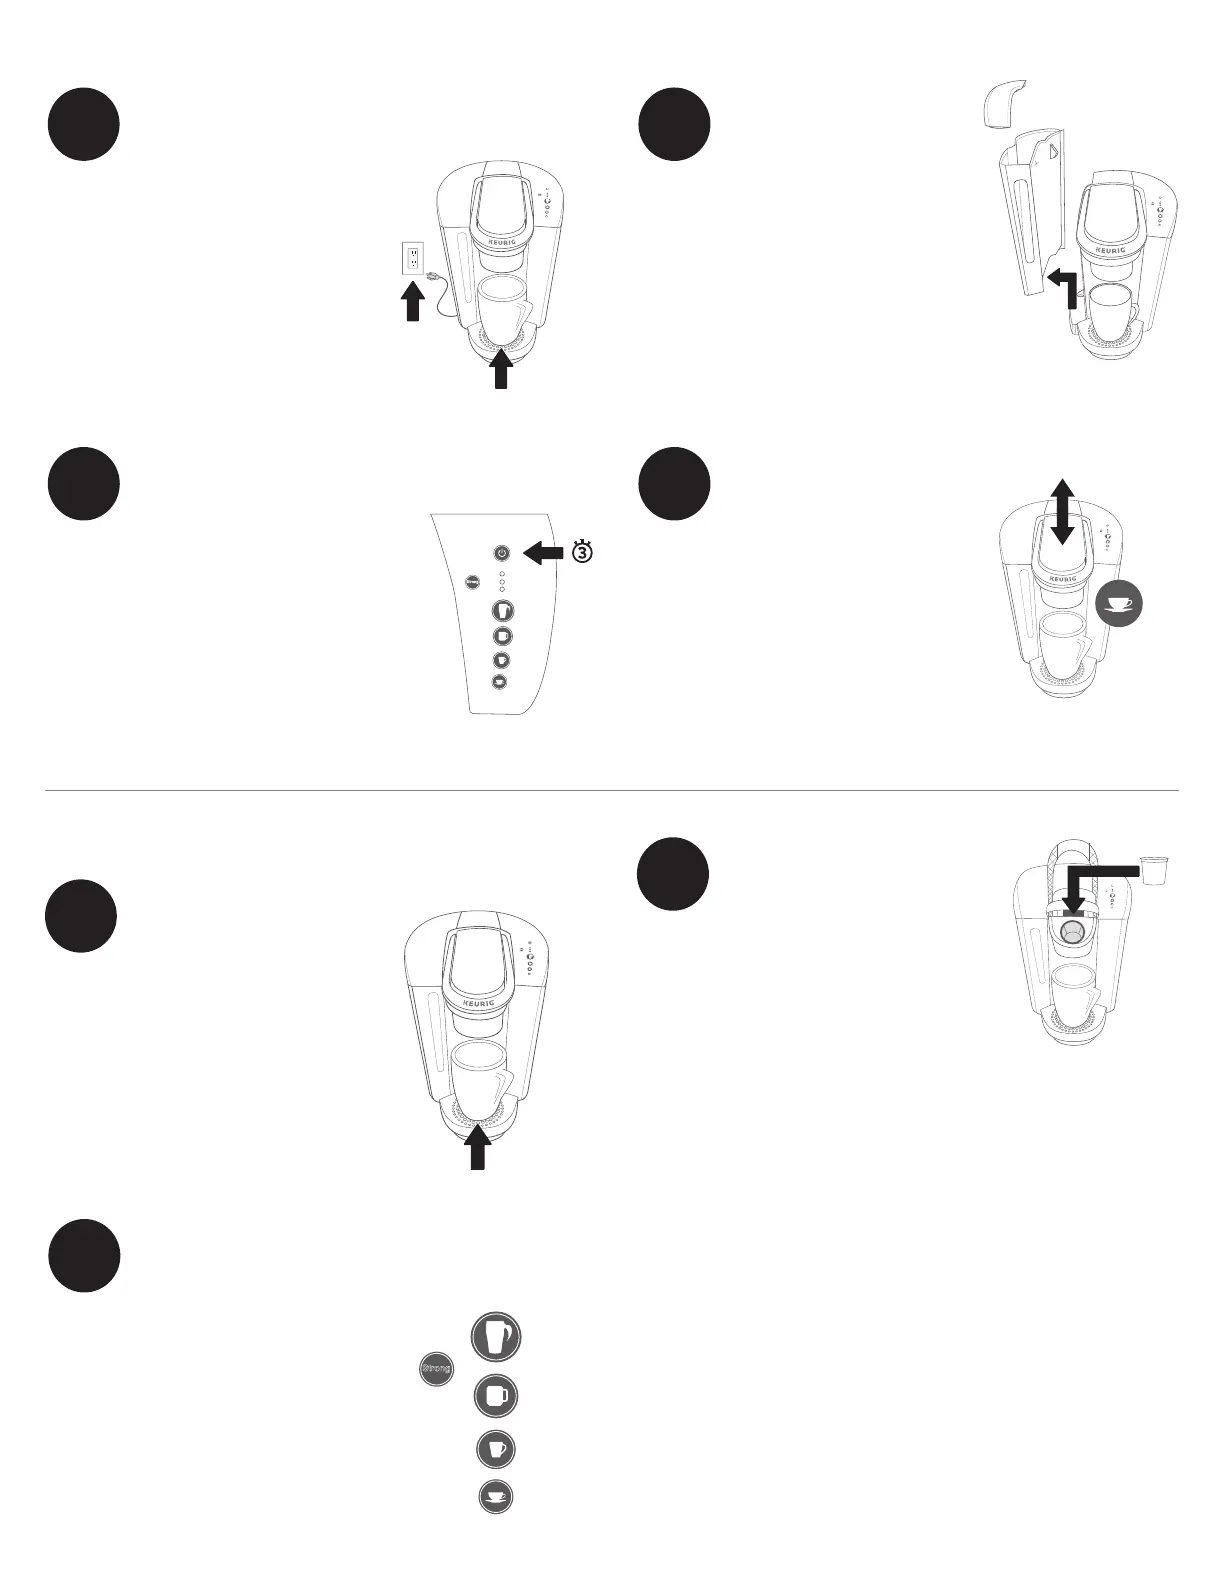
Remove packing tape from
coffee maker and plug into a
grounded outlet.
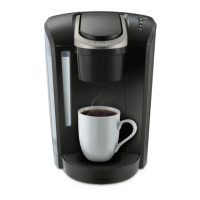
Place a large mug (355 ml/12 oz
minimum) on the drip tray plate.
Remove the water reservoir lid, then lift
the reservoir straight up to remove it.
If you have a Keurig® Water Filter,
install it now. Refer to your Water
Filter Starter Kit for instructions.
Rinse reservoir with fresh water and
fill to the MAX fill line.
Replace water reservoir, making sure the
lock tab engages with the coffee maker. Replace lid.
NOTE: Do not use distilled water.
Press power button — the green power
light and Auto Off light will illuminate.
The coffee maker will automatically begin
heating the water. This will take about
3 minutes. Once the heating sound stops,
the coffee maker is ready.
Do not insert a K-Cup® pod.
Lift and lower the handle. The four
brew buttons and the Strong button
will blink.
Press the small cup (117 ml/6 oz)
button to start a cleansing brew. Pour
the hot water into the sink.
The one-time setup process is now
complete and you are ready to brew!
1
2
3 4
Before You Brew
Brew Your First Cup
Lift the handle and place a K-Cup®
pod in the K-Cup® pod holder. Lower
the handle completely to close the lid.
Do not remove the foil lid on the
K-Cup® pod.
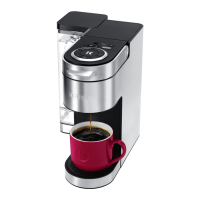
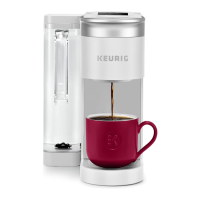
Place a mug on the drip tray
plate. If using a travel mug,
remove the drip tray and place
the mug on the drip tray base.
NOTE: Between brew cycles, the coffee maker may take
about a minute to reheat.
Select your brew size – for bolder coffee,
press the Strong button before selecting
your brew size. The brew size and Strong
button, if selected, will remain illuminated
while brewing – about 1 minute.
The coffee maker will be ready to brew
another cup in about a minute.
NOTE: After 60 seconds, the brew buttons will be disabled. To re-activate, lift
and lower the handle completely.
CAUTION: While brewing, there is extremely hot water in the K-Cup® pod
holder. To avoid injury, do not lift the handle during the brewing process.
Coffee Maker Features
Strong Brew kicks up your coffee’s strength and intensity. For bolder coffee, press
the Strong button before selecting your brew size.
Smart Start heats then brews in one simple process. No need to wait for the coffee
maker to heat before selecting brew size. Power on your coffee maker, place mug,
insert a K-Cup® pod, and lower the handle. Then, select your brew size. The coffee
maker will heat, then automatically begin brewing.
Auto Off automatically turns your coffee maker off 2 hours after the last brew for
energy savings.
To disable the Auto Off feature:
1. Power the coffee maker off while it is plugged in.
2. Press and hold the Strong and the 296 ml/10 oz Large Mug buttons for 3 seconds – the green Auto Off light will turn off.
3. Power the coffee maker on – the green Auto Off light will no longer be illuminated.
To enable the Auto Off feature, repeat steps 1-3. The green Auto Off light will
illuminate.
High Altitude Brewing: To ensure your coffee maker works properly at higher
altitudes (1,500 m/5,000 ft) please follow these brewing instructions and
enable the High Altitude Brewing Mode on your coffee maker.
Brewing Instructions - While holding the coffee maker handle up, push down slowly on the K-Cup® pod in the pod
holder until the bottom of the K-Cup® pod is punctured by the exit needle.
To enable High Altitude Brewing Mode:
1. Power the coffee maker off while it is plugged in.
2. Press and hold the Strong and 237 ml/8 oz Small Mug buttons for 3 seconds- both lights will blink 3 times to
confirm that the High Altitude Brewing Mode has been enabled.
To disable High Altitude Brewing Mode:
1. Power the coffee maker off while it is plugged in.
2. Press and hold the Strong and 237 ml/8 oz Small Mug buttons until the lights are no longer illuminated.
5
6
7