keyestudio
www.keyestudio.com
Project 18: 4-digit LED Segment Display
Introduction
In this experiment, we use an Arduino to drive a common cathode, 4-digit, 7-segment LED
display. For LED display, current-limiting resistors are indispensable. There are two wiring
methods for Current-limiting resistor. One is to connect one resistor for each cathode end, 4 in
total for d1-d4 cathode. An advantage for this method is that it requires fewer resistors, only 4. But
it cannot maintain consistent brightness, 1 the brightest, 8, the least bright.
Another method is to connect one resistor to each pin. It guarantees consistent brightness, but
requires more resistors. In this experiment, we use 8 Resistors (220Ω). We use 220Ω Resistors
because of no 100Ω resistor available. If you use 100Ω, the displaying is more brighter.
Circuit Connection
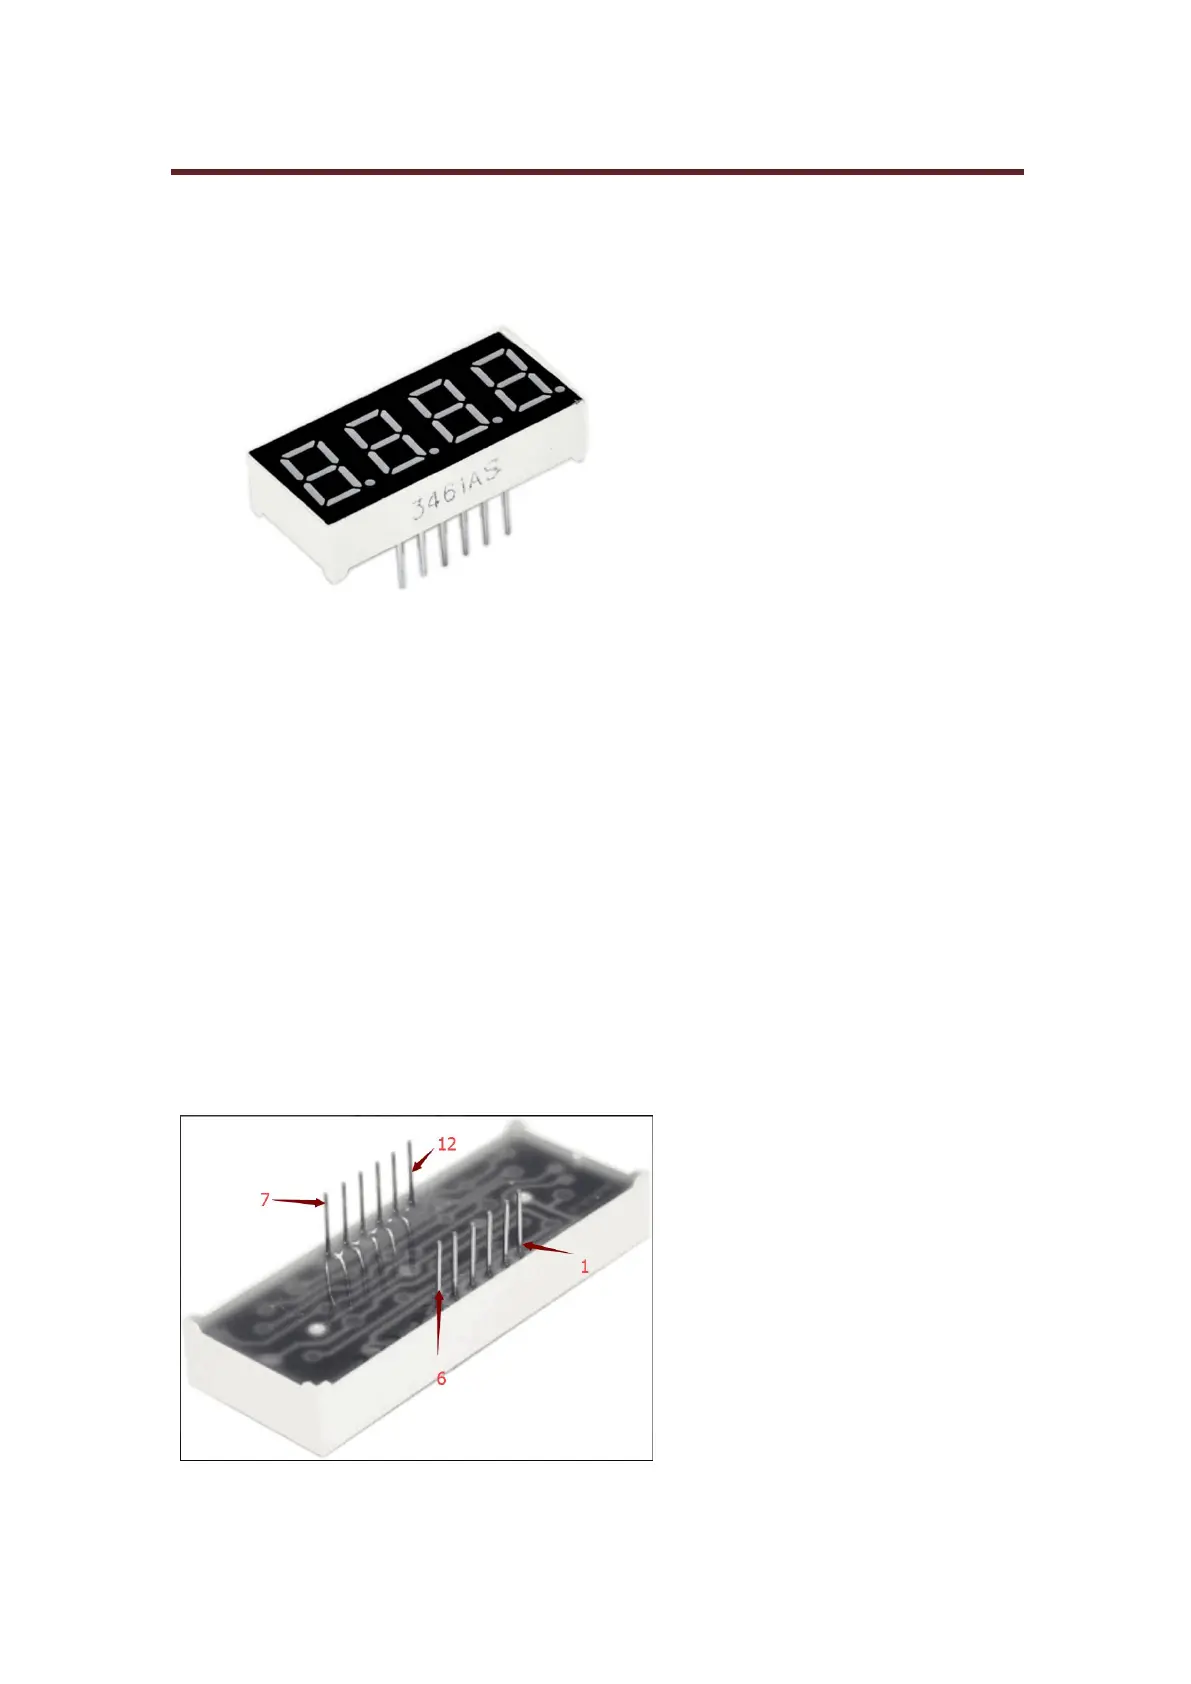
For 4-digit display, there are 12 pins in total. When you place the decimal point downward, the pin
on the lower left part is refer to as 1, the upper left part 12. Shown below.
 Loading...