EasyManua.ls Logo

Kichler Lighting Lacey User Manual

Kichler Lighting Lacey
16 pages
To Next Page IconTo Next Page
Page #1 background imageLoading...
Page #1 background image
 2*
 2*
Kichler
®
Lighting
7711 East Pleasant Valley Road
P.O. Box 318010
Cleveland, Ohio 44131-8010
Customer Service
866.558.5706
8:30 AM to 5:00 PM EST,
Monday - Friday
Instruction Manual
Lacey
TM
A Kichler
®
Décor
ceiling fan
Designed to coordinate with a popular Kichler Lighting collection.
Includes our new
CoolTouch
TM
6 Speed DC Control System
Looks permanent, but goes wherever you go!
U.S. Patent Pending
Our High Efficiency DC Motor Technology
Requires 70% Less energy than a Standard
Ceiling Fan AC Induction Motor.
Question and Answer IconNeed help?

Do you have a question about the Kichler Lighting Lacey and is the answer not in the manual?

Kichler Lighting Lacey Specifications

General IconGeneral
Blade Span52 inches
Number of Blades5
Motor TypeAC
Reversible MotorYes
Number of Speeds3

Summary

SAFETY RULES

TOOLS AND MATERIALS REQUIRED

PACKAGE CONTENTS

MOUNTING OPTIONS

HANGING THE FAN

INSTALLATION OF SAFETY SUPPORT

ELECTRICAL CONNECTIONS

FINISHING THE INSTALLATION

ATTACHING THE FAN BLADES

INSTALLING THE LIGHT PLATE

INSTALLING THE LAMP BALLAST ASSEMBLY

INSTALLING THE LAMP AND GLASS SHADE

CONTROL SYSTEM SET-UP

Frequency Selector (Dip Switch)

Configure control frequency using dip switches on the transmitter.

Lamp Type Switch Setting

Set the switch for Incandescent (D) or Fluorescent (X) lamps.

System Programming Procedure

Follow specific steps to program the remote control system.

OPERATING INSTRUCTIONS

Fan Speed Control

Use speed buttons 1-6 for fan speed selection and the motor off button.

Light Control Functions

Control upper and bottom lights using dedicated buttons.

Fan Direction Control

Change fan blade direction using the forward/reverse button.

INSTALLING THE COOLTOUCH™™ CONTROL SYSTEM WALL PLATE

Option 1: Existing Wall Switch Outlet Box

Install system using existing outlet box, ensuring power is off.

Option 2: Install on Any Flat Surface

Mount system on any flat surface using provided hardware.
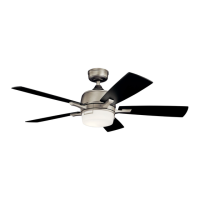
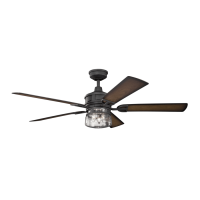
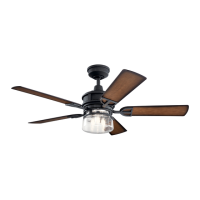
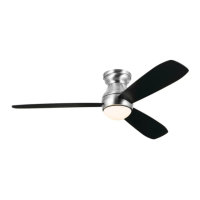
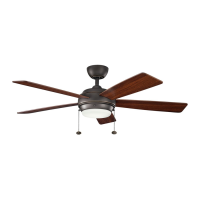
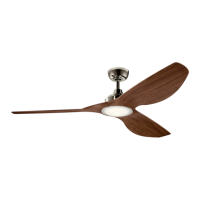
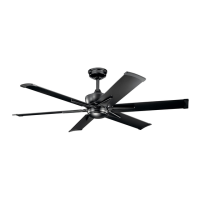
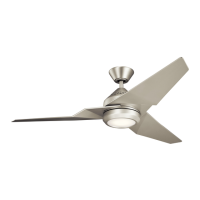
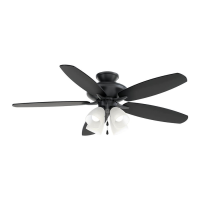
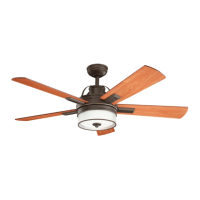
INSTALLING THE TRANSMITTER

Related product manuals