Do you have a question about the Kichler Lighting Renew Premier and is the answer not in the manual?
Ensure power is off before installation. Use qualified electricians for wiring.
Use approved outlet boxes marked "FOR FAN SUPPORT" securely mounted to support fan weight.
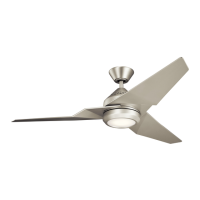
Avoid objects in blade path, do not bend blade brackets, and handle with care.
Wire connections should be neat. Light kits must be CUL listed.
Secure outlet box to structure, must support fan weight (50 lbs). Do not use plastic boxes.
May require a longer downrod for proper clearance on sloped ceilings.
Consider a "Joist Hanger" for outlet box support if needed, designed for ceiling fans.
Covers downrod preparation, hanger ball installation, and seating the fan into the bracket.
Attaches canopy and gasket to motor, then hangs fan on bracket for wiring.
Attach safety support cable to ceiling joist for preventing fan fall.
Connect fan wires (black, blue, white, green) to household wires using supplied connectors.
Tuck wires and attach canopy to ceiling mounting bracket with screws.
Attach fan assembly to bracket, align keyhole slots, and tighten screws.
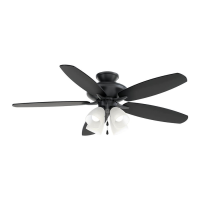
Secure blades to brackets and then to the motor using provided screws.
Connect wires, secure light kit to switch housing using screws.
Mount glass shades to sockets by loosening and tightening thumbscrews.
Install 4x13 Watt E26 compact fluorescent bulbs into each socket.
Controls fan speed (High, Medium, Low, Off) via pull chain.
Controls blade direction (Forward/Reverse) for airflow management.
Check fuses/breakers and electrical connections. Ensure power is off.
Check screws, wire nuts, breaking-in period, glassware, and canopy clearance.
Ensure screws are tight, blades are level, use balancing kit, or interchange blades.
| Brand | Kichler Lighting |
|---|---|
| Model | Renew Premier |
| Category | Fan |
| Language | English |