6-3September 2004 90-FM200M-000
FM-200
®
ECS Series Engineered Fire Suppression Systems
6-2.5 Valve Assembly (3")
Note: Refer to Figure 6-3.
1. Install the O-ring (Item 2 in Figure 6-3) in the
piston groove.
CAUTION
!
Make certain that the Teflon
®
back-up ring is
below the O-ring as shown in Figure 6-3.
2. Press the piston back into the valve body.
3. Install the spring.
4. Install the O-ring onto the groove in the valve cap.
Screw the cap onto the valve body and torque to
360 in. lb. (41 N-m).
5. If the siphon tube had to be removed for valve disas-
sembly, wire brush the siphon tube threads to remove
the old Loctite residue.
6. Apply a film of Loctite
®
primer to the siphon tube threads
and allow three to five minutes to dry.
7. Apply a film of Loctite
®
sealant to the threads and rein-
stall the siphon tube.
Install the O-ring onto the valve neck groove, screw the
valve and siphon tube onto the cylinder, and torque to
600 to 660 in. lb. (68 to 75 N-m).
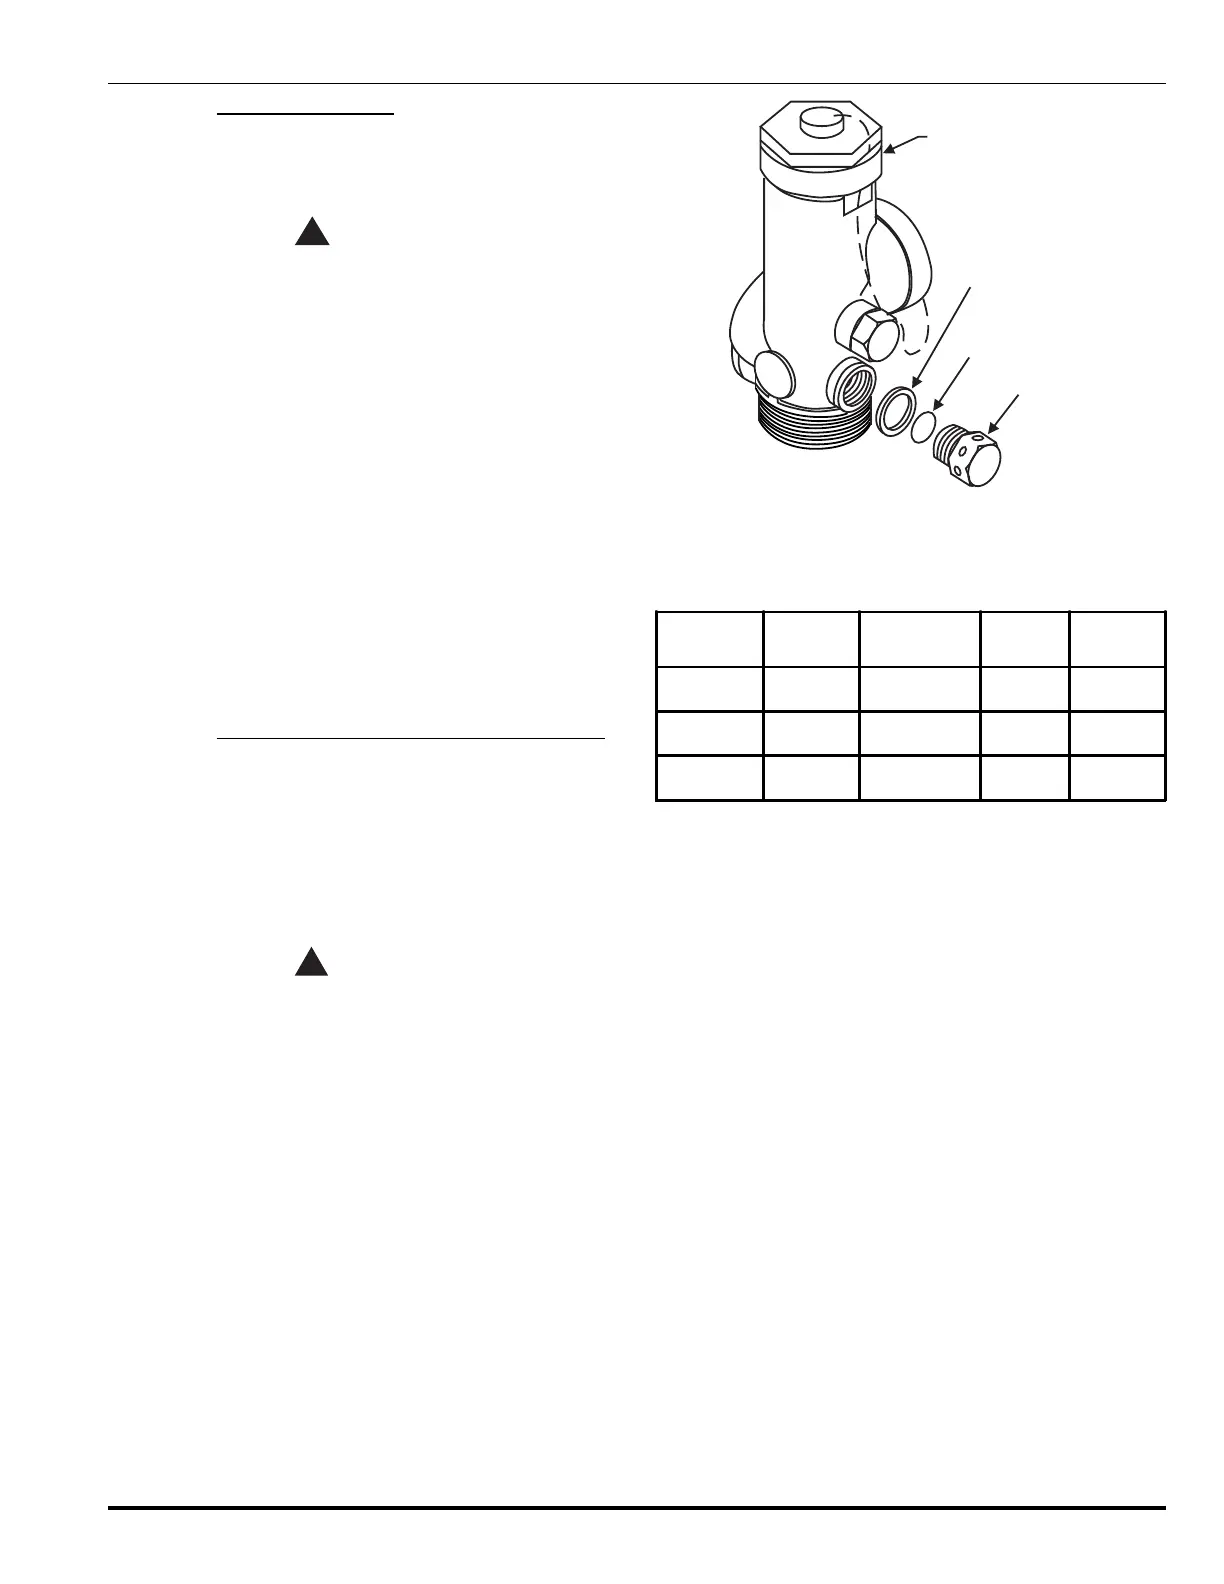
6-2.6 Safety Disc Replacement (1½", 2" and 2½")
Note: Refer to Figure 6-4.
1. Remove the safety disc retainer with safety disc and
safety disc washer from the valve body. Discard the
safety disc and washer.
2. Assemble the safety disc retainer with new safety disc
and safety disc washer to the valve body. Torque to the
appropriate value listed in Table 6-4.
WARNING
!
Never install any type disc other than specified
above for the appropriate cylinder. Installing the
incorrect disc could result in violent rupture of
the cylinder and serious injury.
Never reinstall a used safety disc and/or
washer. Once the retainer has been removed,
the disc and washer must be replaced with
new components.
FM-200 VALVE
SAFETY
DISC
SAFETY
DISC
WASHER
SAFETY
DISC
RETAINER
Figure 6-4. Safety Disc Replacement
Table 6-4. Safety Disc Replacement Table
(1½", 2" and 2½")
Cylinder
Size
Safety
Disc P/N
Safety Disc
Washer P/N
Torque
Value
PSIG @
70°F
10-125 lb. 242461 294500 33 ft. lb. 750-900
200-350 lb. 264925 220360 38 ft. lb. 800-975
600 lb. (old) 264929 220362 48 ft. lb. 800-975
 Loading...