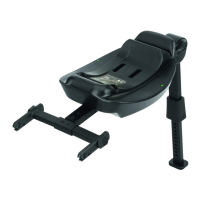
The correct engagement is confirmed with the ‘green’ k-fix
+
locking indicator (R)
(Fig. 16).
Check whether the k-x+ connectors (D) are closed by shaking
the seat (E) and check whether the lock indicators (R) on the left
and right k-x
+
connectors both show ‘green’!
Now you have fastened the kiddy phoenixfix 3 in the (maximum) lie-flat position
in the vehicle. To put the seat into an upright position, you must push the child
restraint system towards the vehicle back rest.
To do so, actuate the unlocking handle (K) (Fig. 17; No. 1) while simultaneously
pushing the seat (E) towards the vehicle back rest (Fig. 17; No. 2).
After installing the child restraint system (A) with k-fix
+
, ensure that the child
seat is positioned on the vehicle seat and the belt is not covered. For this
purpose, you can slide the seat slightly to the left or right as necessary.
In order to secure your child in the seat fastened with k-fix
+
, proceed as
described under point 7.
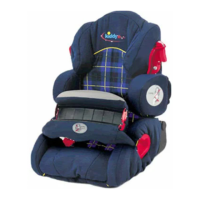
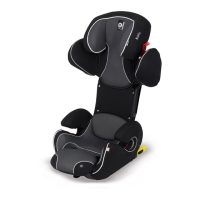
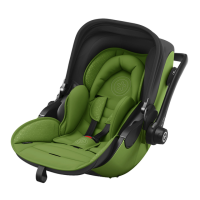
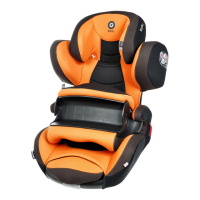
7 Securing the child
semi-universal: If you would like to use the child seat with k-fix
+
fas-
tening, ensure that it is fastened to the vehicle as described in point 6!
universal: If you would like to use the child seat without k-fix
+
fasten-
ing, you must rotate the k-fix
+
connectors (D) and retract them into
the seat (I)!
Position your kiddy on the vehicle seat as described in point 5.1+5.2 or 5.1+5.3.
Check whether your child seat has been correctly adjusted according to your
child's size and/or body weight (point 4).