8
7. INSERT THE CONE (Small size cones or bars are used on KILN-SITTER)
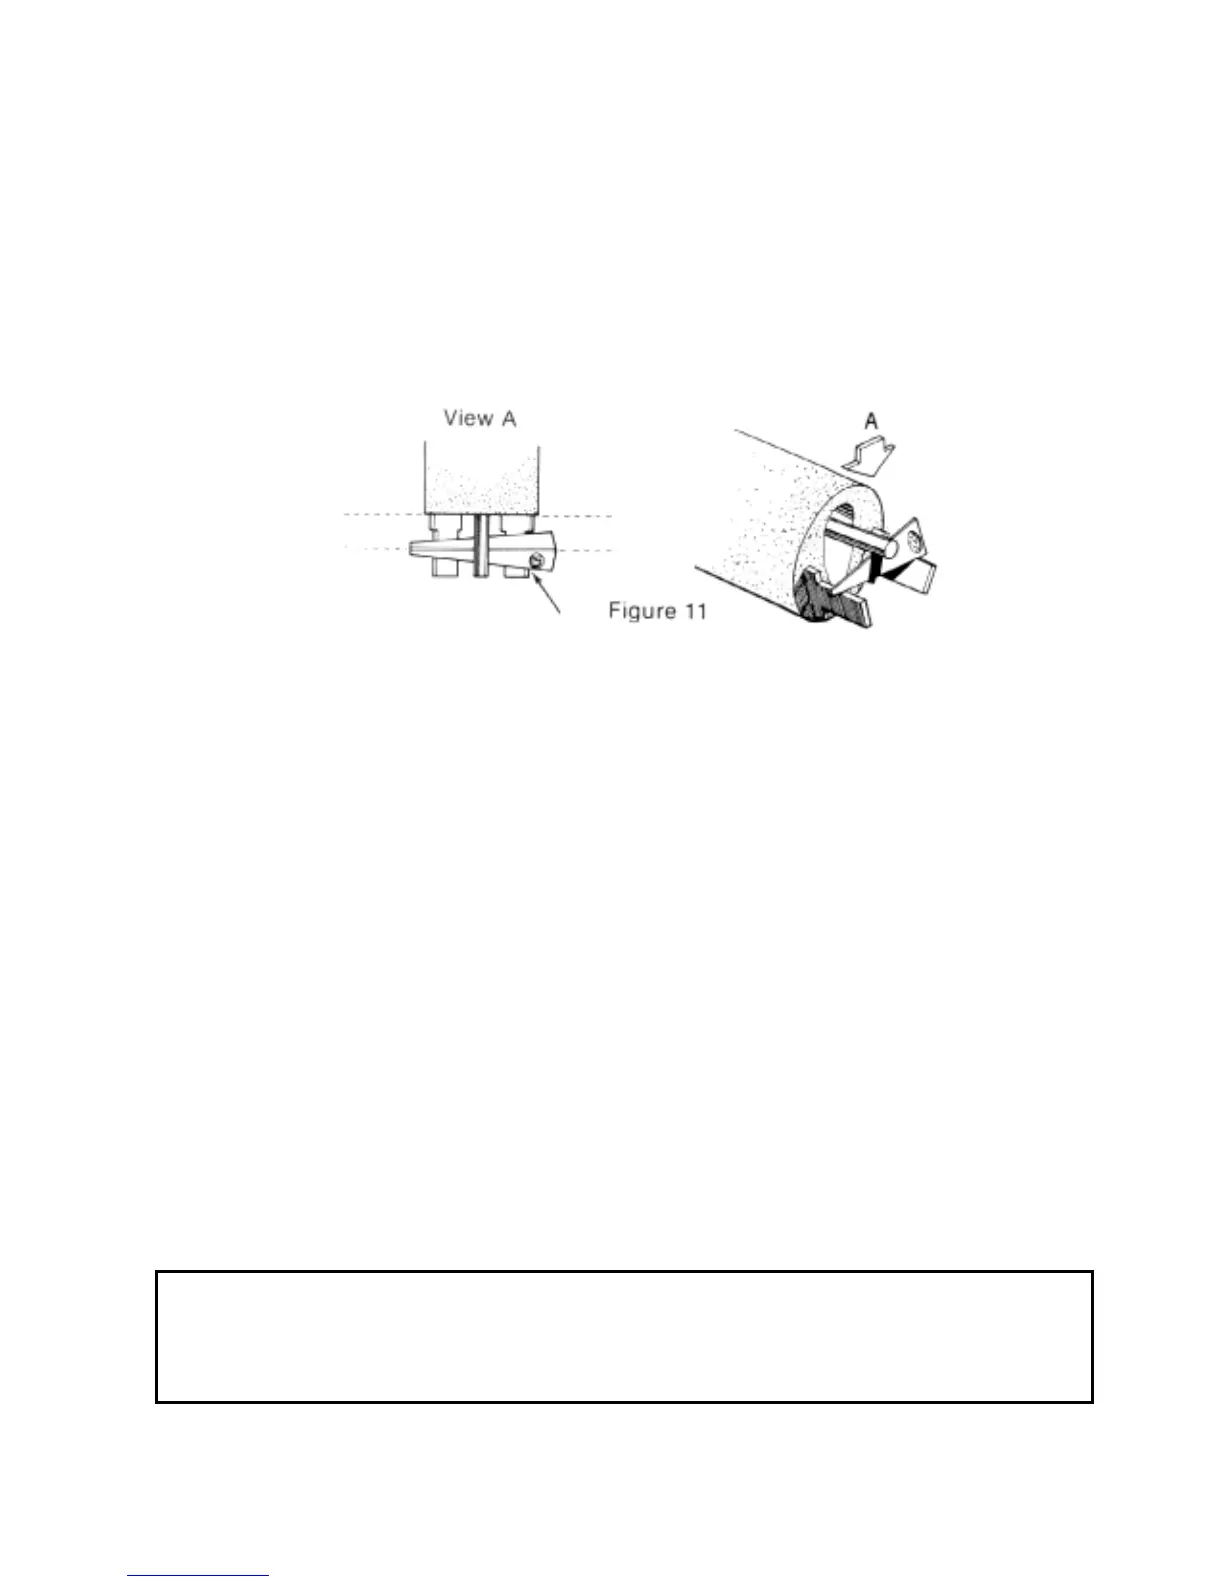
While holding the claw down over the trigger, carefully place the cone or bar,
selected for your firing, flat on the metal cone supports with the inside edge of the
number circle even with the outside edge of the cone supports. See Figure 8. The
cone or bar should be against the metal step with the center of the cone or bar
parallel with the end of the tube.
Consistent placement of the cone or bar in this manner will lead to consistent firing
control.
The cone or bar now holds the claw engages so that the weight is supported and your
hands are free.
8. CHECK THE POSITION OF THE CONE OR BAR
As a last step before closing the kiln, always check to see that the cone or bar is in
its proper position and free of obstructions. AN IMPROPERLY PLACED CONE OR
BAR COULD CAUSE AN OVERFIRING AND DAMAGE YOUR KILN AND WARE.
9. CLOSE THE KILN All switches are off at this point.
10. REMOVE THE TOP PEEP HOLE PLUG
Venting of the kiln for the entire firing period will add years of life to your KILN-
SITTER tube assembly. (On large kilns also remove the bottom peephole plug.)
11. INSERT A FINGER INTO THE HOLE IN THE WEIGHT AND PUSH FIRMLY IN ON
THE PLUNGER UNTIL IT LOCKS.
12. WEIGHT CLEARANCE
The area outside the kiln should be clear of obstructions so the free fall of the
weight is not impeded.
13. FIRE THE KILN BY USING THE REGULAR KILN SWITCHES, AS INSTRUCTED
BY THE KILN MANUFACTURER.
WITNESS CONES
DO NOT LEAVE THE KILN UNATTENDED BEYOND THE ESTIMATED FIRING
TIME. An uncontrollable accident, such as greenware falling against the end of the
KILN-SITTER tube may cause an over-firing, which could damage your kiln.
Should this occur, the operator should be in attendance to shut of the kiln manually.
 Loading...