
A
angelajordanAug 14, 2025
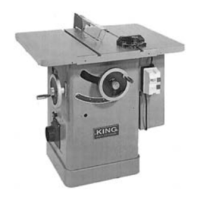
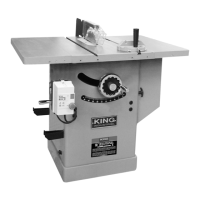
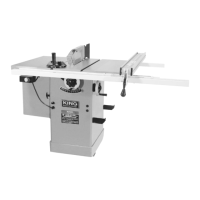
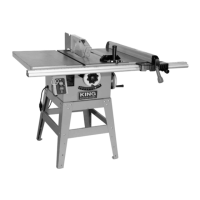
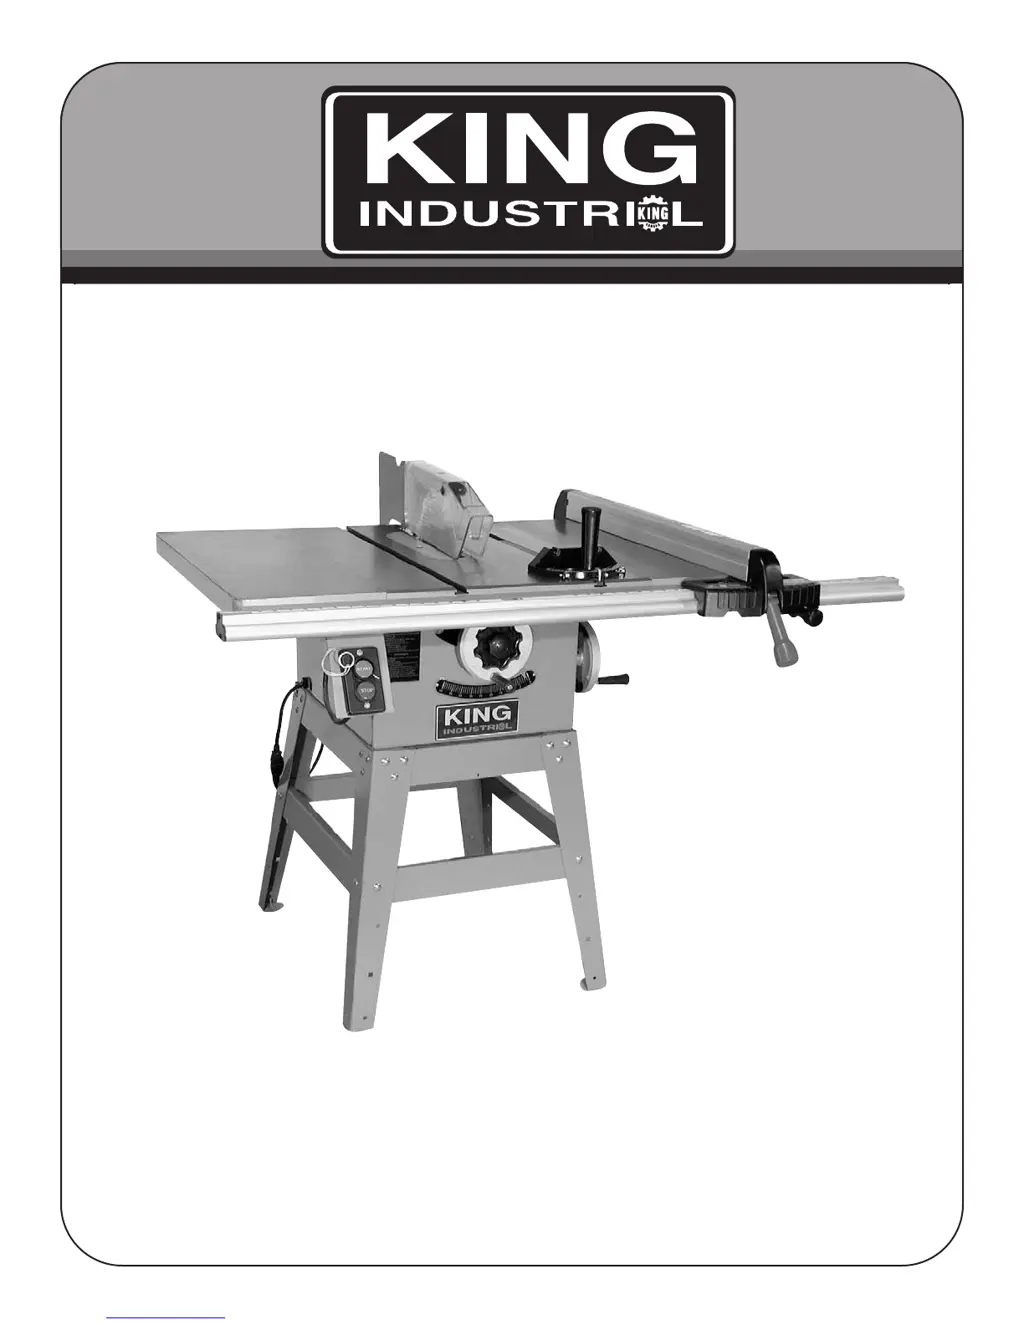
Why my King Industrial KC-10GC Saw will not start?
- JJustin MartinAug 14, 2025
If your King Industrial Saw won't start, there are several potential causes: * The saw might not be plugged in. Ensure it is properly connected to a power source. * A fuse may have blown or a circuit breaker tripped. Replace the fuse or reset the circuit breaker. * The cord could be damaged. In this case, have it replaced by a certified electrician. * The overload relay might not be set. Try pushing the overload reset button.