12
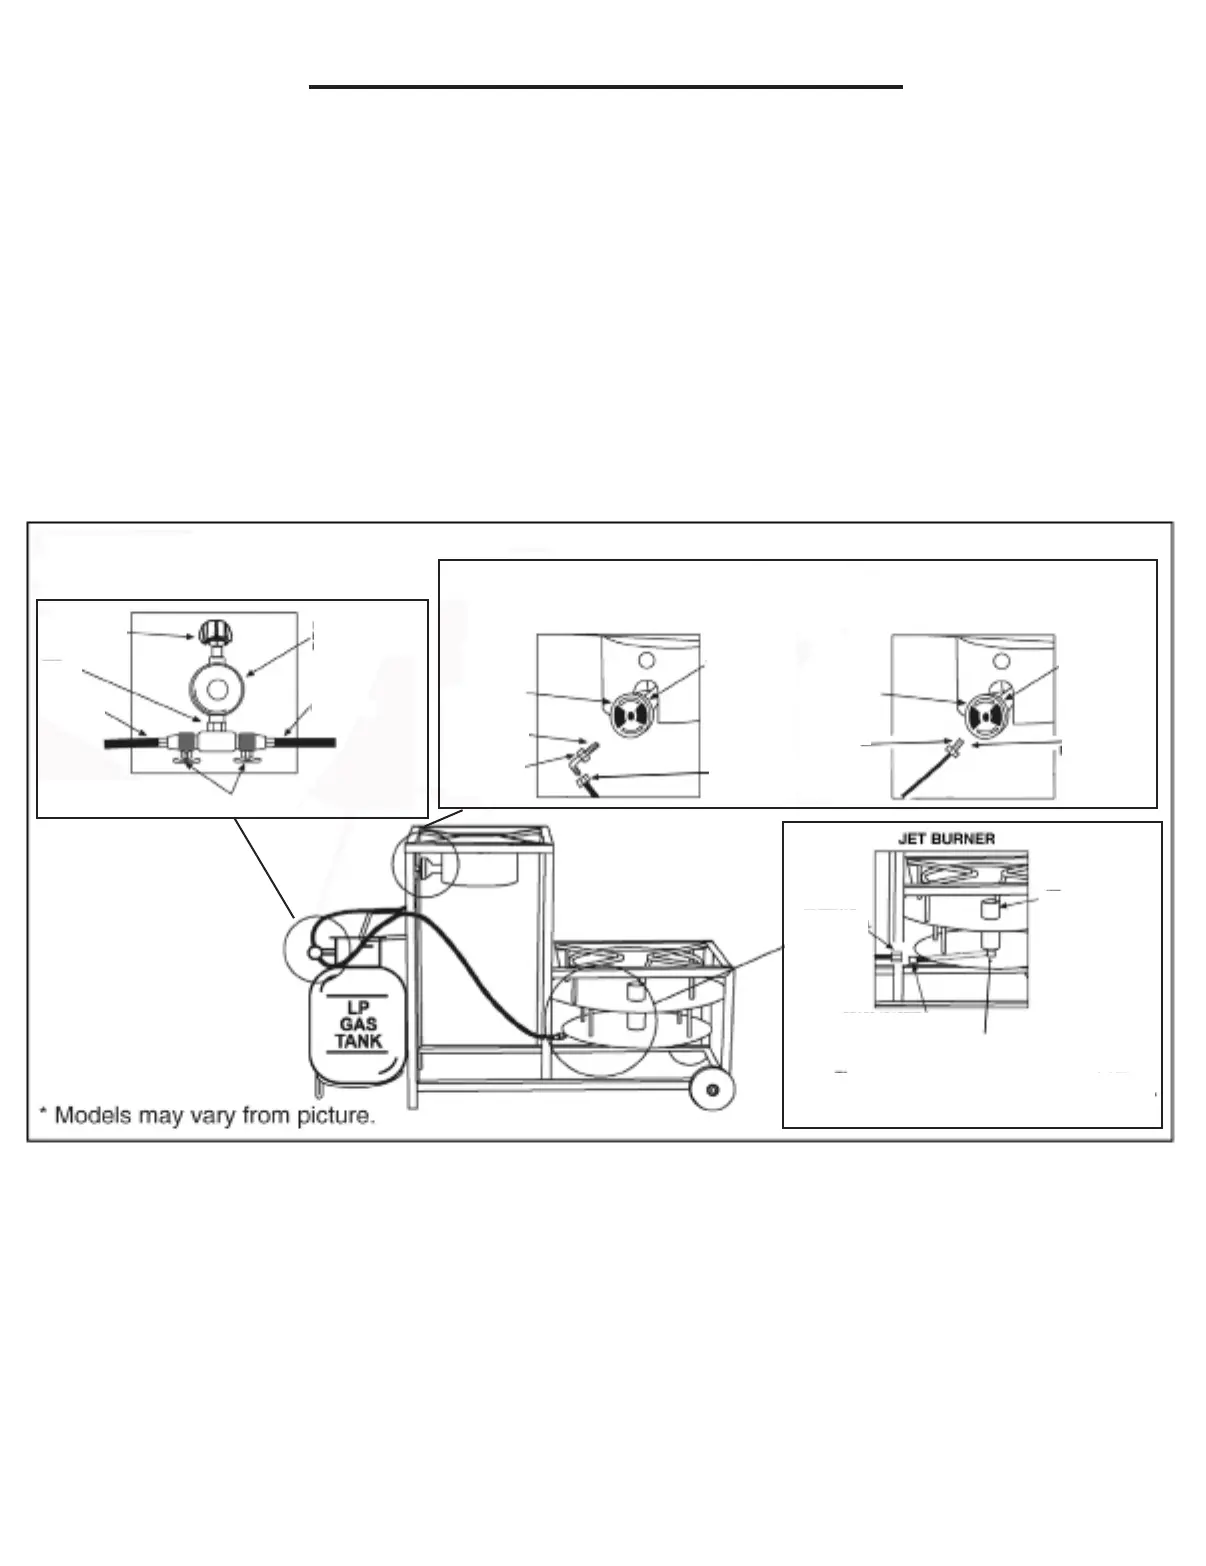
NON-ADJUSTABLE REGULATOR
WITH MANUAL VALVES ASSEMBLY
JET PIPE
TYPE 1
CONNECTION
NON-ADJUSTABLE
HIGH PRESSURE
REGULATOR
TEE
L.P. HOSE
MANUAL VALVES
L.P. HOSE
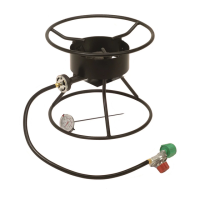
CAST BURNER
(Hose to cast burner assembly will either be made with a 3/8 Female Flare Swivel and Half
Union or a 1/8 Male Pipe Thread depending upon model.)
AIR SHUTTER
ORIFICE
HALF UNION
VENTURI TUBE
3/8 FEMALE
FLARE SWIVEL
3/8 FEMALE
FLARE
SWIVEL
AIR SHUTTER
ORIFICE
VENTURI TUBE
1/8 MALE
PIPE THREAD
ORIFICE CAP
(DO NOT REMOVE THIS FITTING)
The orifice is the drilled hole in the brass cap
which should be pointing up directly into the jet pipe.
BRASS ADAPTER
HOSE ASSEMBLY INSTRUCTIONS
1.Wrenchtightenthe3/8”femaleflareswiveltothebrassadapter.Ifassemblingahosetoacast
burner,determineifyourhosehasa3/8”femaleflareswivelendora1/8”malepipethreadend.If
yourcookerhasa3/8”femaleflareend,wrenchtightenittothepre-installedhalfunionlocatedon
thecastburner.Ifithasa1/8”malepipethreadend,tightenthehosefittingintotheventuriwitha
torque wrench, up to a torque of 95 to 105 lb./in. Alternatively, hand tighten securely and then, using
a wrench, tighten an additional
1-1 1/2 turns.
2. The hose to burner (brass adapter) connections must be tightened and leak tested.
3. Go to the Use and Care Section of this manual for further instructions.