3
INSTALLATION
INSTALLATION
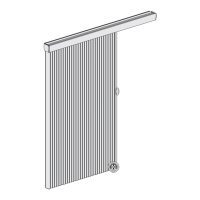
Inside Mounts
For inside mounts the installation brackets will be screwed in place through the top two holes of each bracket. Refer to the
mounting depth chart below.
NOTE: Prior to mounting the brackets, add any clearance depth required to avoid obstructions such as window cranks or
handles.
■
Attach the brackets.
➤
Screw installation brackets through top two holes to desired window sill location.
➤
Ensure all brackets are level and aligned.
Outside Mounts
For outside mounts the standard installation brackets will be screwed in place through the two back holes of each bracket. Refer to
the minimum surface height chart below.
Standard Brackets
■
Screw standard brackets through two back holes to desired location.
■
Ensure all brackets are level and aligned.
Extension Brackets (Optional)
■
Position the extension brackets to the desired wall location.
■
The bracket tops must be aligned and level to one another.
■
Mount the extension brackets through the back holes with two screws.
■
Attach installation brackets to extension brackets with included screws & nuts.
NOTE: Use the same holes for all brackets to ensure even projection from the surface.
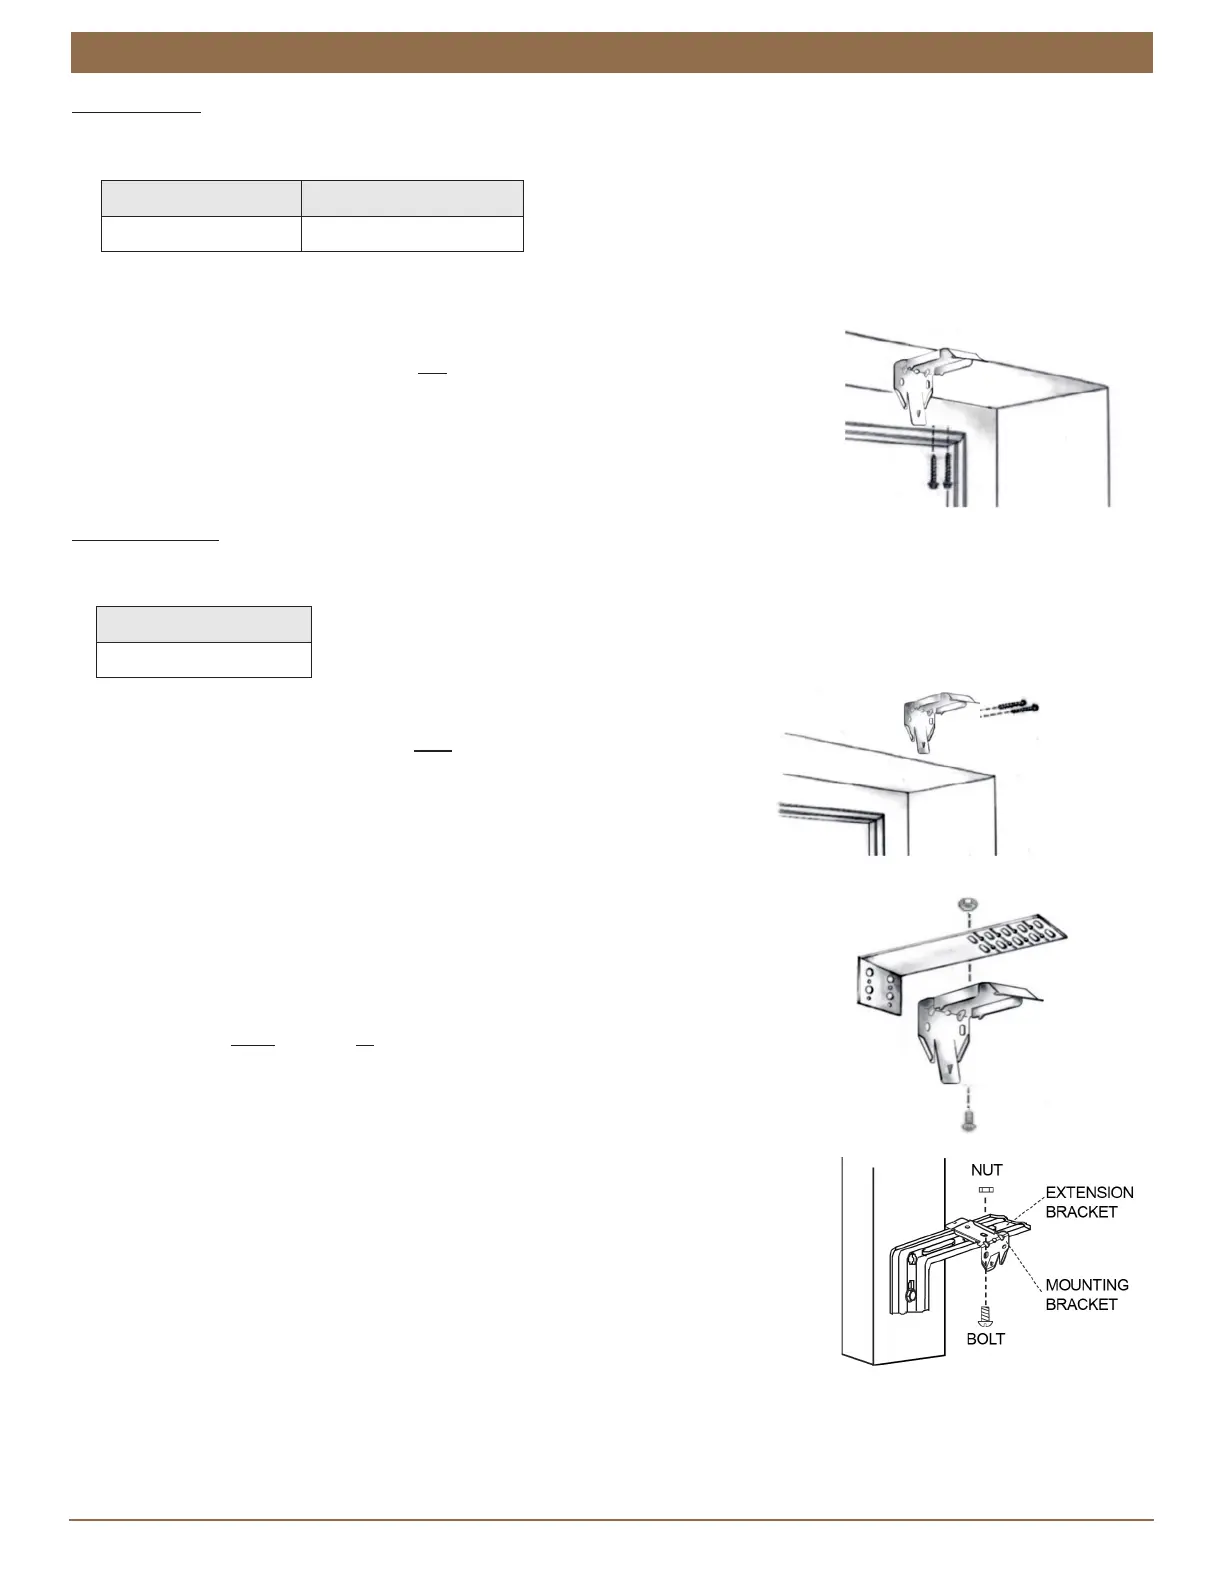
Side Mount with Extension Brackets (Optional)
■
Measure from window sill up to desiredmounting position on each side of thewindow
frame.
■
Mark position.
■
MountExtension Brackets on each side ofwindow frame, as shown.
■
Make sureto confirm that the headrail will sit perfectly level.
■
Once the ExtensionBrackets are installed and properlypositioned, attach the mounting
bracketsusing the nuts and bolts provided.
Minimum Depth Fully Recessed
3
⁄
4
" 2-
1
⁄
8
"
Minimum Height
1-
1
⁄
2
"