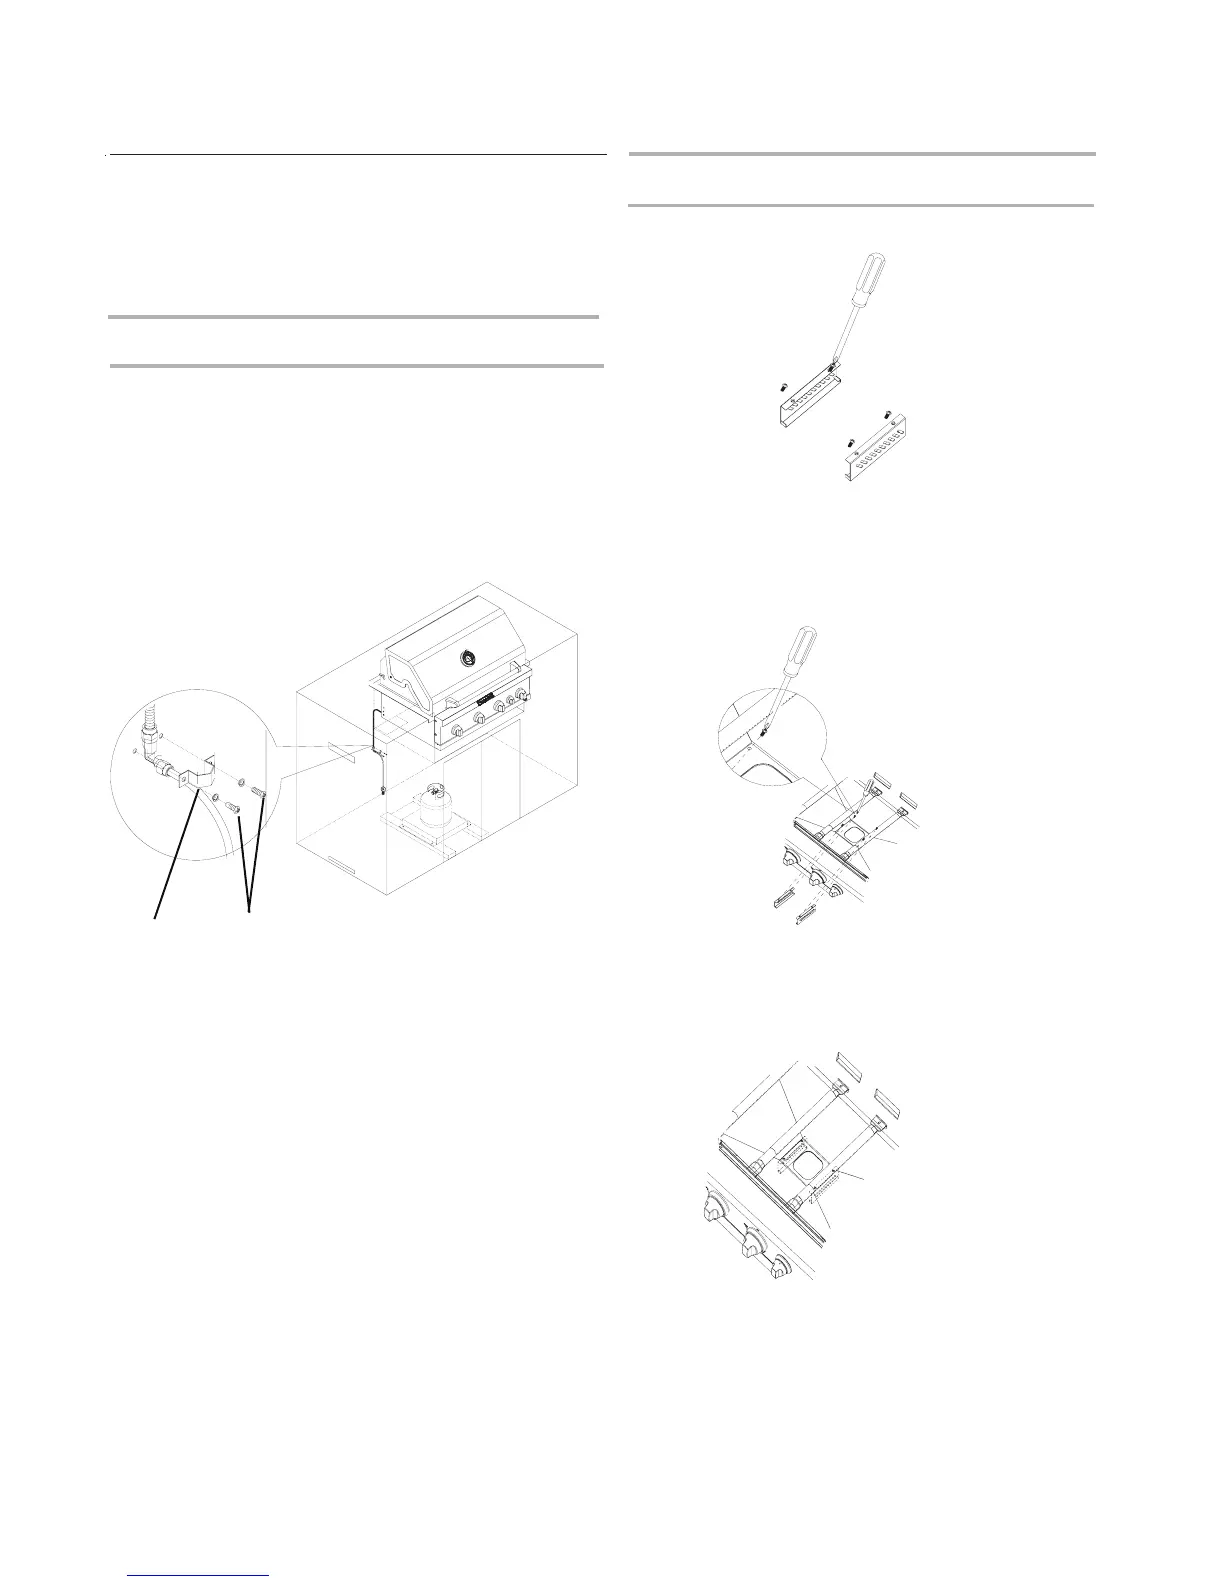
Grease Cup Bracket Installation
1. Loosen and remove the 4 screws preassembled on the grease
2.
Attach the left and right grease cup bracket on firebox bottom
panel under side, align screw holes, insert 4 screws which moved
from step 1 into these screw holes. Screws lock from firebox
cup bracket.
bottom panel under side.
3. Tighten these 4 screws.
13
LP Gas Installation
1. Check that the LP
gas pressure regulator/hose assembly is
positioned under the grill (as shown in the following illustration)
and is not pinched or kinked.
2. Use 2 screws and the 1-piece 90° clamp mounting bracket provided
to attach the 90° brass connector to the back of the enclosure. The
brass connector is located between the flexible gas hose and the LP
gas pressure/hose assembly.
A. 2 screws
B. 1 piece 90° clam
p mounting bracket
A
B
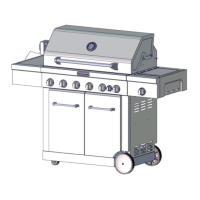
Install Grill
Place grill into outdoor enclosure, but leav
e enough room in the back to
connect to the gas supply.