Natural Gas Conversion
Conversion must be made by a qualified gas technician. The
qualified Natural gas technician shall provide the Natural gas
supply to the selected grill location in accordance with the
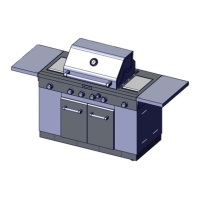
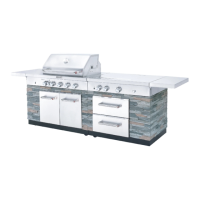
The 20 lb LP gas fuel tank must be mounted and secured.
Door Style Tank Tray
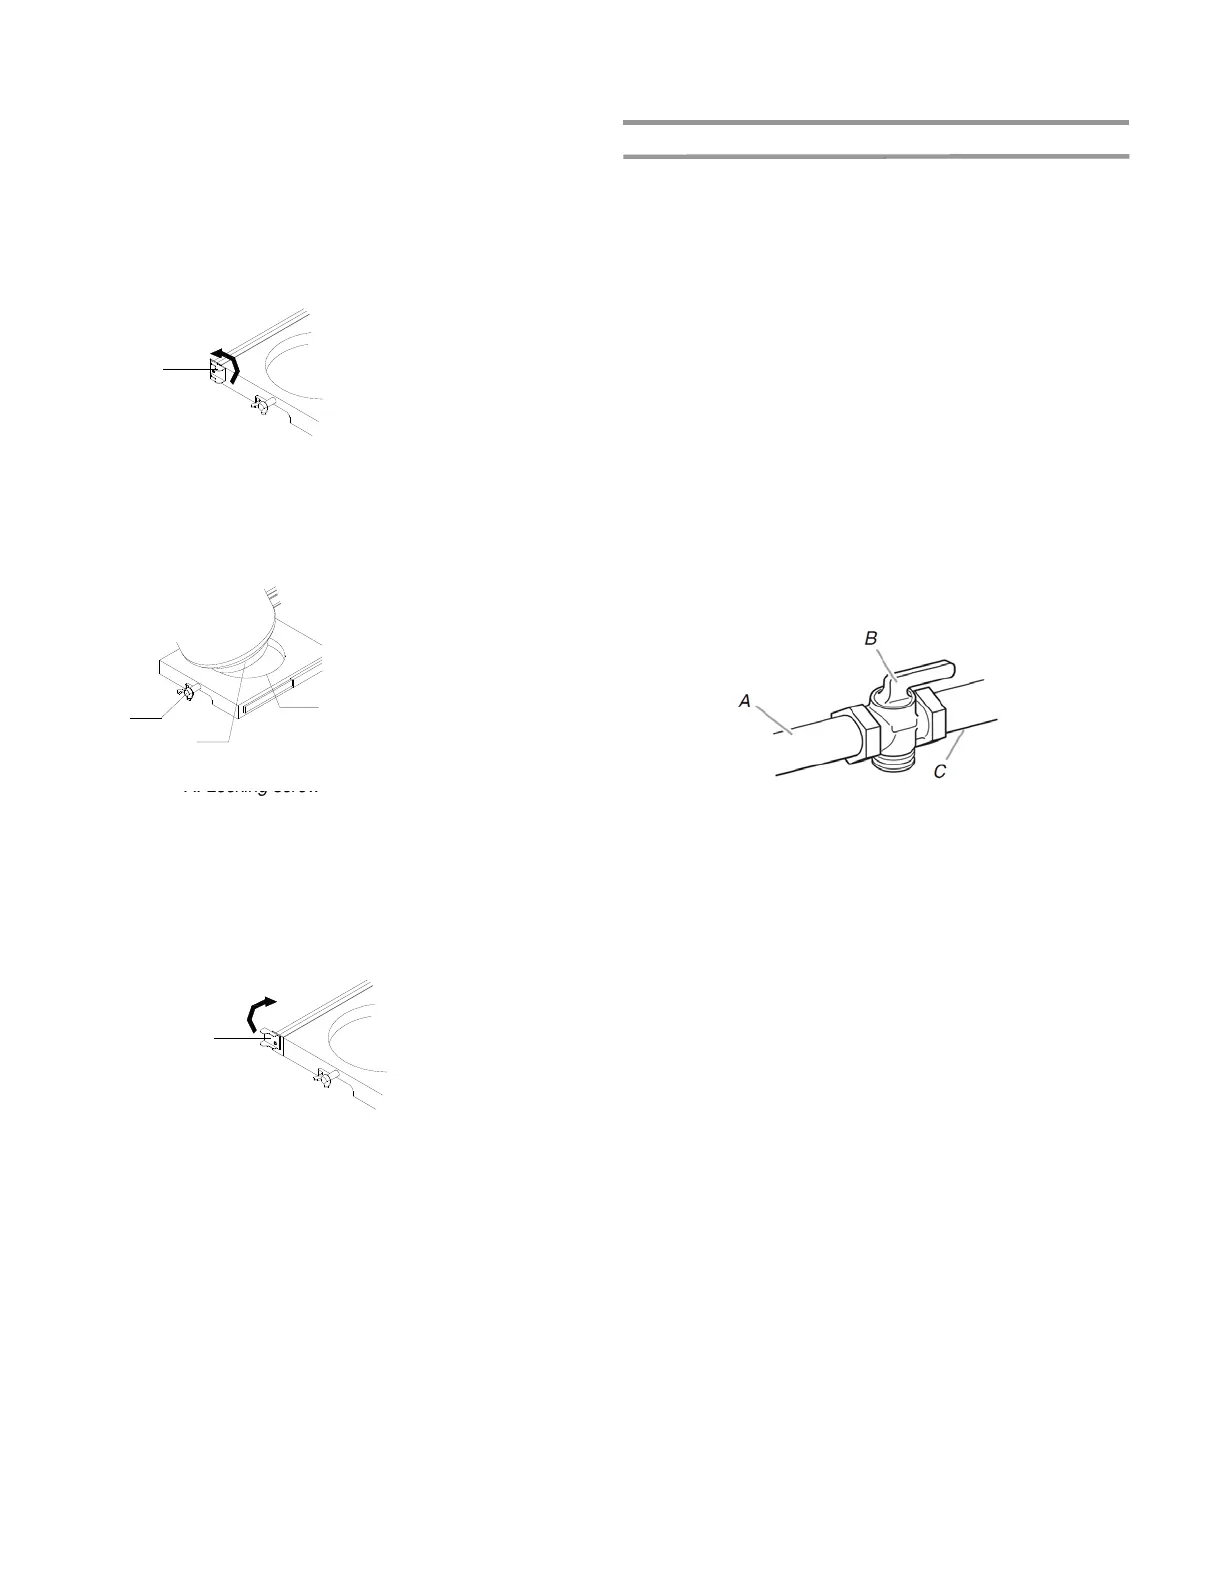
1. Open cabinet door.
2. Slide the tank tray locking bracket counterclockwise 90 º
National Fuel Gas Code ANSI Z223.1/NFPA 54 - latest edition,
and local codes. For conversion to Natural gas, the Natural Gas
Conversion Kit supplied with the grill (on some models) or the
Natural Gas Conversion Kit Part Number 710-0003 must be
used. See “Assistance” section for information on ordering.
IMPORTANT: The gas installation must conform with local
codes, or in the absence of local codes, with the National Fuel
Gas Code, ANSI Z223.1/NFPA 54 - latest edition.
Follow instructions for converting to Natural gas in the
“
A
and pull out the tra
Conversions” section of this manual or the instructions supplied
with Natural Gas Conversion Kit Part Number 710-0003.
The gas supply line shall be equipped with an approved shutoff
valve. This valve should be located in the same area as the grill
and should be in a location that allows ease of opening and
closing. Do not block access to the shutoff valve. The valve is
for turning on or shutting off gas to the grill.
3. Place the 20 lb LP gas fuel tank bottom collar into the
mounting hole in the tank tray.
4. Tighten the locking screw against the bottom collar of
the 20 lb LP gas fuel tank to secure.
A. Tank tray locking bracket
A
B
C
A. Gas supply line
B. Shutoff valve “open” position
C. To grill
B. Bottom collar
C. Mounting hole
5. Slide the drawer with the 20lb LP gas fuel tank back into the
cabinet. Turn the tank tray locking bracket clockwise 90º to
tighten.
A
A. Tank tray locking bracket
8