High Power Amp Essentials
www.kitronik.co.uk/2143
The kit is supplied with a meter of twin cable. This cable will be used to connect the two
speakers. You will need to cut this to the required length to connect each speaker in your
enclosure design (reserving a section for connecting the power jack later).
Take each piece of twin cable and strip the ends of the wire. Connect one end of each wire to
the two terminals on each speaker (as shown). You will see that the speakers have ‘+’ and ‘-’
indicators. At this stage it doesn’t matter which way around the wire is connected.
Take the cable connected to one speaker and connect it to the terminal block labeled ‘OUT1’ on the PCB. The
connections on the terminal blocks are also labeled with a ‘+’ and ‘-’. The ‘+’ on the PCB needs to go to the ‘+’ on the
speaker and ‘-’ to ‘-’.
Repeat with the second speaker, this time connecting to the terminal block labelled ‘OUT2’.
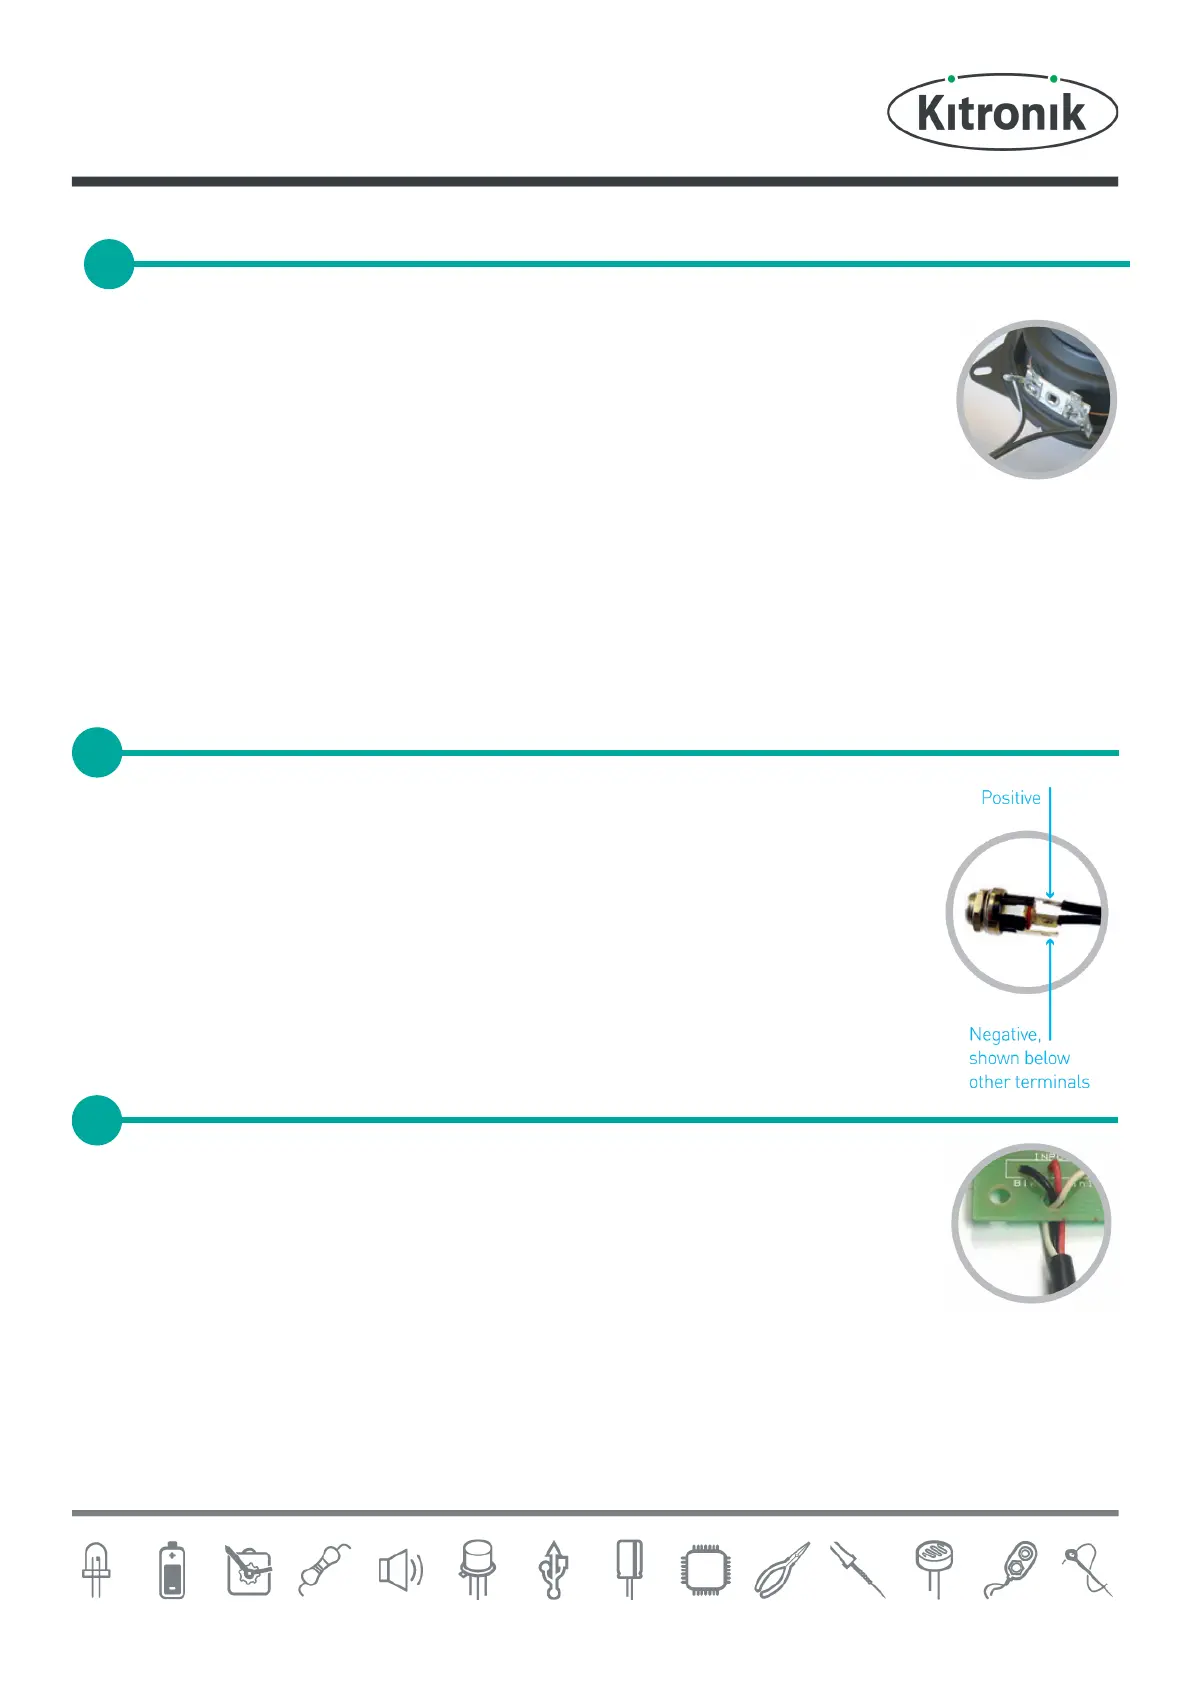
The kit is supplied with a power connector that can be mounted into the side of a case
designed to hold your ampli®er. To connect this to the ampli®er board, it needs a piece of
cable (reserved earlier in step 10) connecting to it. There are three connections on the
connector. The middle / rear connection should have one wire connected to it and the top
connector should have the other wire connected to it as shown in the diagram.
Look at the diagram above and note which wire is positive / negative. They can be connected
to the terminal block labelled ‘POWER’ ensuring the polarity of the wires matches the ‘+’ ‘-’
identi®ers in the PCB.
The stereo Jack / iPod lead should be connected to the ‘INPUT’ terminal. First feed the wires
through the strain relief hole. The black wire should be connected to the terminal labelled
‘BLK’. The other two wires can go to either of the two remaining inputs.
CONNECT THE SPEAKERS
CONNECT THE POWER CONNECTOR
 Loading...