12 13
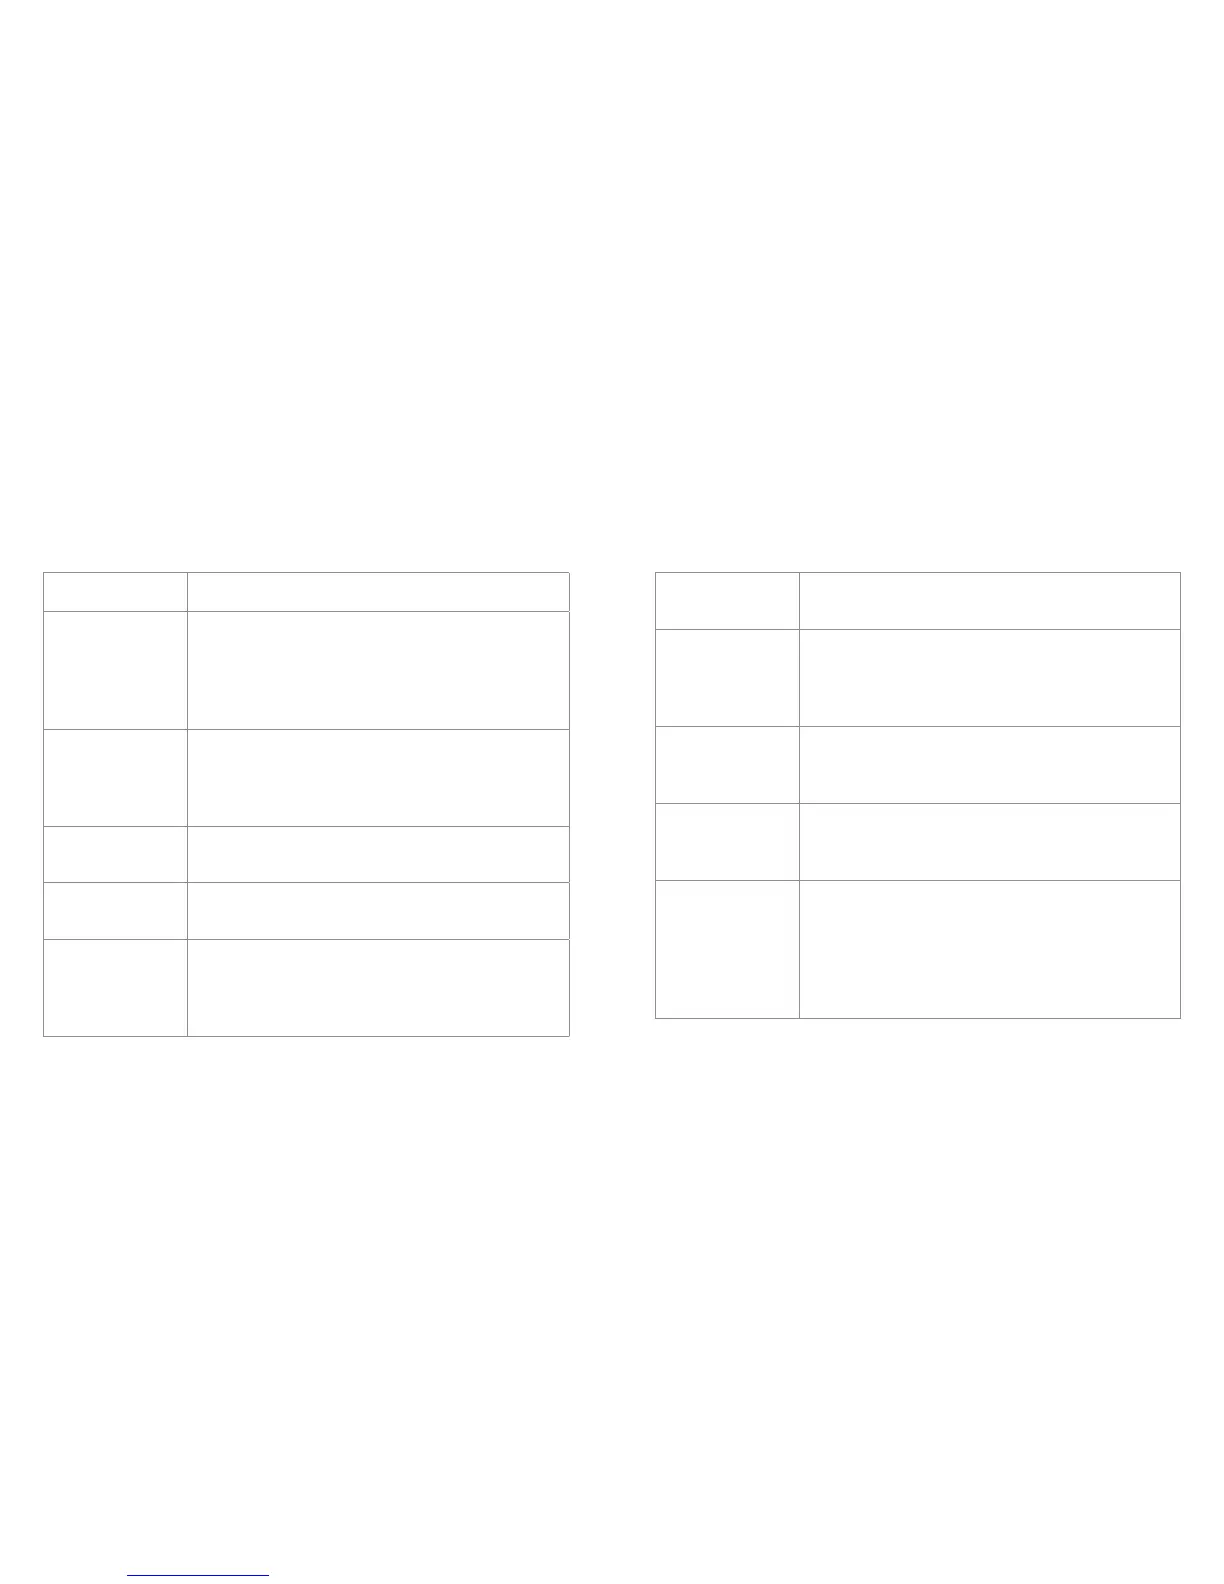
Setting Information
Resolution
Change the size of the image depending on use
intended. 12 megapixel is the best quality and is the
largest les size; VGA is the lowest quality and is the
smallest le size.
[12M] / [10M] / [8M] / [5M] / [3M] / [2M] / [1.3M] / [VGA]
Sequence
When on, the camera will take 3 photographs in quick
succession after a single press of the Record start/
stop/OK button (8).
[On] / [O]
Quality
Adjust the photo detail and le sizes.
[Fine] / [Normal] / [Economy]
Sharpness
Adjust the sharpness of the images.
[Strong] / [Normal] / [Soft]
White balance
When on the camera will correct colours under
dierent lighting conditions.
[Auto] / [Daylight] / [Cloudy] / [Incandescent] /
[Fluorescent]
ISO
Higher ISO settings would be used in darker situations.
[Auto] / [100] / [200]
Exposure
The exposure value can be raised or lowered to
increase or decrease the brightness of the photos.
[+0.0] / [-1/3] / [-2/3] / [-1.0] / [-4/3] / [-5/3] / [-2.0] /
[+2.0] / [+5/3] / [+4/3] / [+1.0] / [+2/3] / [+1/3]
Stabilisation
The stabiliser will try to compensate for unwanted
motion blur.
[On] / [O]
Quick review
Choose a length of time for your photograph to display
on the LCD screen after it has been taken.
[2Seconds] / [5Seconds]
Date/time stamp
When on, the camera will imprint the date and time
on to the video le so it is visible when played back,
providing a secure way of providing date and time
evidence. When o, the camera will save the date
and time into the information le of the recording.
[O] / [Date] / [Date/Time]
Photo mode settings