*Any overlap time adjustment will be considered invalid, the device will only work on the basis of the
previous valid setting.
*While setting the timer, if you want to give it up, hold for 3 seconds.
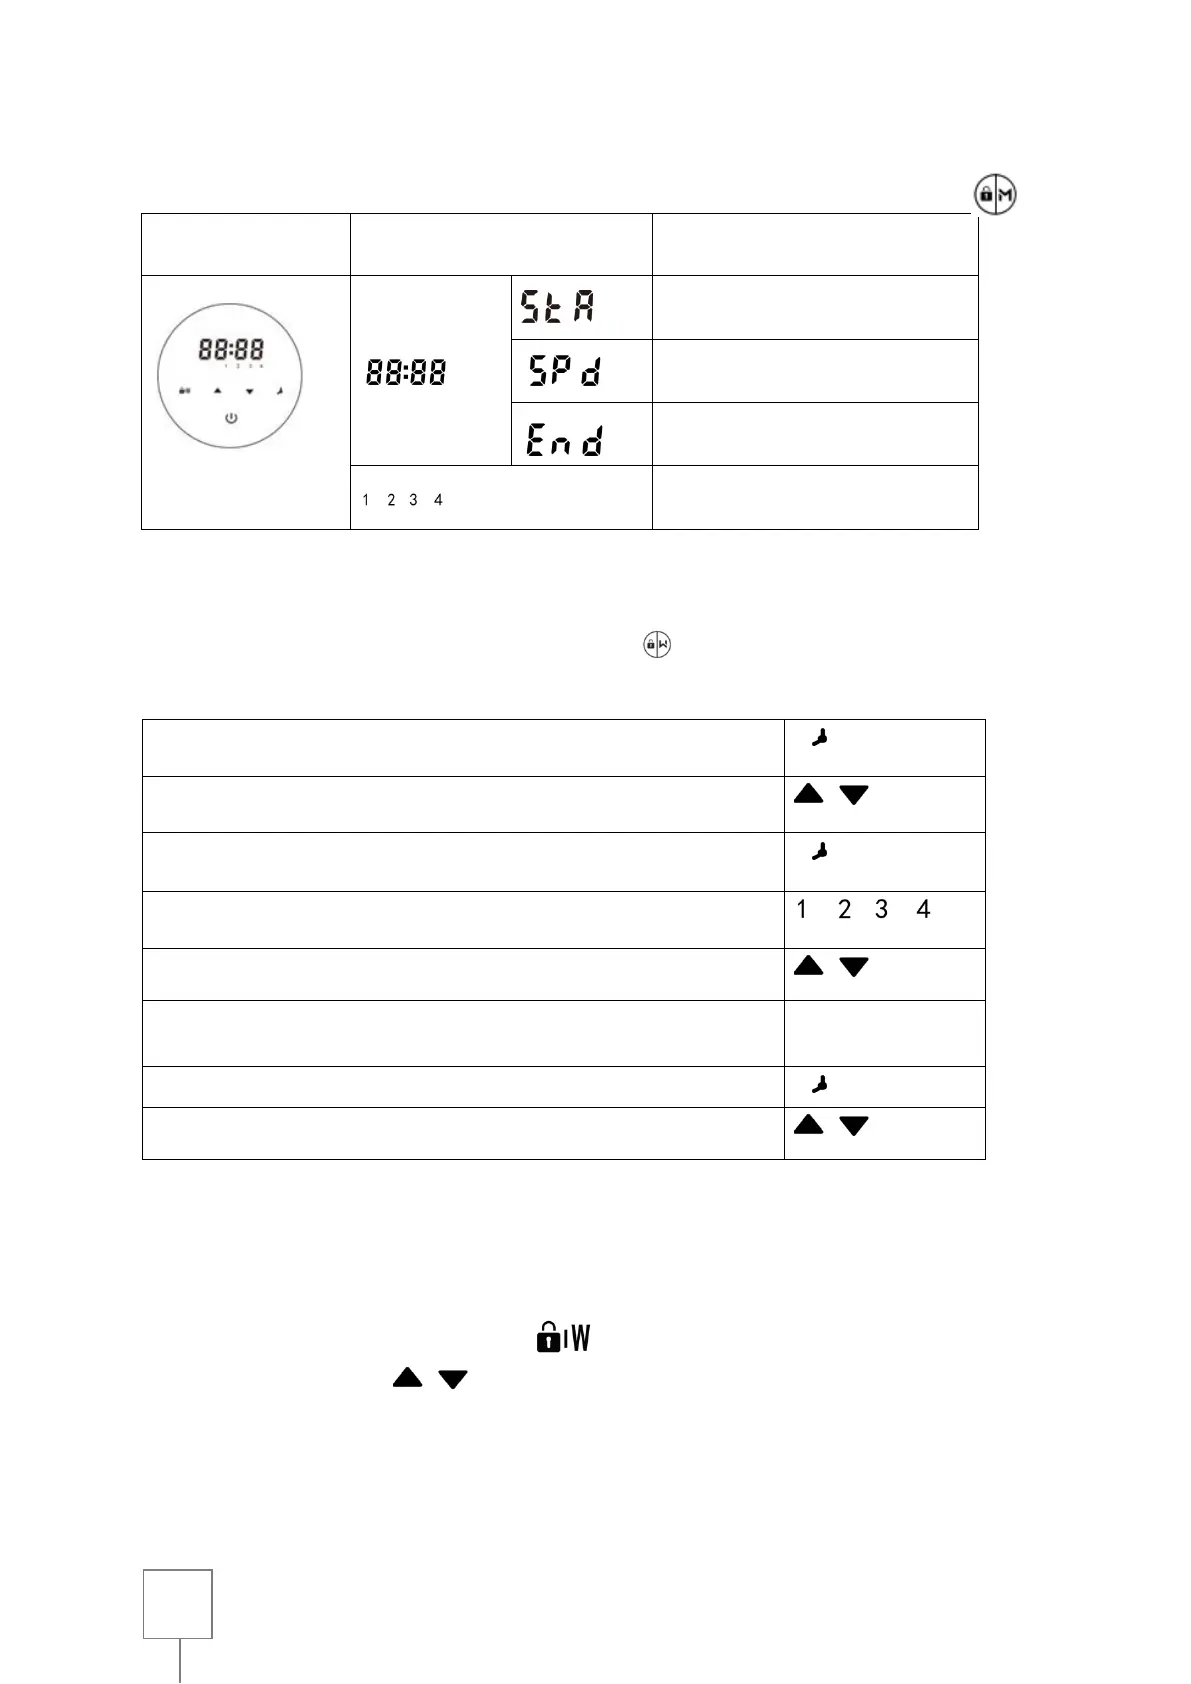
1. Enter the timer setting
3. Save and switch to the next setting
4. Choose a capacity for timer 1
5. Decide on a specific use of arrow-up and arrow-down
abilities
6. Repeat the steps above to set the other 3 timers if necessary
7. 3 seconds to save the timer setting
8. Hold both keys to check 4 timers to make sure there is no
invalid setting
Back-current and self-priming function
By activating the retro wash/self-priming function, the device will operate at 120% of its capacity.
The setting range is 30 to 300s, per step 30s.
To do this, in ON mode and unlock press and then adjust the self-priming for a duration of 30
to 300s using the arrows . After washing against the current and self-priming, the device
continues to operate at 100% capacity for one minute, then decreases to 80% to a capacity of 5%
per second
 Loading...