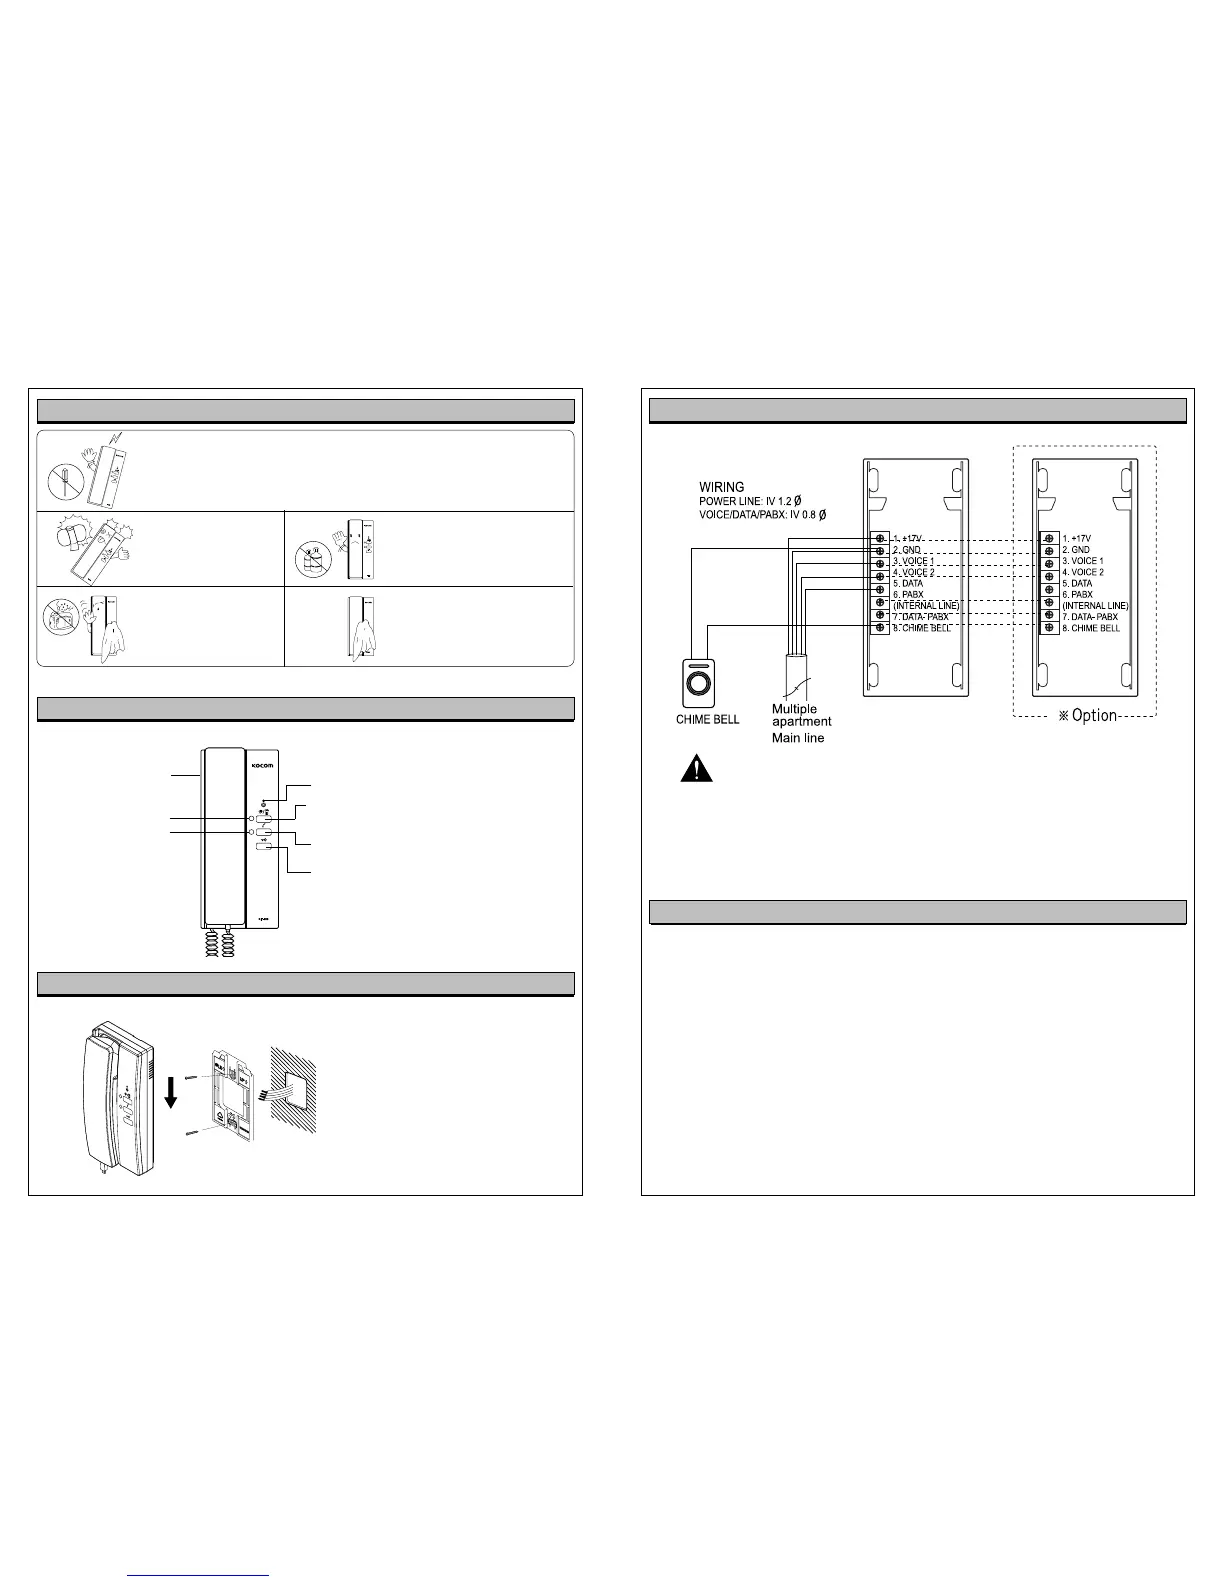
Place bracket on the wall and fix it
with screws. After wiring, fit the rear
side of main frame to a groove in the
bracket and pull the main frame down
to fix.
Avoid connection after wiring.
Product Specification
External Wiring Diagram
Power:
Common Power Input
Consuming Electricity
Guaranteed Operation Temperature
Communication Mechanism
Melody
Wiring
Wiring Distance
Dimensions
Max 1W (standby mode) / Max 2.5W (operation mode)
Balance Circuit
(front door, inner lines, guardroom, lobby)
5-line polar wiring
/Voice 1/Voice 2
Chime
within
Chime
with in 30m
W
H
Precautions for Wiring
As incorrect wiring may cause the device’s non-operation or poor communication quality, please
carefully conduct wiring work.
When connecting a wiring chord to a terminal, loosen screw, insert the end of the chord into the bottom
part of screw, and tighten the screw.
When fixing wiring chord, use stapler not to cause damage to the chord.
When using existing wiring, please be cautious not to cause disconnection and short-circuit.
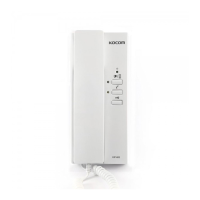
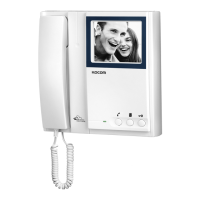
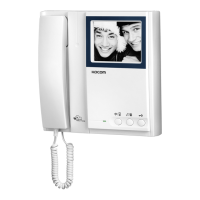
Power Lamp (Green)
Internal Call button
Door Open Button: Pressing the button after
communication with lobby, opener installed
lobby door is opened.
Guard/Lobby Button: Used in call to guardroom,
conversion to communication with guardroom, or
communication after call from lobby
3-Level Volume Switch
Guard/Lobby (Green)
Inner Lines (Yellow)
Instructions for Installation
Component’s Name
Keep away from humidifier
and stove. High temperature
and humidity may cause
troubles.
When cleaning, do not use wet hand,
volatile benzene or paint thinner.
Use soft cloths dipping in neutral
detergent to wash this device and dry
it with dry clothes.
As this device consists of electronic precision components, do not attempt to
disassemble.
Do not drop this device
and avoid strong impact.
Precautions for Operation
Clean the exterior of this device
with soft cloths at times to keep
it in clean state.