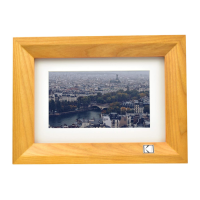
6
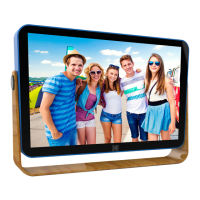
Wall Mounting
1. Insert a nail, screw, or hook into the wall in a location that
support the frame's weight.
2. Leave at least ½" (about 12mm) of the nail or screw exposed.
3. Hang the Digital Photo Frame onto the nail or screw.
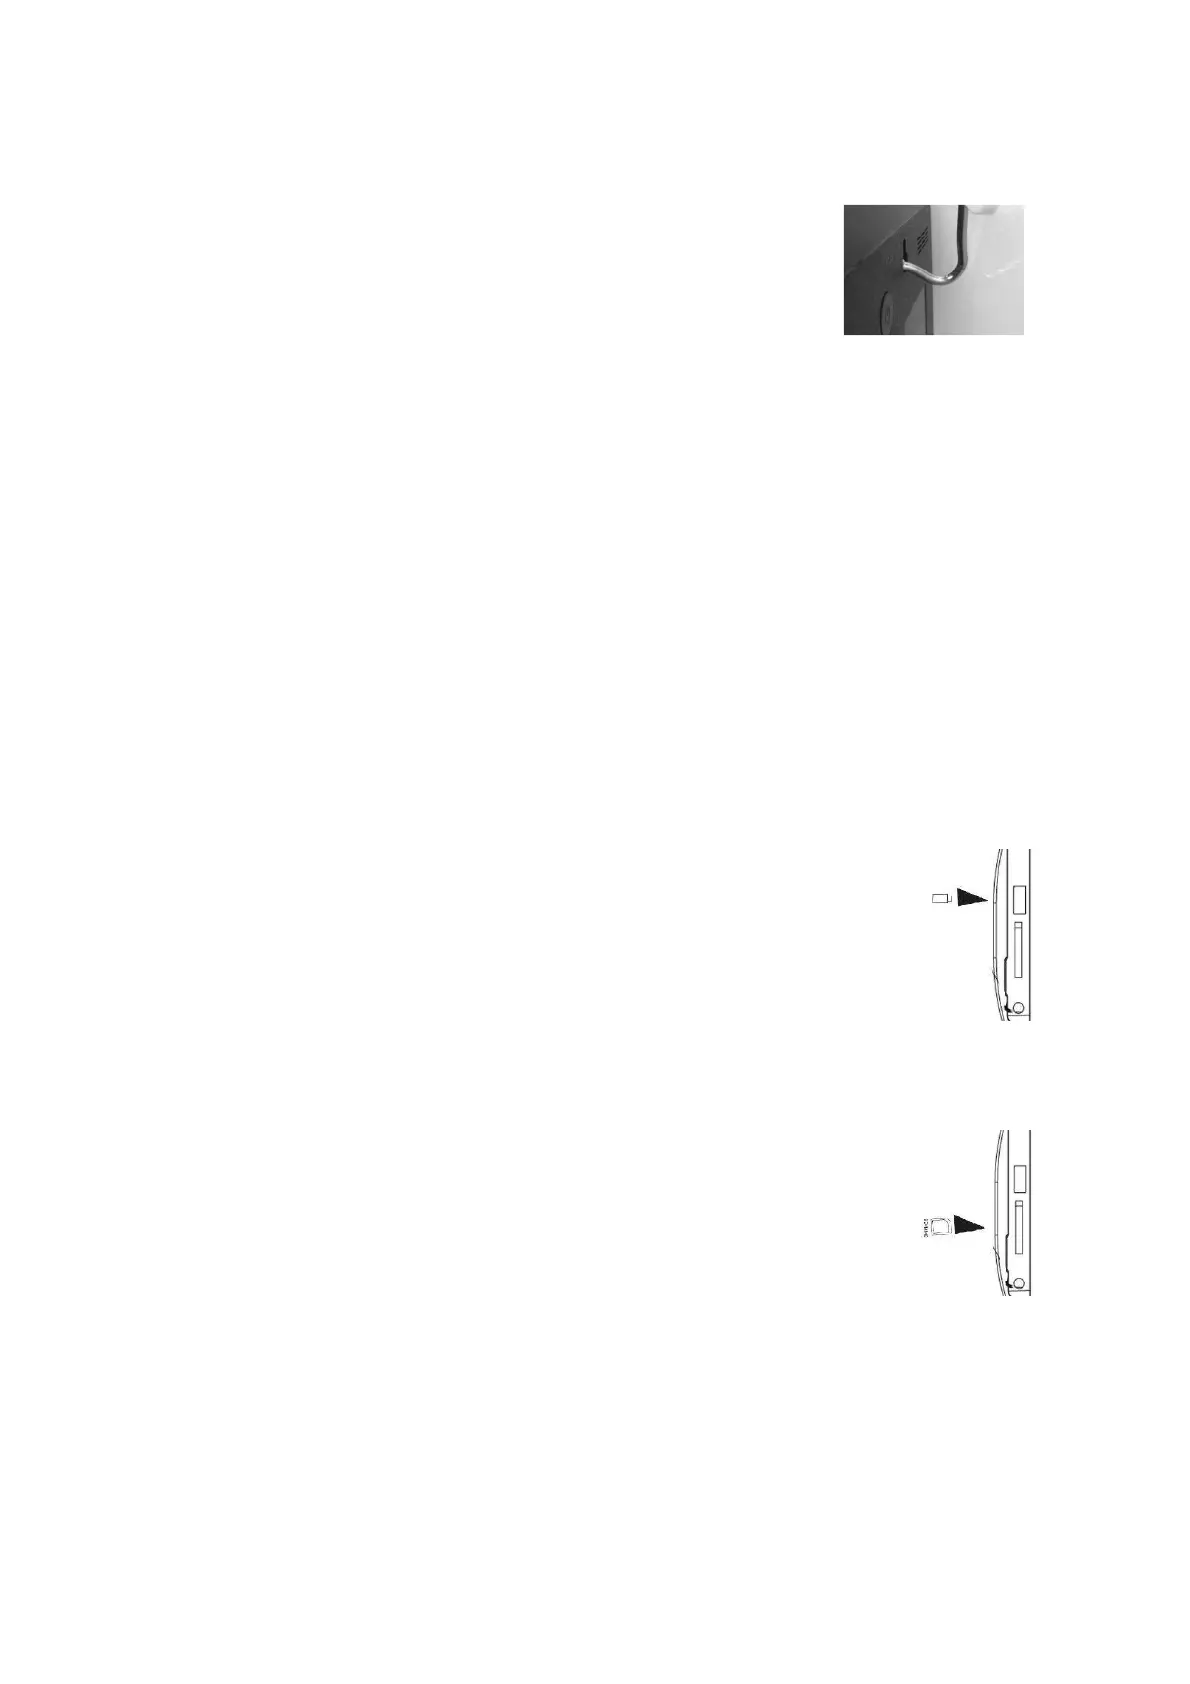
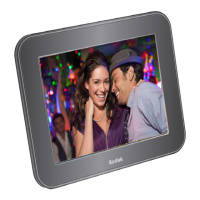
Connecting the Power Supply
1. Place the frame on a flat, stable surface.
2. Plug the DC plug of the adapter to the jack marked "DC IN 5V" on the side of the
digital photo frame, and then connect power adapter to a standard 110-Volt AC
electrical outlet. The player will power on.
3. Press and hold the Menu Button to power the frame on or off.
4. When the unit is not being used for a long time, press the Menu Button on the unit
to power it off and unplug the AC adapter from the electrical outlet.
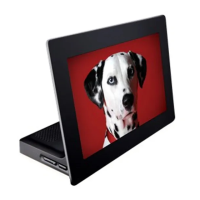
Connecting a USB Drive
To view photos from a USB flash drive, insert it into the USB port on
side of the frame.
NOTE:
• Not all USB storage devices are compatible with this digital
frame.
• USB drive must be formatted using the FAT32 file system.
formatted as NTFS or exFAT will not be recognized.
• Maximum USB flash drive size is 32GB.
Inserting a Memory Card
To view the pictures from a Secure Digital (SD) or Multimedia Card (MMC)
memory card, insert it into the memory card slot on the side of the Digital
Photo Frame with the metal contacts of the card facing away from the
Display.
NOTE:
•
Do not force the memory card into the slot. If you are not able to insert the memory
card easily, you may have inserted it incorrectly; turn the card over and try again.
•
Do not remove a memory card immediately after inserting it or when the frame is
processing files. Wait until the screen is stable.
•
Maximum SD/MMC card size is 32GB.