TT-1617 12/13
INSTALLATION INSTRUCTIONS
Original Issue Date: 12/13
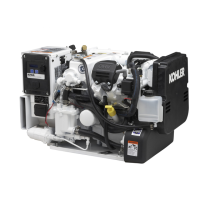
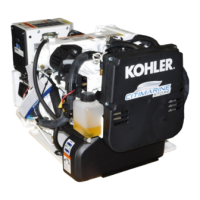
Model: 5/7.5/10EKD and 4/6/8EFKD
Market: Marine
Subject: Seawater Flow Switch Kit GM90489
Introduction
Installation of this kit involves adding a seawater flow
switch and replacing/relocating the seawater pressure
switch with a new switch that provides enhanced
protection for loss or low seawater flow.
Required Tools
The following tools and supplies are needed:
D Electrical tape
D Teflon tape
D Loctite
R
565 general purpose pipe sealant paste
D Drill and 3/16 in. drill bit
D 5/16 in. socket, 1/4 in. drive
D 10 mm socket, 1/4 in. drive
D 15 mm open end wrench
D 13 mm open end wrench
D 3/8 in. open end wrench
D 7/16 in. open end wrench
D 3 in. Phillips screwdriver
D 1/4 in. socket
D 1/4 in. drive ratchet
D Hose cutter knife
D Wire cutter
D Rags
Safety Precautions
Observe the following safety precautions while
performing this procedure.
Accidental starting.
Can cause severe injury or death.
Disconnect the battery cables before
working on the generator set.
Remove the negative (--) lead first
when disconnecting the battery.
Reconnect the negative (--) lead last
when reconnecting the battery.
WARNING
Disabling the generator set. Accidental starting can
cause severe injury or death. Before working on the
generator set or connected equipment, disable the generator
set as follows: (1) Move the generator set master switch to the
OFF position. (2) Disconnect the power to the battery charger.
(3) Remove the battery cables, negative (--) lead first.
Reconnect the negative (--) lead last when reconnecting the
battery. Follow these precautions to prevent starting of the
generator set by an automatic transfer switch, remote
start/stop switch, or engine start command from a remote
computer.
Hazardous voltage.
Can cause severe injury or death.
Operate the generator set only when
all guards and electrical enclosures
areinplace.
Moving parts.
WARNING
Testing live electrical circuits. Hazardous voltage or
current can cause severe injury or death. Have trained and
qualified personnel take diagnostic measurements of live
circuits. Use adequately rated test equipment with electrically
insulated probes and follow the instructions of the test
equipment manufacturer when performing voltage tests.
Observe the following precautions when performing voltage
tests: (1) Remove all jewelry. (2) Stand on a dry, approved
electrically insulated mat. (3) Do not touch the enclosure or
components inside the enclosure. (4) Be prepared for the
system to operate automatically.
(600 volts and under)