9.15
Section 9
Disassembly
9
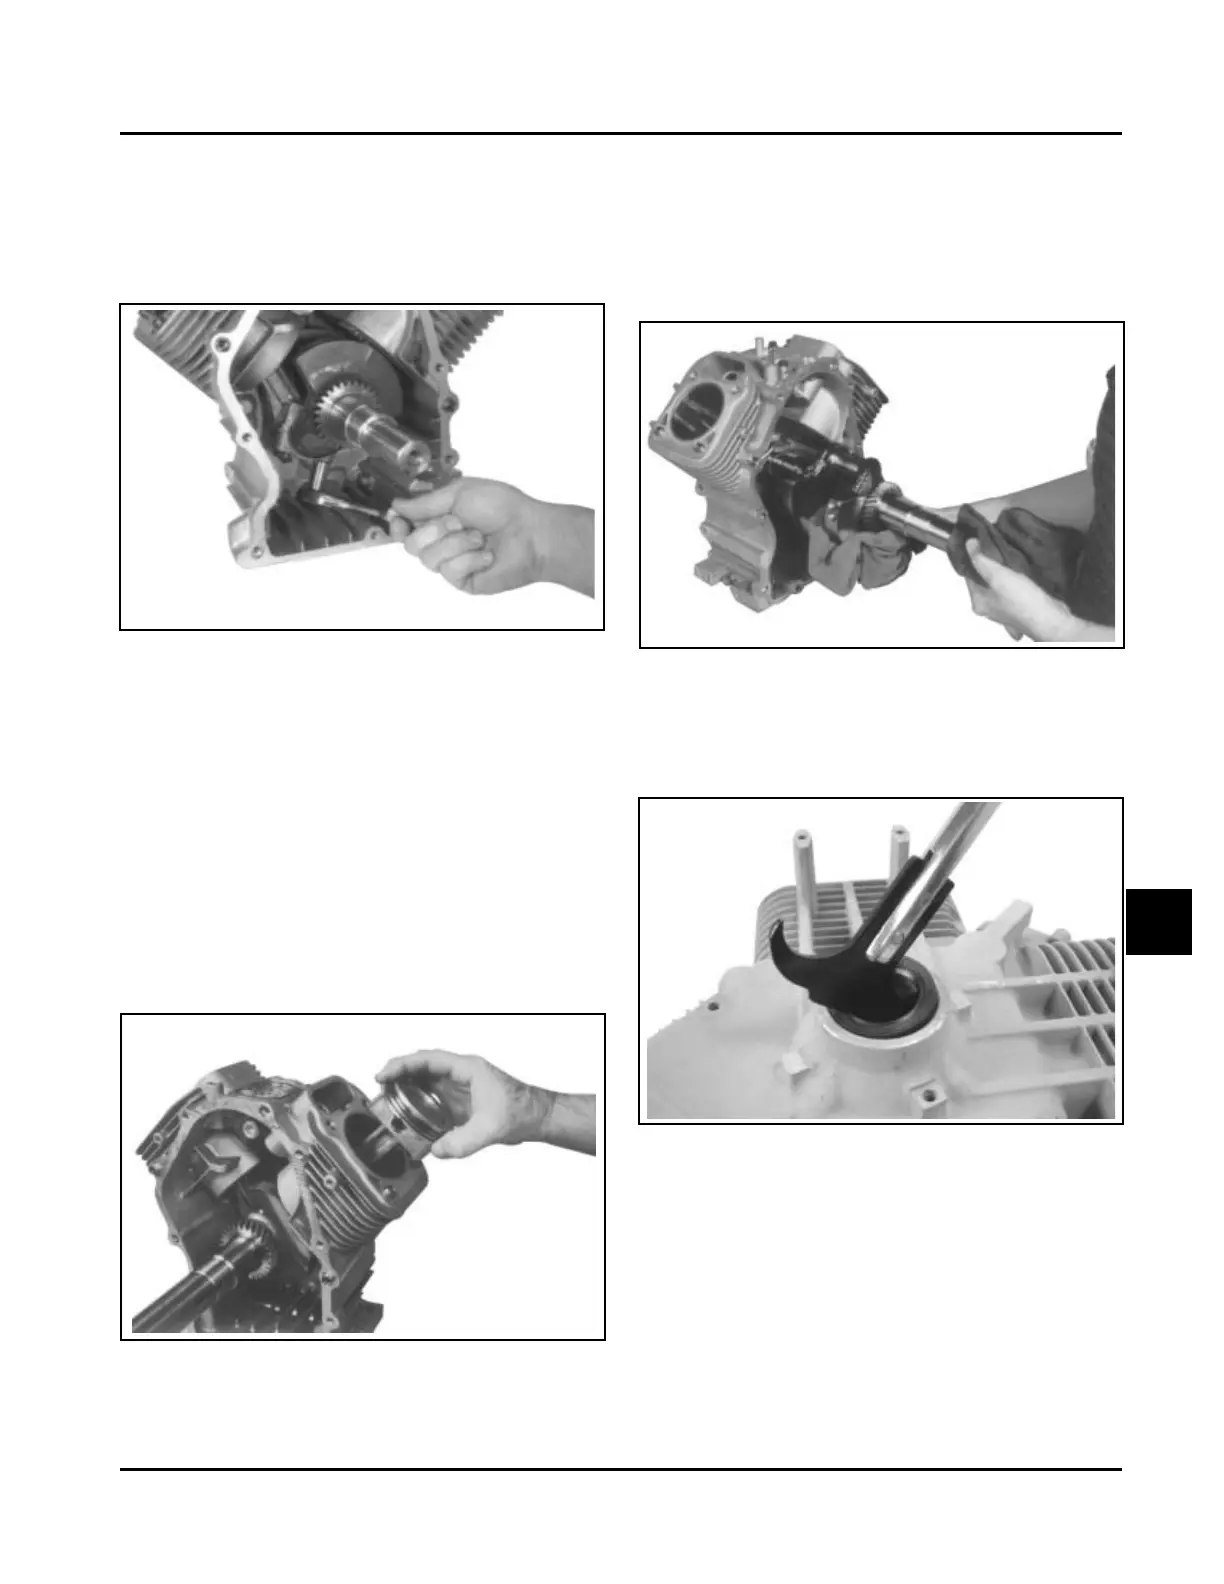
Figure 9-54. Removing Connecting Rod End Cap.
NOTE: If a carbon ridge is present at the top of
either cylinder bore, use a ridge reamer
tool to remove it before attempting to
remove the piston.
2. Carefully remove the connecting rod and piston
assembly from the cylinder bore. See Figure 9-55.
NOTE: The cylinders are numbered on the
crankcase. Use the numbers to mark
each end cap, connecting rod and piston
for reassembly. Do not mix end caps
and connecting rods.
Remove Connecting Rods with Pistons
and Rings
1. Remove the two hex. flange screws securing the
closest connecting rod end cap. Remove the end
cap. See Figure 9-54.
Figure 9-55. Removing Connecting Rod and Piston
Assembly.
3. Repeat the above procedure for the other
connecting rod and piston assembly.
Remove Crankshaft
1. Carefully pull the crankshaft from the crankcase.
See Figure 9-56.
Figure 9-56. Removing Crankshaft.
Remove Flywheel End Oil Seal
1. Remove the oil seal from the crankcase. See
Figure 9-57.
Figure 9-57. Removing Oil Seal.
Kohler Engine Parts Call K&T 606-678-9623 or 606-561-4983
www.mymowerparts.com