4.2
Section 4
Air Cleaner and Air Intake System
Figure 4-6. Low-Profi le Air Cleaner.
Ejector
Area
3. A er the paper element is removed, check the
condition of the inner element. It should be
replaced whenever it appears dirty, typically
every other time the main element is replaced or
every 600 hours. Clean the area around the base
of the inner element before removing it, so dirt
does not get into the engine.
4. Do not wash the paper element and inner
element or use compressed air, this will damage
the elements. Replace dirty, bent or damaged
elements with new genuine Kohler elements as
required. Handle the new elements carefully;
do not use if the sealing surfaces are bent or
damaged.
5. Check all parts for wear, cracks, or damage, and
make sure ejector area is clean. See Figure 4-4.
Replace any damaged components.
Figure 4-4. Ejector Area.
6. Install the new inner element, followed by the
paper element. Slide each fully into place in the
air cleaner housing.
7. Reinstall the end caps and secure with the
retaining clips. See Figure 4-1.
Removal
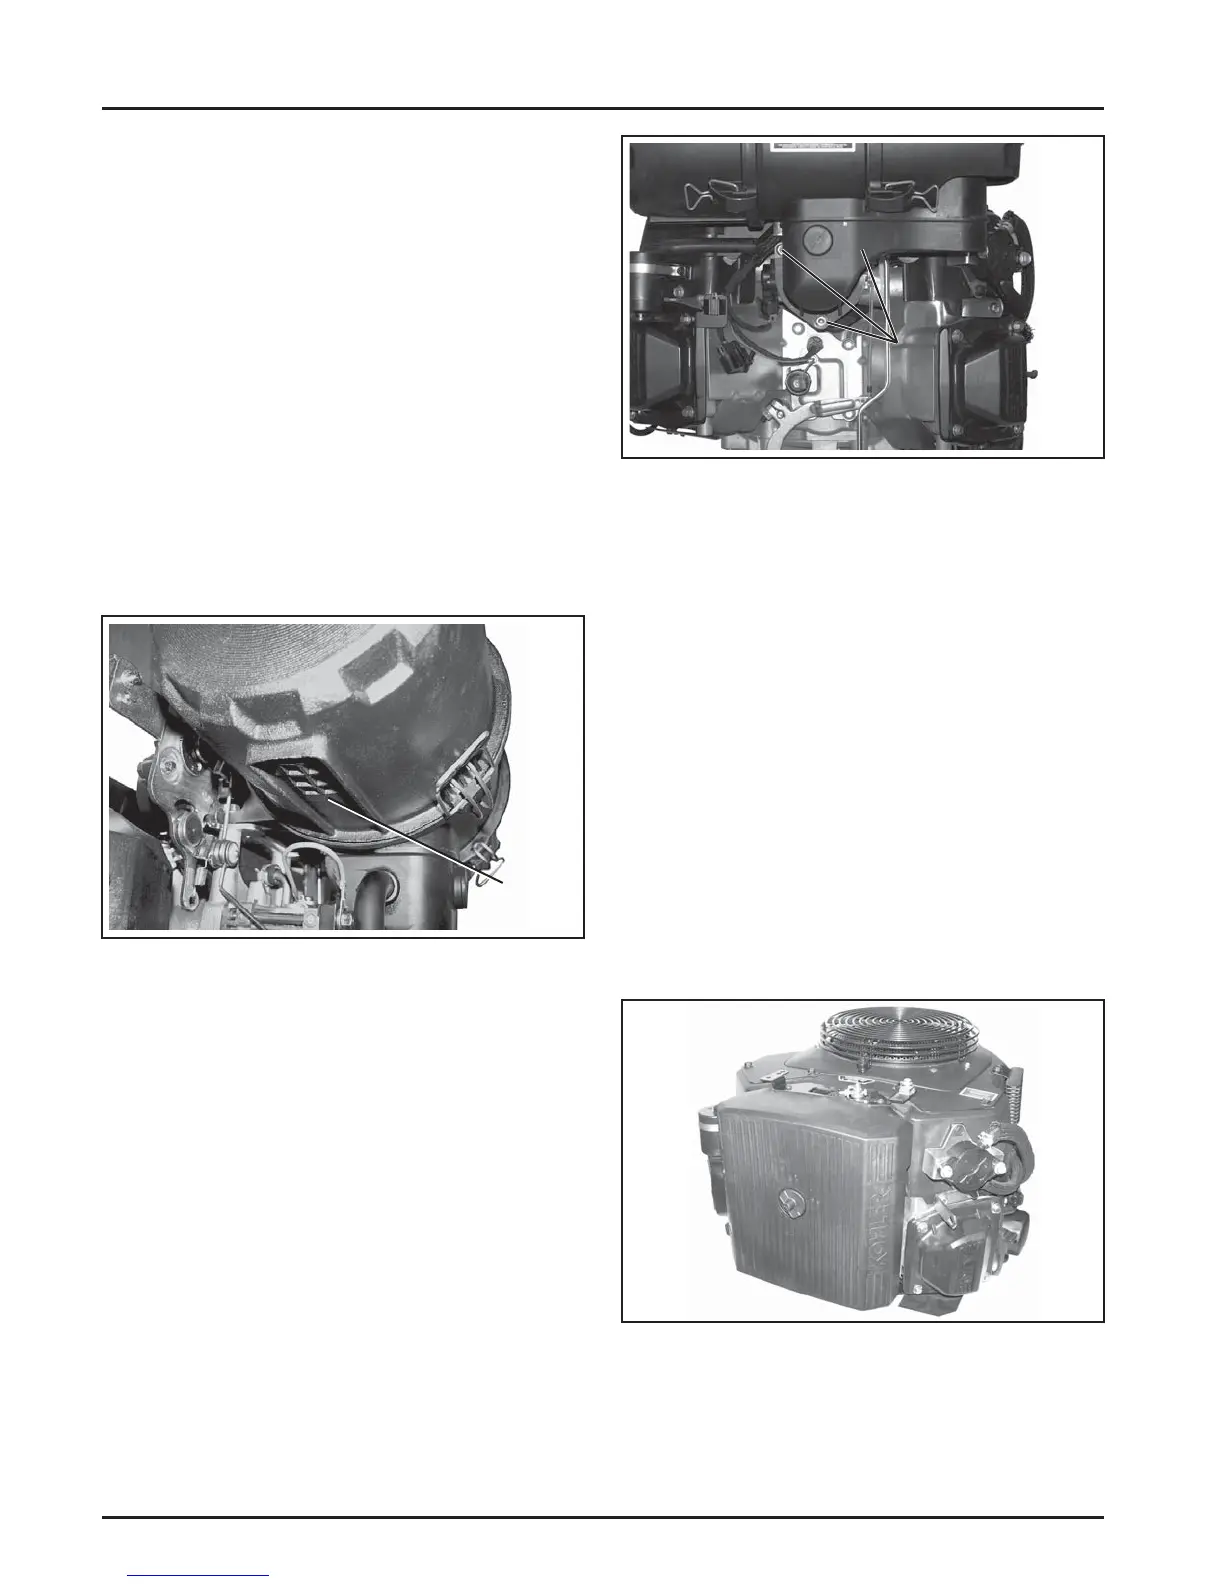
1. Remove the three hex fl ange nuts securing the
assembly to the thro le body. See Figure 4-5.
Figure 4-5. Air Cleaner Hex Flange Nuts.
2. Remove two hex fl ange screws securing the air
cleaner assembly to air cleaner bracket.
3. Li the entire air cleaner assembly off the engine.
Disassemble or service as required.
4. Reinstall the components in reverse order of
removal.
5. Reset the governor (see Section 5).
Low-Profi le Air Cleaner (Optional)
General
An optional air cleaner is the low-profi le air cleaner
with an oiled-foam precleaner which surrounds a
paper element.
The low-profi le air cleaner is shown in Figure 4-6.
Hex Flange
Nuts