75
N1
C
F
H
A B
H
N
F
H L MP
B
A
C
Fig. 6.50
Fig. 6.51
Fig. 6.49
Fig. 6.48
N1
ED0053030410
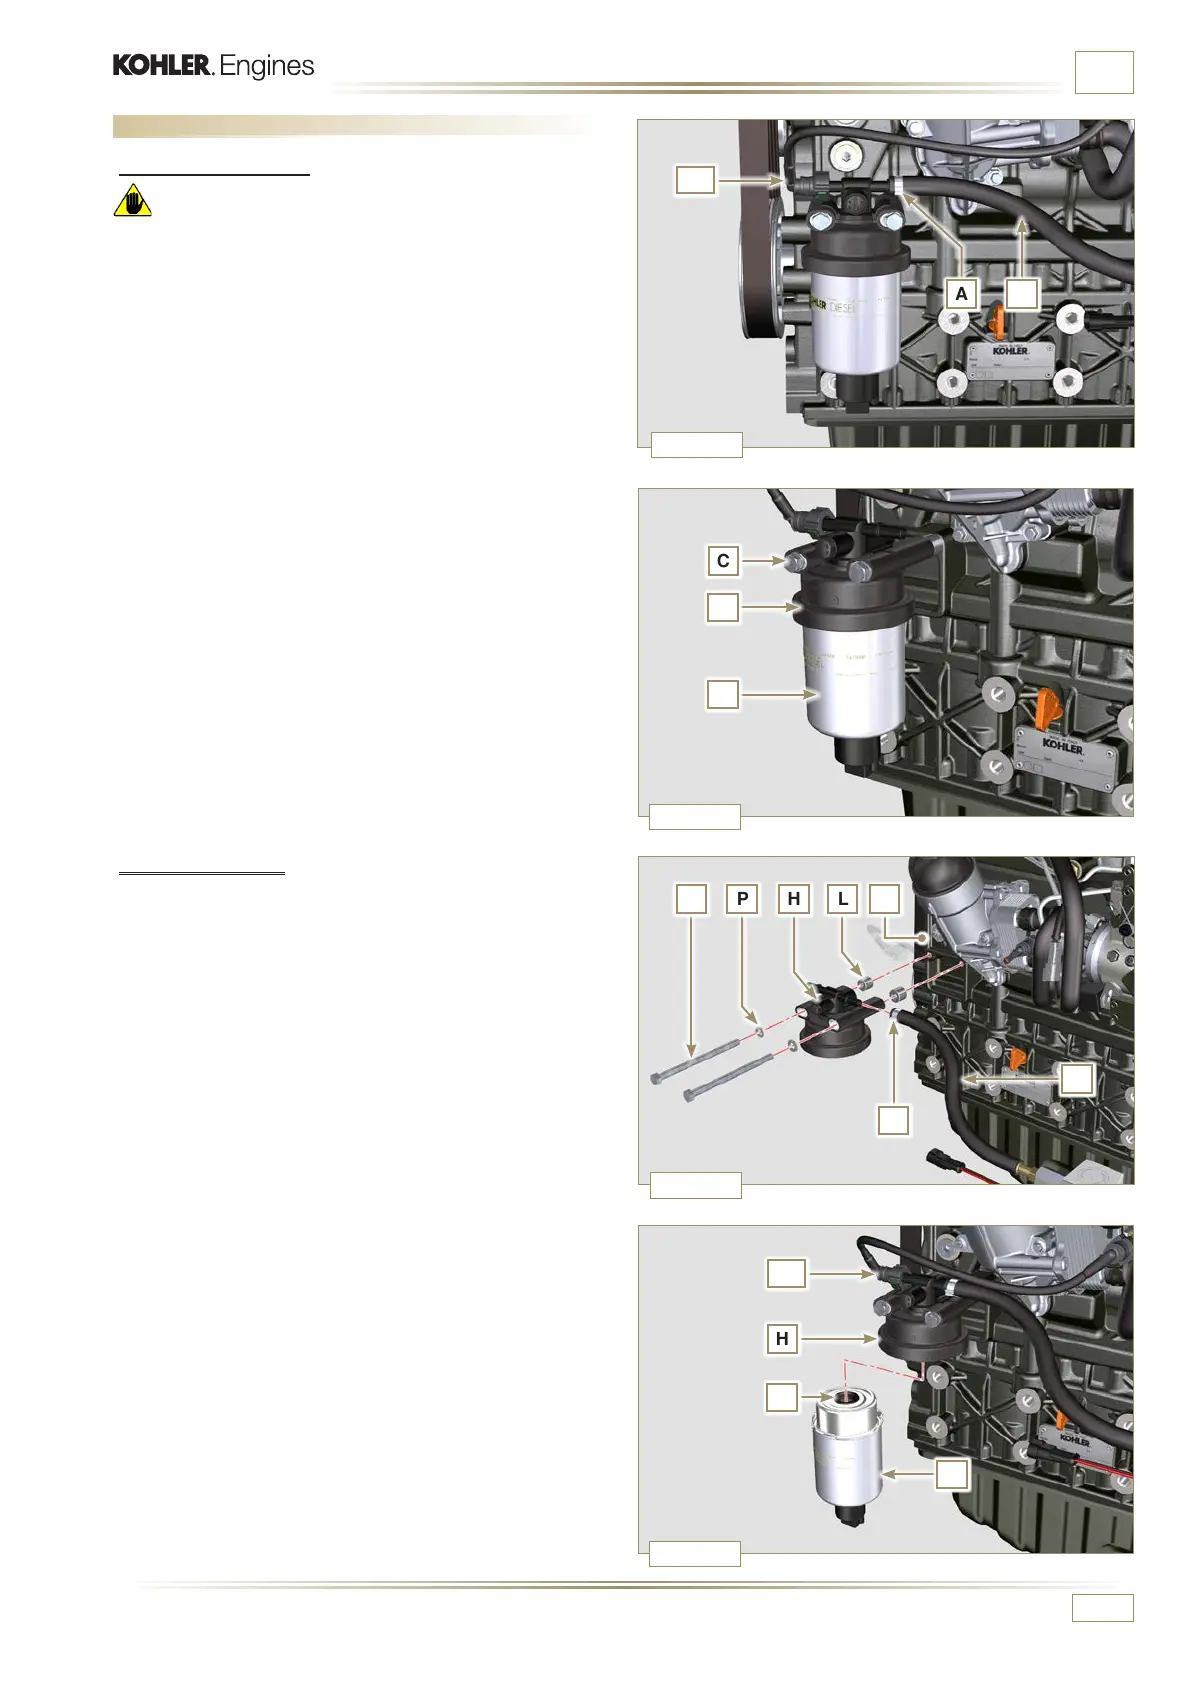
INFORMATION FOR REPLACING THE FUNCTIONAL UNITS
6.5 Fuel lter replacement
6.5.1 Disassembly
Warning
• Before proceeding with operation, carefully read Par. 3.3.2.
• The fuel filter is not always mounted in the engine.
• When disassembling, use a suitable container to recover the
fuel contained in the cartridge F.
1 - Remove quick fitting N1.
2 - Release the clamps A and pull the pipes B out of the
support H.
3 - Unscrew the cartridge F from the support H.
4 - Undo the screws C and remove the support H.
4 -
Lubricate the gasket N with fuel.
5 - Tighten the cartridge F on the support H (tightening torque
at 17 Nm).
6 - Fit quick coupling N1 onto support H.
6.5.2 Assembly
1 - Secure fuel filter bracket H with capscrews C onto
crankcase M, inserting spacer L between M and H and
washer P between H and C (tightening torque at 25 Nm).
2 - Fit the pipes B on the support H.
3 - Secure the pipes B with the clamps A.

 Loading...


