9
129
_07ED0053029590
ASSEMBLY INFORMATION
9.2 Assembly recommendations
• The information is laid out in sequence, the intervention methods have been selected, tested and approved by the manufacturer's
technicians.
• This chapter describes the installation procedures for the assemblies and/ or individual components which have already been
checked, overhauled or possibly replaced with original spare parts.
• Where necessary, reference to special tools during assembly operations refer to KOHLER diesel special tools.
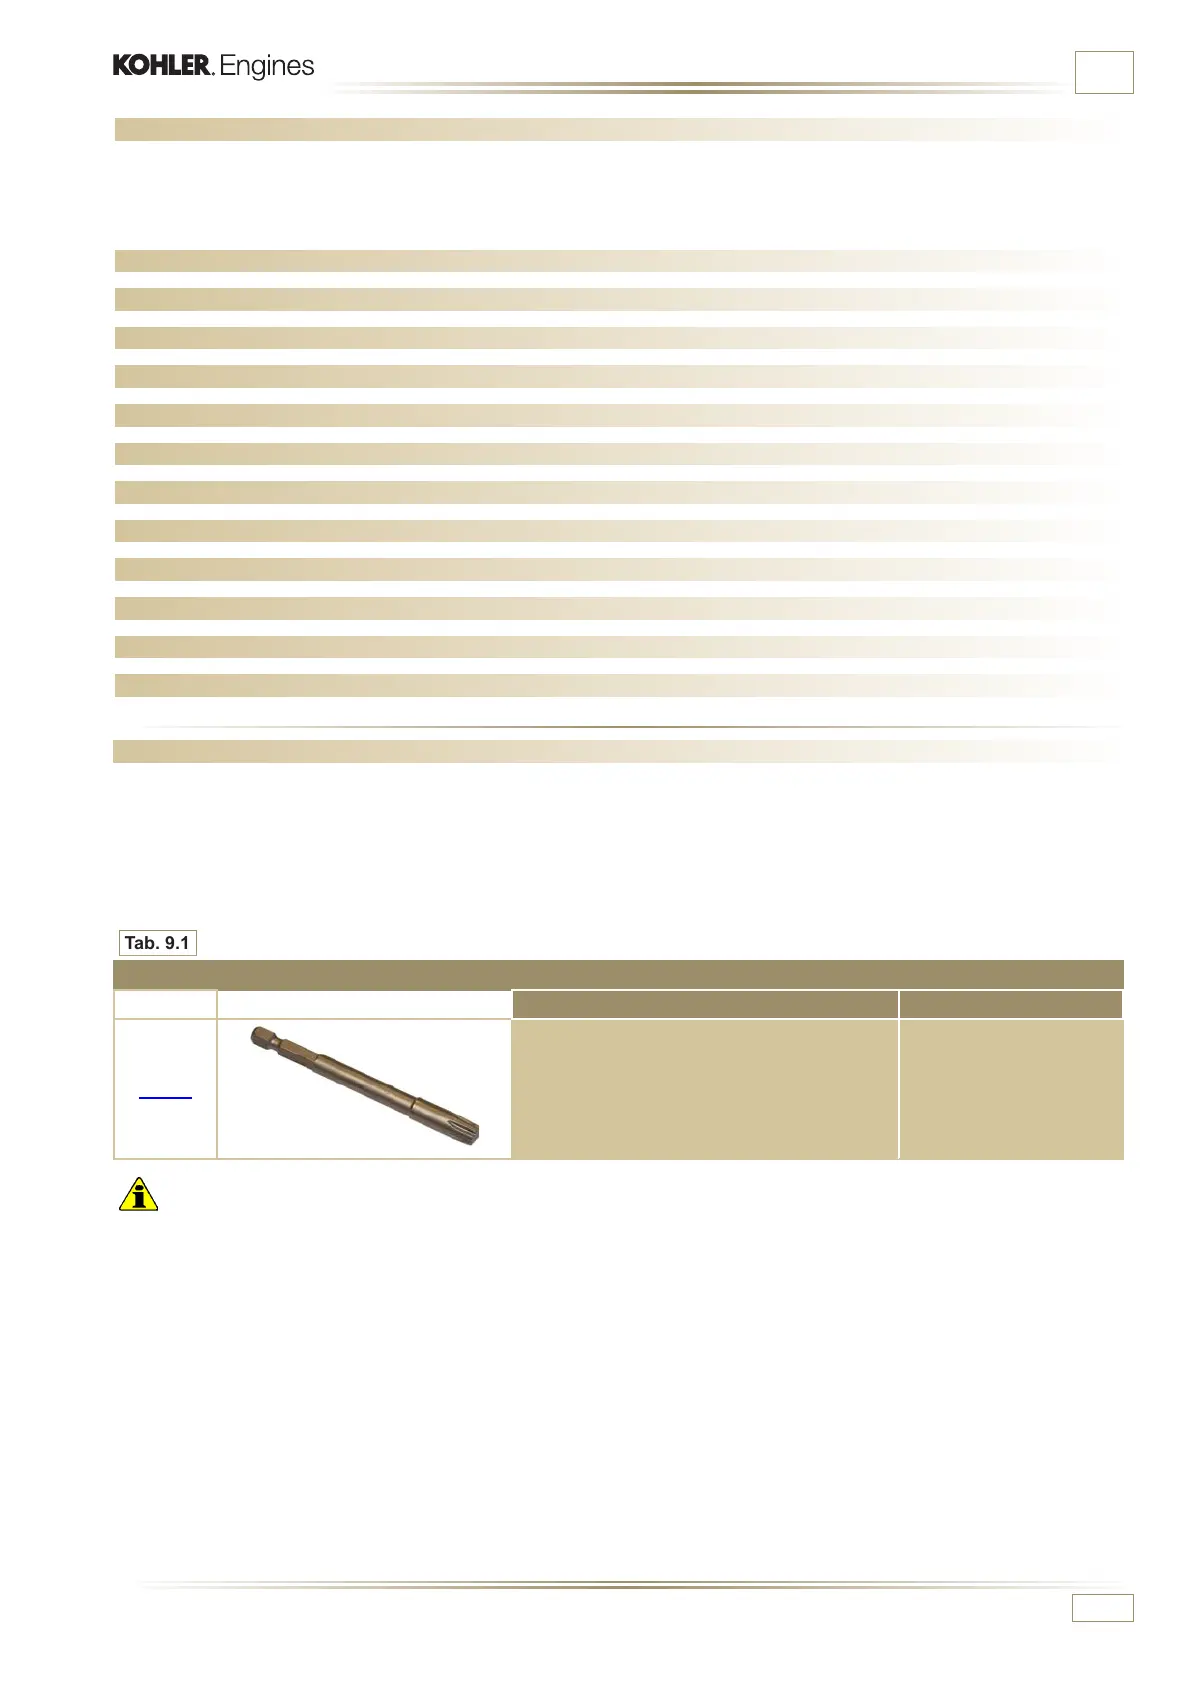
• Hereinafter in Tab. 9.1 an example of a special tool (ST_05).
Tab. 9.1
SPECIAL TOOLS
"ST" Picture/Draw DESCRIPTION PART NUMBER
ST_ 05 Six Nicks SN8 ED0014603650-S
Important
• To easily locate specific topics, the reader should refer to the analytical index or chapter index.
• Before proceeding with operation, carefully read Chap. 3.
• The operator must check that:
- the components, the assemblies, the coupling surfaces of the parts are washed, clean and thoroughly dried;
- the coupling surfaces are undamaged;
- the equipment and tools are ready so that all work can be carried out correctly and safely;
- ensure that the working environment is safe.
• The operator must:
- carry out the procedures smoothly and safely. It is thus recommended to install the engine on a special rotating stand used
when servicing engines to ensure the safety of the operator and the other individuals involved.
- tighten the assemblies and / or components in a criss-cross or alternating pattern, initially with a value lower than that pre-
set, and then subsequently, with the tightening torque specified in the procedure.
- replace all seal gaskets after each assembly for all components on which they are provided.
9.1 Information on engine conguration
• In this chapter, the engine is represented as "BASE CONFIGURATION" (refer to Para 1.4 - 1.5).
• For the assembly of components not described in this chapter refer to Chapter 11.
• The following are the components described in Chapter 11.
11.1 Oil dipstick in cylinder head
11.2 Heater (replacement)
11.3 Poly-V alternator belt (replacement and adjustment)
11.4 Tightening pulley and alternator for Poly-V belt
11.5 Idler gear (for 3rd / 4th PTO)
11.6 3rd PTO (replacement)
11.7 4th PTO (replacement)
11.8 3rd + 4th PTO (configurations)
11.9 Balancer shafts (replacement)
11.10 Air filter (cartridge replacement)
11.11 Remote oil filter (disassembly and assembly)
11.12 Oil sump with supporting structure

 Loading...


