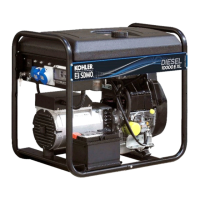
4.6 Using the electricity supplied
1. Allow the unit speed to stabilize and the temperature to rise (approx. 3 to 5 min.).
2. Connect the equipment to be used to the electrical sockets (A6) on the unit.
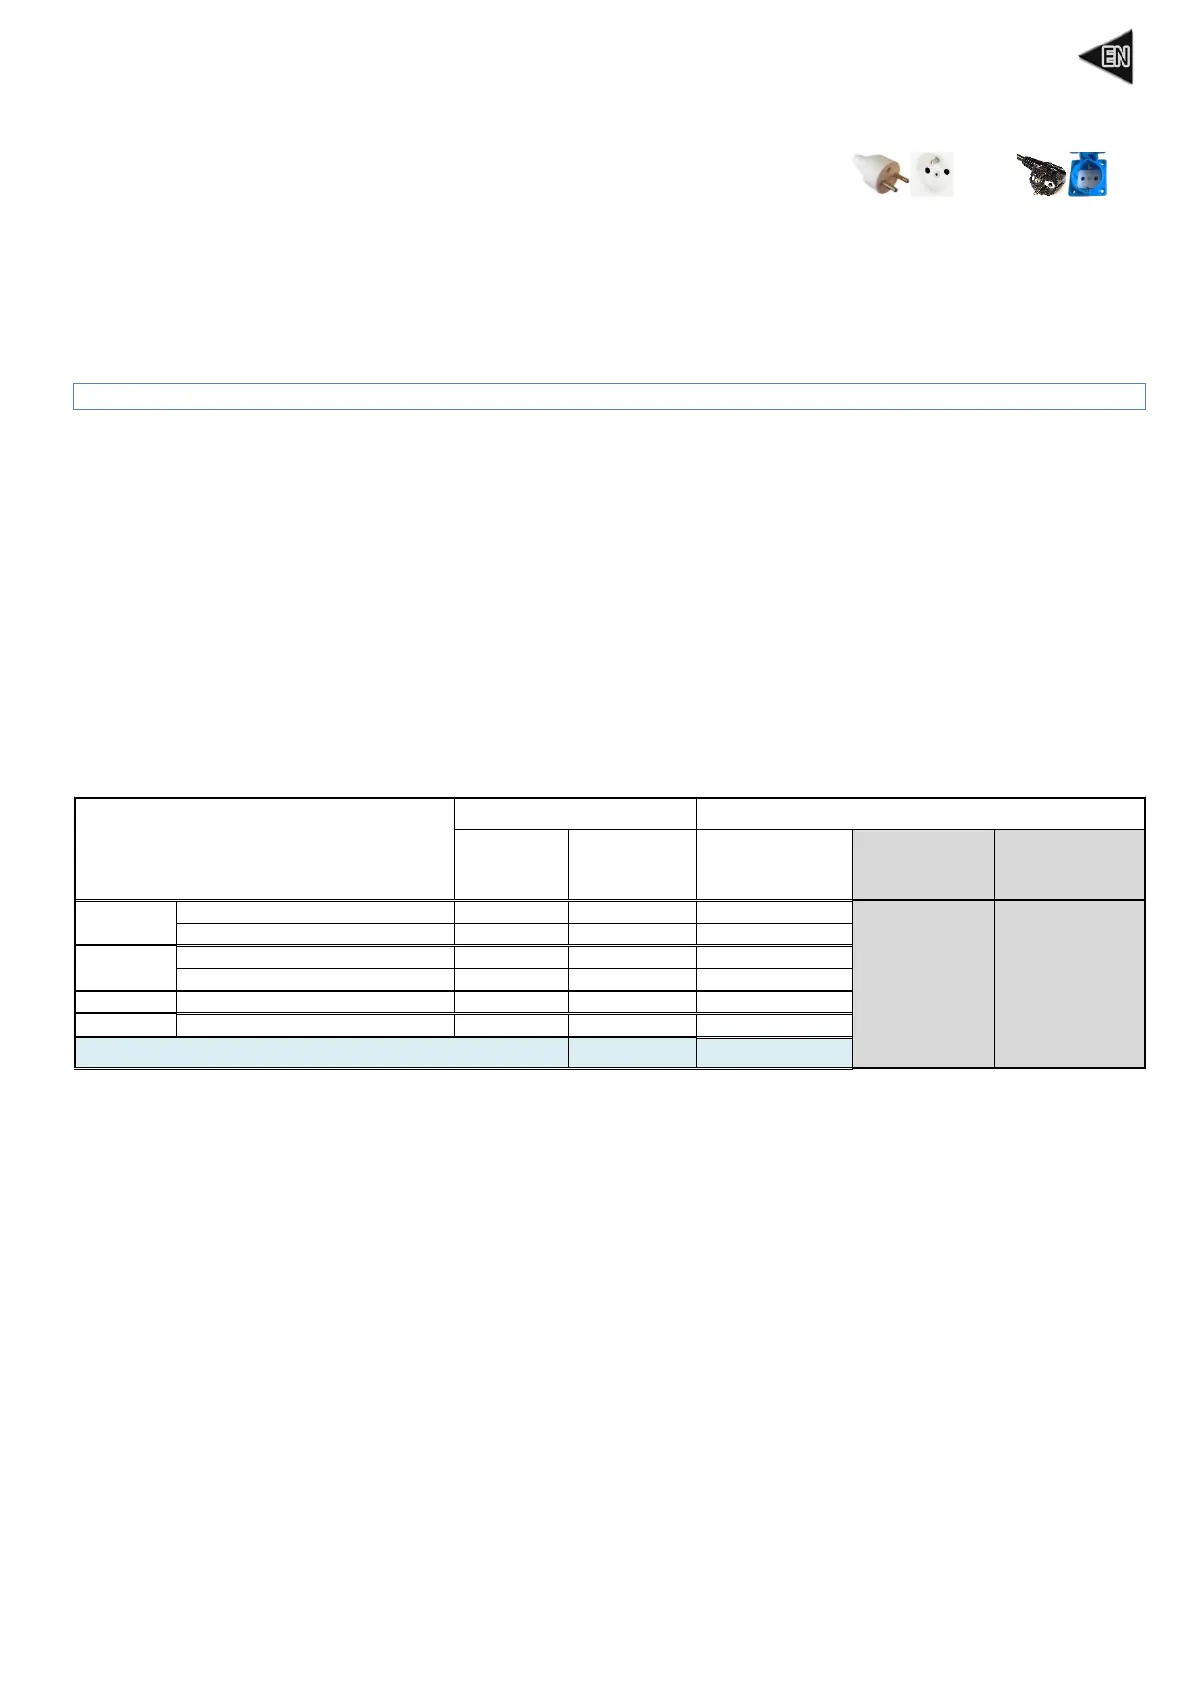
For France only: Our units are fitted with sockets where the earthing contact is made using side tabs.
In exceptional cases where the equipment is only fitted with an earthing pin, use an adaptor. After use,
always disconnect the adaptor and store it carefully, away from sources of moisture. Always ensure
that the socket cover on the unit is closed: risk of damage (loss of seal).
Earthing pin. Use
the adaptor.
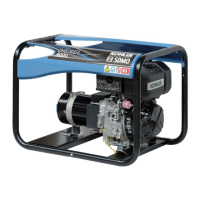
4.7 Switching the generating set off
1. Disconnect the electrical connectors (A6) taking care to close the socket cover on the generating set.
2. Allow the generating set to run with no load for a few minutes.
3. Use the shutdown lever (A7) to shut down the generating set.
4. Allow the generating set to cool, ensuring that it is well ventilated (risk of fire or burns).
Even when the unit is turned off, the engine continues to give off heat.
5 Generating set maintenance
As a safety measure, maintenance should be performed on the generating set regularly and carefully by people who have the
necessary experience and are equipped with suitable tools, in respect of current regulations. The maintenance operations to be
carried out are detailed in the maintenance table. The interval for this is supplied as a guide and for generating sets operating with
fuel and oil which conform to the specifications given in this manual. The maintenance intervals can be shortened depending on the
generating set's operating conditions and requirements. It is important to note that the warranty shall not be valid if generating set
maintenance has not be performed correctly.
5.1 Reminder of use
Ensuring maintenance is performed regularly and correctly will guarantee safety and performance. The oil, filter elements and,
where present, the spark plug, are consumables which must be in good condition for the unit to operate correctly.
Replace them regularly as often as is needed (the reference for ready-to-use maintenance kits is given in the table of
technical specifications where applicable). The warranty becomes void in the event of failure to respect the maintenance
recommendations. For any questions about a special operation, please contact your nearest agent who will advise and help you.
5.2 Maintenance intervals table
The maintenance frequency is given as an indication only and is for devices using fuel and oil complying with the specifications
given in this manual. The maintenance intervals can be shortened depending on the unit's operating conditions and requirements.
Perform the maintenance operations at the indicated due dates even if the number of hours' operation has not been reached. The
warranty will be invalidated if maintenance of the unit has not been performed correctly.
In hours, months or years, whichever comes first
Operation to be carried out:
Part numbers of parts to be used during maintenance:
Major service
to be carried
out by one of
our agents.
France:
0.806.800.107
(call charge)
Major service to
be carried out
by one of our
agents.
France:
0.806.800.107
(call charge)
*If KOHLER oil is used, the interval can be extended to 150 hours of operation.
5.3 Performing the maintenance operations
1. Shut down the unit and wait at least 30 minutes for it to cool.
2. Disconnect the cap(s) of the spark plug(s) and disconnect the "-" terminal on the battery (if fitted).
3. Carry out maintenance in accordance with the information given in this manual and, to avoid the risk of damage to the unit,
only use original parts or their equivalent.
5.3.1 Replace the oil filter and change the oil
The used oil and filter must be recycled or eliminated according to the local regulations in force. In order for the drain operation to
be more effective, it is advisable to run the unit for around ten minutes before draining to make the oil more fluid.
Drain the oil:
1. Place a suitable container under the oil drain screw (A8-B4), then remove the oil filler cap (A3) and the oil drain screw.
2. After draining completely, screw the oil drain screw back in.
Replace the oil filter:
3. Using a suitable wrench, remove the oil filter (A9-B6) and discard it.
4. Clean the oil filter holder and coat the new oil filter seal with clean engine oil.
5. Fit the new oil filter, tightening it by hand.
Fill up the oil:
6. Use a funnel to top up with oil that complies with the technical specifications in this manual, using the dipstick (A2-B1) to
regularly check the level.
The oil level must be between the minimum and maximum marks on the dipstick. If the oil level is too low, keep topping it up. If the oil
level is too high, drain some off.
7. Close the oil filler cap.
Finish the operation:
8. Wipe away any traces of oil with a clean cloth and check that there are no oil leaks.
 Loading...