Do you have a question about the Kohler Setra K-R22899-SD-CP and is the answer not in the manual?
Essential safety information on water contamination, electrical shock, and property damage.
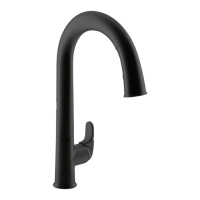
Steps for connecting the spray hose, including weight placement and securing.
Instructions for downloading the KOHLER Konnect App and connecting the faucet.
Securing the mounting bracket to the cabinet or wall.
Positioning and securing the solenoid, flow sensor, and cover.
Placing and securing the weight on the spray hose.
Ensuring connections are tight and testing for leaks after turning on water.
Explanation of Handle LED and Power LED status.
Decoding Red, Flashing Red, and Green LED colors for system status.
Adjusting setscrew to turn LED OFF when handle is closed.
Adjusting setscrew for proper handle return to upright position.
Adjusting setscrew to ensure water fully shuts off when handle is closed.
Steps to remove, clean, and reinsert the sprayhead screen.
Steps to remove, clean, and reinstall the solenoid inlet screen.
Troubleshooting steps for when no water flows from the faucet.
Troubleshooting steps for when the faucet has reduced water flow.
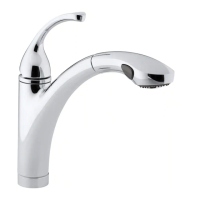
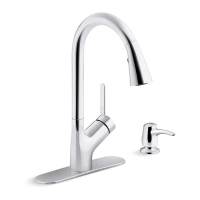
| Product Type | Kitchen Faucet |
|---|---|
| Brand | Kohler |
| Collection | Setra |
| Model Number | K-R22899-SD-CP |
| Finish | Polished Chrome |
| Spout Type | High-Arc |
| Handle Style | Lever |
| Number of Handles | 1 |
| Flow Rate | 1.5 GPM |
| Installation Type | Deck Mount |
| Valve Type | Ceramic Disc |
| ADA Compliant | Yes |
| Warranty | Limited Lifetime |
| Spray Type | Pull-Down |