4
4. USB Connection
Press the left or right button to select items, and press OK button to confirm.
PC Cam: To use your microscope as a PC microscope
Disk Driver: To use your microscope as a mass storage
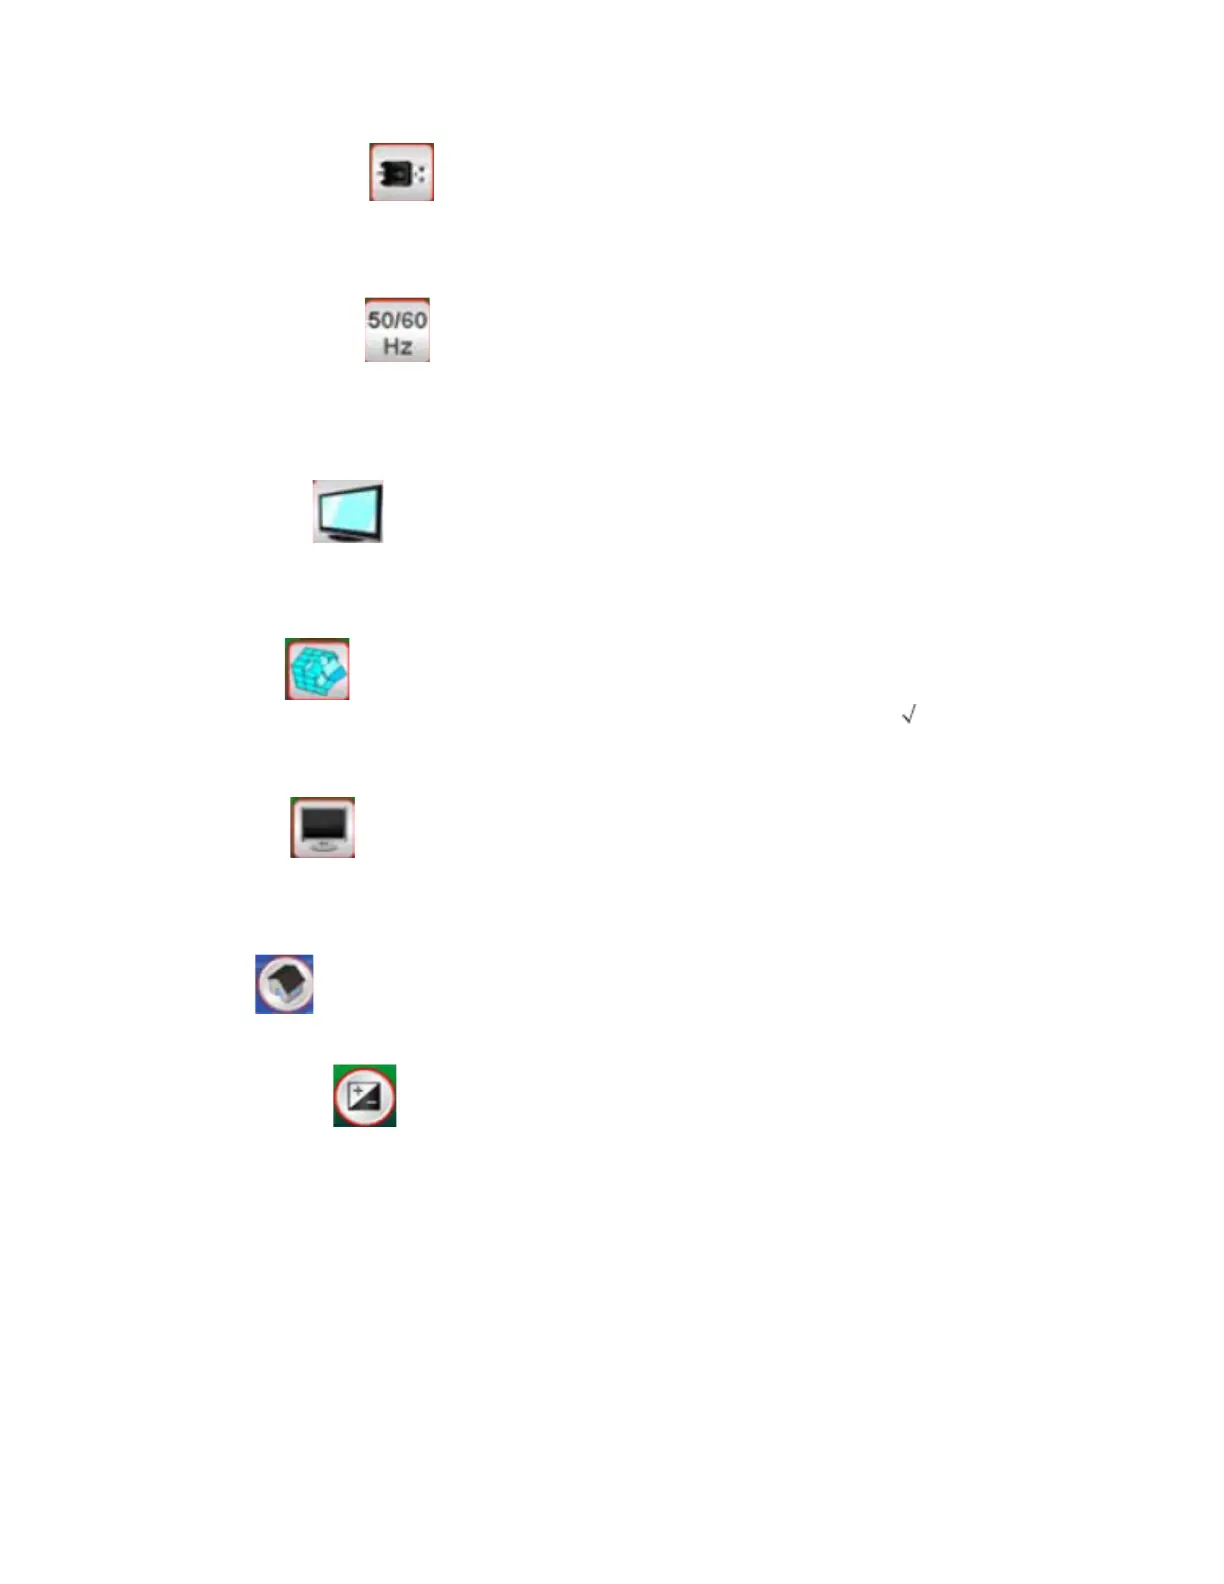
5. Light Frequency
Set the anti-flicker frequency to 50Hz. (please select if using the microscope in Europe,
Japan and Asia)
Set the anti-flicker frequency to 60Hz. (default-please select if using the microscope in the
United States)
6. TV Output
Connect the scanner to your TV with TV cable.
NTSC: Setting the TV Output to NTSC
PAL: Setting the TV Output to PAL
7. Format
Press the OK button enter the Format, to select ‘do not format’ (X) or ‘format ( ), press the
OK button to confirm.
Caution: Formatted files cannot be recovered.
8. Auto off
Press the OK button enter the Auto off.
5MIN: Setting the microscope automatically powers off approximately 5 minutes.
(X): Setting the microscope always on.
9. Exit
Press Start button to back to Select Function.
Exposure value
T enter the EV mode, press the Left or Right button to select, and press OK button to confirm.
Exposure compensation helps you change the exposure setting manually to adjust object lighting.
The feature helps to achieve better results when scanning a film or slide image with a strong
backlight, or an image that is against a dark background. The setting can be adjusted in 1/3 steps
within the range -2EV ~ +2EV. You can check the result of the compensation by viewing the
image on the screen panel.