K
Kenneth MooreJul 31, 2025
What to do if Koolspace Nuvo 110 runs but doesn't cool sufficiently?
- Llisa17Aug 1, 2025
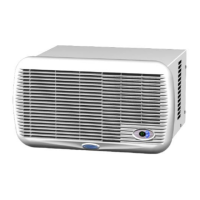
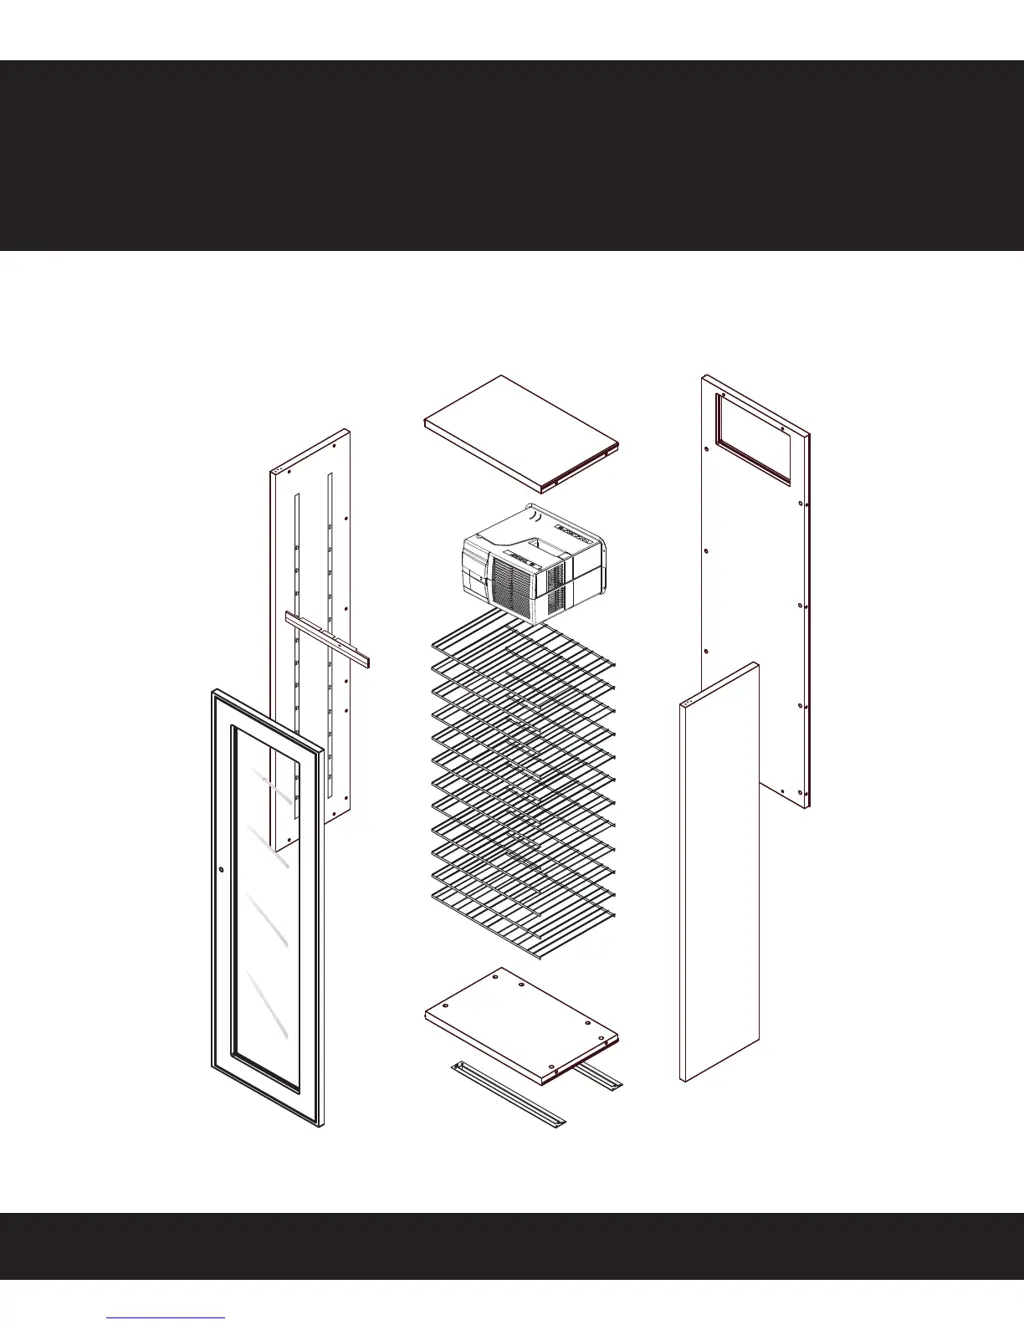
If your Koolspace Wine Cooler is running but not cooling enough, there are several steps you can take: * Note that it may take a few days to achieve the desired storage temperature, even in a properly located, airtight cabinet. * Reduce ambient temperatures and compensate for additional heat gain if any cabinet walls receive direct sunlight. * Ensure that you have tightened all cams in all panels, to ensure an airtight seal. * Improve air circulation to and from the unit. * Adjust the door to seal tightly by re-positioning the upper hinge and improving the cabinet level. * Increase your set temperature. * Clean the fan and grille areas.