When "Verify Error", the inspection stops displaying [Er.41] in the LED display.
5. OVER LOAD Line Check ( Audio LoopBack )
<<<In the simple TEST MODE, you can skip this.>>>
a: OUTPUT Lch(LINE IN (Rch: GND Level)
Connect the LINE OUT(L) to the LINE IN(L), when the level of the LINE IN(L) is out of the decided range,
the inspection stops displaying [Er.51] in the LED display.
Connect the LINE OUT(L) to the LINE IN(L), when the level of the LINE IN(R) is more than the decided level,
the inspection stops displaying [Er.52] in the LED display.
b: OUTPUT Rch(LINE IN (Lch: GND Level)
Connect the LINE OUT(R) to the LINE IN(R), when the level of the LINE IN(R) is out of the decided range,
the inspection stops displaying [Er.53] in the LED display.
Connect the LINE OUT(R) to the LINE IN(R), when the level of the LINE IN(L) is more than the decided level,
the inspection stops displaying [Er.54] in the LED display.
(Caution) *1 Before the internal inspection, connect LINE OUT(L) to LINE IN(L), LINE OUT( R )to LINE iN ( R ) by two cables.
*2 Set INPUT VOLUME at MAX, INPUT SELECT (toggle) is LINE side.
<<<In the simple TEST MODE, you can skip this.>>>
When KP3 cannot receive the Data, the inspection stops displaying [Er.61] in the LED display.
During receiving the data when KP3 could not receive some data, the inspection stops displaying [Er.62] in the LED display.
When the received data is different value, the inspection stops displaying [Er.63] in the LED display.
(Caution) *3. Connect MIDI IN and MIDI OUT by a MIDI cable, before the internal inspection.
7. Card Check
After [C.Ins] is appeared in the LED display, insert a SD card.
When a SD card is not inserted and KP3 could not detect that a card is not inserted, [Er.71] is displayed in the LED.
After inserted a SD card and remove your hand from the card, then confirm that the card is rocked.
When KP3 could not detect that a SD card is inserted, [Er.72] is displayed in the LED.
When KP3 could not write or read the data, [Er.73] is displayed in the LED.
When the inspection has completed as OK, [C.Pul] is displayed in the LED, then pull out the SD card.
(Caution) *4 Use the SD card as protect OFF.
*5 Do not insert the SD card before [C.Ins] is displayed in the LED.
8. USB Check
<< Skip this inspection>>
* The special computer is needed for this inspection, so skip by [SAMPLE BANK A] + [TAP/RANGE].
* Errors are displayed as [Er.8*], ignore these errors.
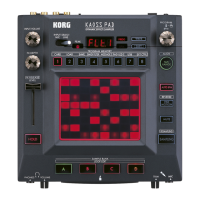
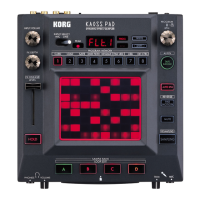
9. All LEDs light
a. Confirm that all LEDs light.
All LEDs except followings light. : LEDs(8x8) of PAD, 7segments LED[8888], [SMPL]SW
LED of two colors are followings
[SAMPLE BANK A], [SAMPLE BANK B], [SAMPLE BANK C], [SAMPLE BANK D]
Confirm that there is not the uneven brightness, and that there is not slanted LED.
After the confirmation, push [TAP/RANGE] , then the inspection proceeds to 10 External Inspection.
10. 7 Segments LED, segments light one by one.
For each digit, segments light one by one like the right figure.
After confirmation of the four digits, push [TAP/RANGE] SW and proceed
to next inspection.
(Caution) *6. You need all digit's inspection to proceed to the next inspection.