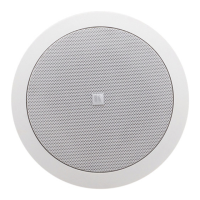
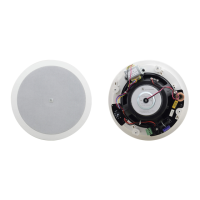
Galil 6-C - Installing the Galil 6-C Closed-back Ceiling Speakers
4. Route the wiring from the amplifier to the speakers’ cutout holes, taking care
not to place them next to electrical wires or at least at a distance of about
two feet from an AC line.
Do not nail or staple the speaker wires.
If you are mounting the speakers onto a ceiling tile, remove the ceiling tiles where
you plan to install the speakers. Use the template to trace and then cutout the
speaker hole over an empty box.
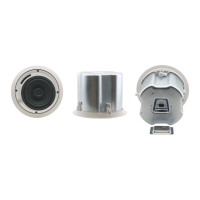
The closed-back ceiling speakers are supported by the ceiling mounting kit (two
C-rings and two pairs of tile rails; the tile rails prevent the speakers from falling if
the tile itself comes out or falls apart, as their ends catch onto the T-grid). When
mounting onto the ceiling tiles, use both supports.
Be sure that the tiles can support the speaker. Smaller sized tiles or
fiberglass-type tiles cannot support the weight of the speakers.
When this is the case, the speakers will need additional support.
When mounting onto a sheetrock ceiling, the C-ring alone is used to reinforce the
ceiling material.
5.3 Mounting the Speakers
To mount the Galil 6-C, do the following:
1. Place the C-ring over the hole cut in the ceiling tile (on the “ceiling” side).
Place it around the hole so that the tabs are located in parallel to the tile
edges.