Do you have a question about the Kraus KPF-2160 and is the answer not in the manual?
Check for all indicated parts before starting installation.
Lists the tools required for faucet installation.
Ensure all parts are present and undamaged; contact customer service if issues arise.
Turn off water, release pressure, remove old faucet, and clean the area.
Flush debris from water lines by turning on water briefly.
Specifies the acceptable range for the mounting hole diameter.
Indicates the limit for countertop thickness without a deck plate.
A versatile tool for tightening and loosening nuts and bolts.
Used for screws with a single slot drive.
Protective eyewear to shield eyes from debris during installation.
A container for catching water or debris.
A specialized tool provided with the faucet for assembly.
The component responsible for aerating water flow.
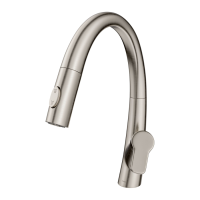
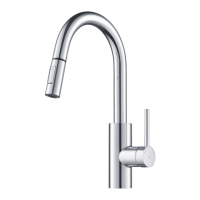
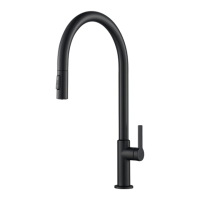
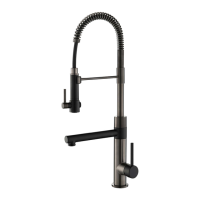
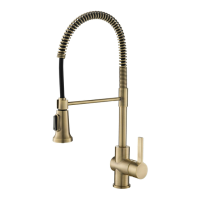
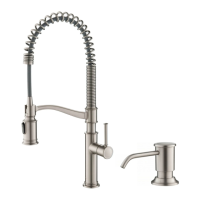
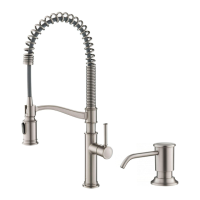
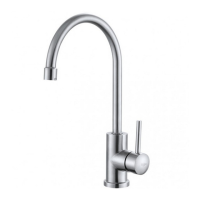
The main structural component of the faucet.
A circular seal placed at the base of the faucet.
A specific type of rubber washer used in the assembly.
A specific type of metal washer used in the assembly.
Fasteners used to secure the faucet to the mounting surface.
Nuts that thread onto mounting screws to secure the faucet.
An optional component for topmount stainless steel sinks.
Flexible hoses connecting faucet to water supply.
A tool included for tightening components.
Instructions for disassembling and preparing mounting hardware.
Guide for inserting the faucet body and initial mounting.
Instructions for attaching washers and securing the faucet.
Details on connecting the hot and cold waterlines.
Instructions for connecting waterlines and flushing the system.
Procedure to remove the aerator and check for any water leaks.
Recommendations for cleaning the faucet to maintain shine.
Guidance on regular upkeep and cleaning the aerator.
Addresses issues with leaks originating from the handle area.
Solutions for when the faucet fails to completely shut off water.
Fixes for aerator issues causing drips or uneven water patterns.
| Material | Brass |
|---|---|
| Finish | Chrome |
| Spout Reach | 8.5 inches |
| Flow Rate | 1.8 GPM |
| Installation Type | Deck Mount |
| Number of Handles | 1 |
| Spray Head | Pull-Down |
| Hose Length | 20 inches |
| Type | Pull-Down Kitchen Faucet |
| Warranty | Limited Lifetime |